Fall Flora Metal Sign with Artesprix Sublimation Inks
Artesprix Design TeamCricut, Fall Projects, Ink Pads
Products in this post


Fall is here and I am here for it! I’m Design Team Member Naomi, here with another fun Iron-on-Ink project for you. This time I’ll be showing you how I used the Decorative Metal Panel from Artesprix to make a beautiful Fall home decor. These Decorative Metal Panels are great to have on hand for the holidays, you can come up with a last minute sign in a flash!
**This post may contain affiliate links. That means that I may receive compensation if you purchase through the links I have provided. The price you pay for the product or service is not higher, but I may get compensated.**

What is Artesprix Iron-on-Ink?
Artesprix Sublimation Markers, Ink, and Paint are specially formulated to allow you to use basic copy paper (something we all have) to: color, stamp, stencil, and monoprint anything you wish and turn it into a heat-transferable design. Even the most non-artistic person, like me, can make amazing designs. You can then use heat and pressure to apply these designs to a polyester or polyester coated substrate. You can use a heat press or a home iron! Your designs will then be permanently printed onto your substrate.
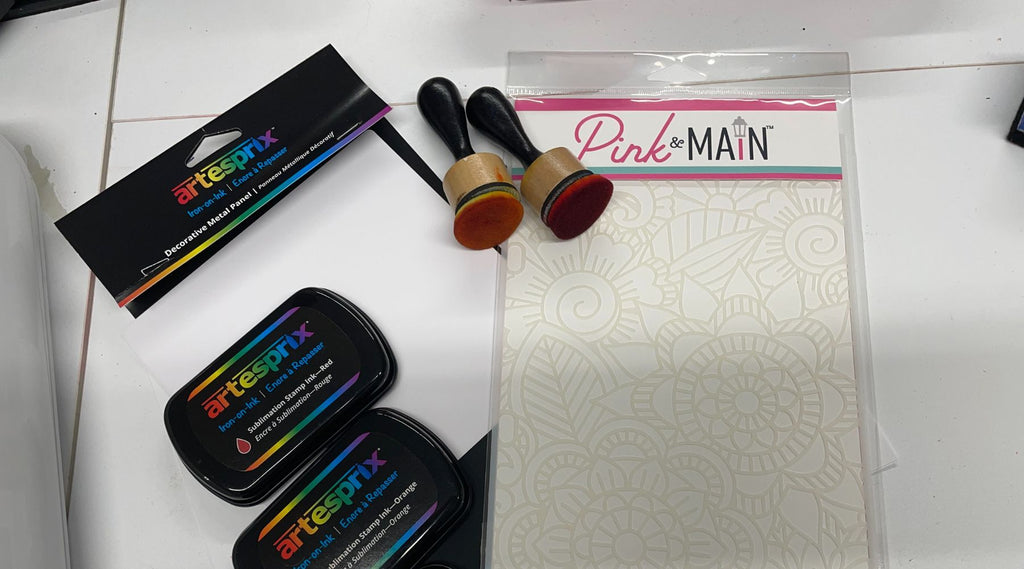
Supplies:
Decorative Metal Panel
Pink and Main Flora Stencil
Heat Press or Handheld Craft Press
Sublimation Stamp Pads: Red, Orange, Yellow
Blending Brushes or Sponges
Heat Tape
Copy Paper
Lint Roller
Washi Tape
Cricut or other cutting machine
Adhesive Vinyl
Transfer Tape
Step-by-Step Tutorial:
Step 1: Use washi tape to tape the stencil to a sheet of copy paper. I used Pink & Main's “Flora” stencil, but you can use any stencil you prefer.
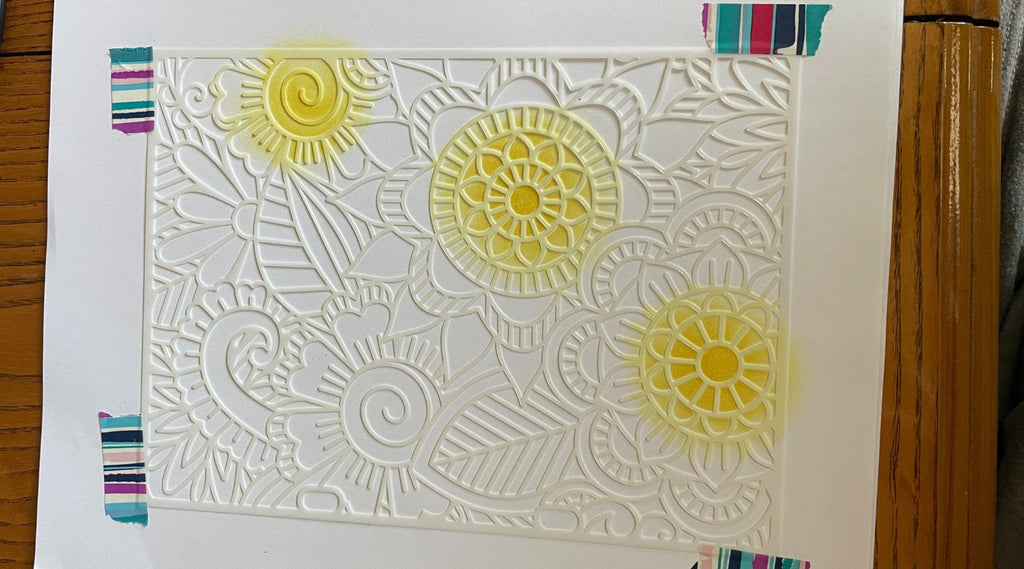
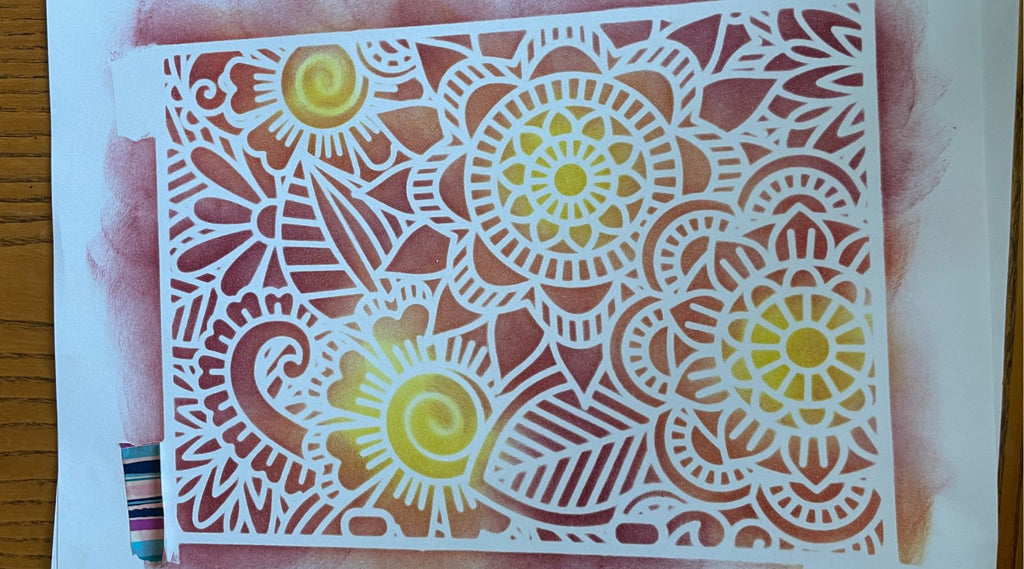
Step 2: Add the first color of ink from your stamp pads to the paper using blending brushes.
Pro Tip: Start by using the lightest color first. My colors are red, orange, and yellow, so I started with yellow.
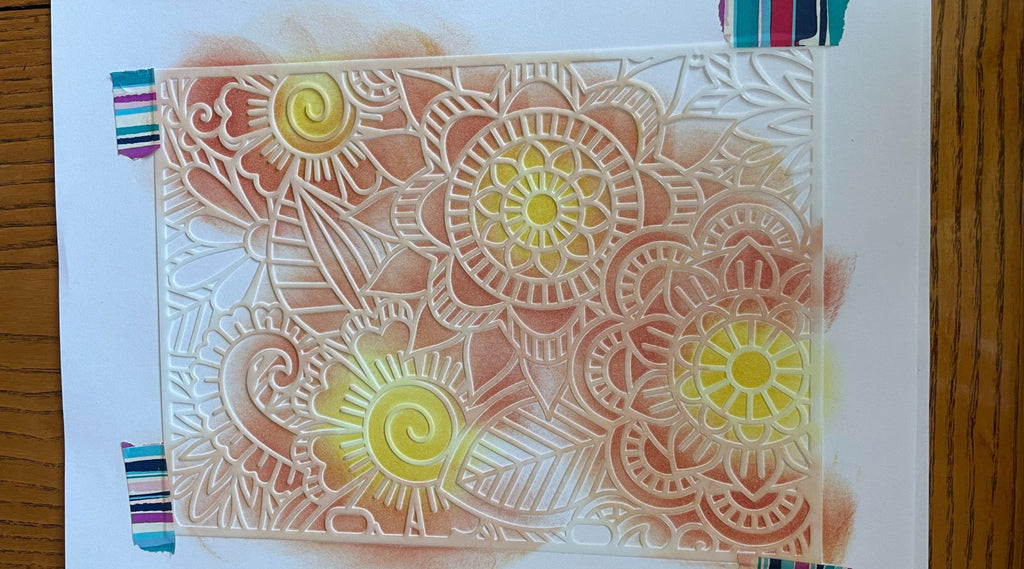
Step 3: Add the second stamp pad color, working your way around the stencil and blending the colors into each other as you go.
Step 4: Repeat with the last color and continue until you reach the edge of the stencil.
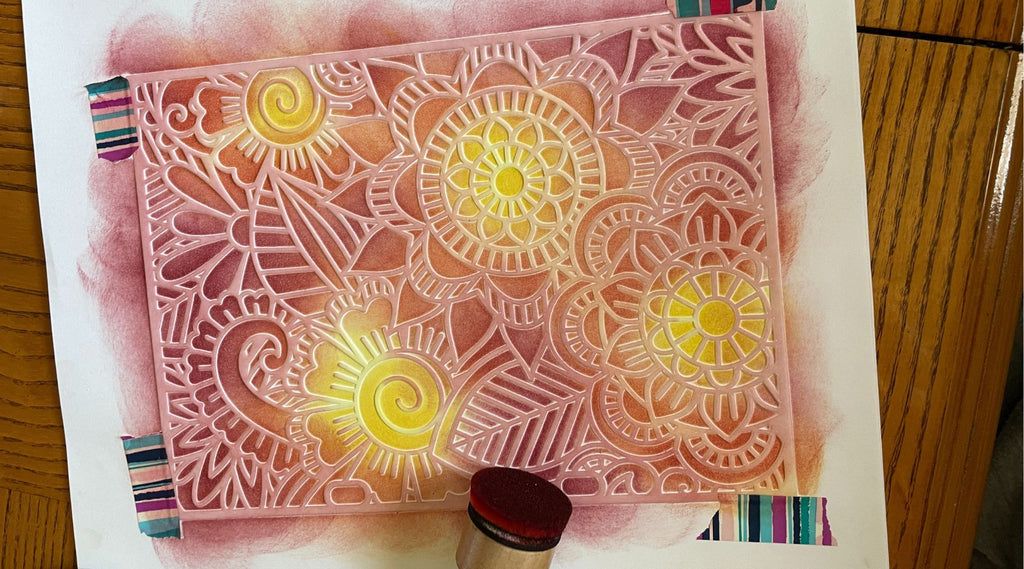
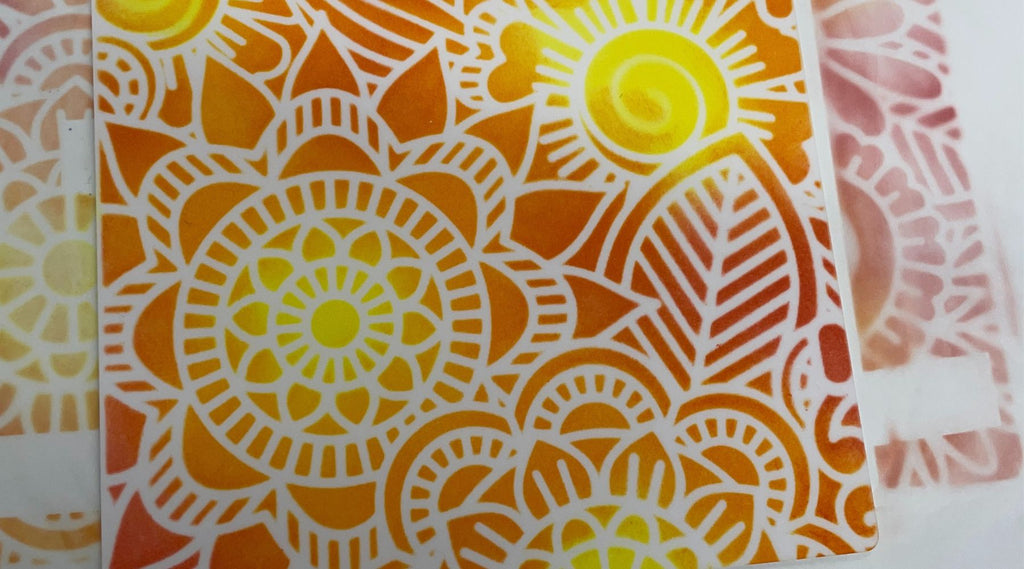
Step 5: When you are finished applying the ink, remove the stencil and washi tape from the paper.
Designer Note: If you do not have vinyl to use for your sentiment like I did, add your sentiment with a Black Sublimation Marker. All text will need to be mirrored.

Step 6: Lay your decorative panel, white side down, onto the stamped design and tape down using heat tape.
Pro Tip #2: Use a lint roller to clean the panel before putting it on the design.
Step 7: Make a "sublimation sandwich" using two pieces protective paper by placing your project in-between.
Step 8: Press the panel at 400℉ for 90 seconds.
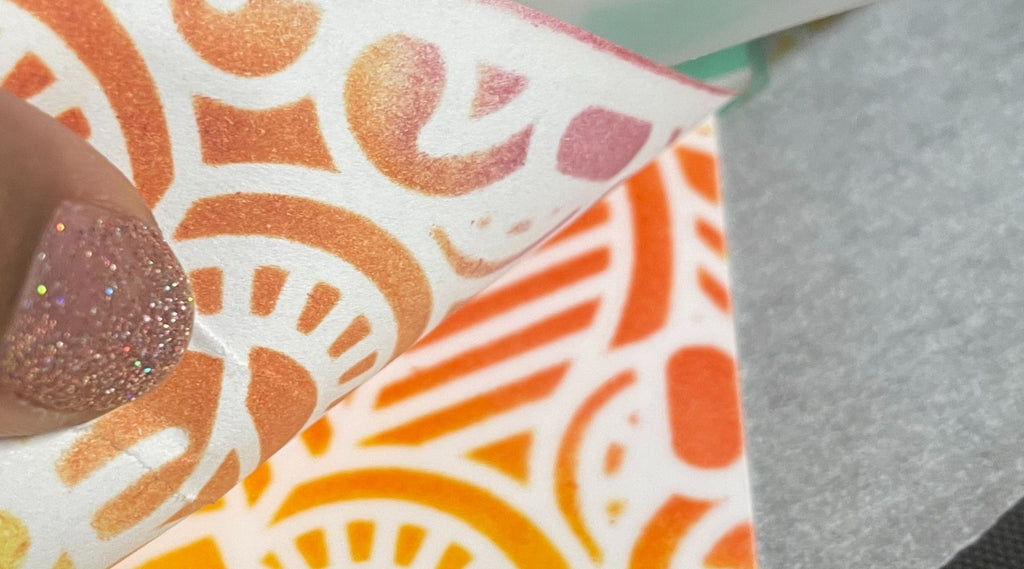
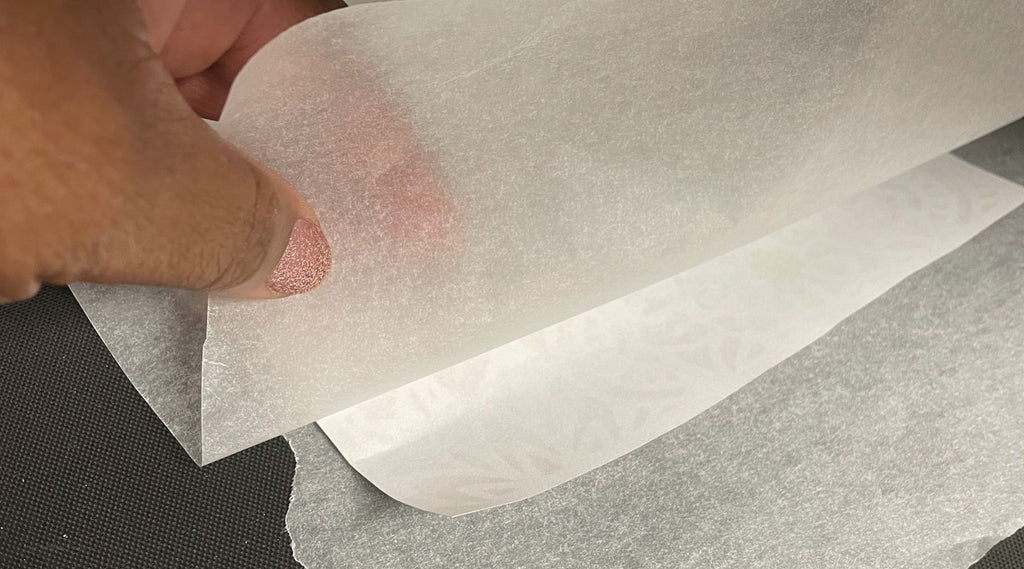
Step 9: Before moving any tape, conduct a "peek test" by lifting a corner of the design to make sure the design transferred correctly. If the design transferred well, you are done and you can remove the tape and paper from the decorative panel. If your transfer is not vibrant, press it again.
Pro Tip #3: The panel will be HOT. Use heat gloves or an oven mitt to remove it from the heat press. Additionally, use your Artesprix Project Mat as a cool down area if you have one.
Step 10: While the panel is cooling, cut your sentiment using vinyl and a Cricut or other cutting machine. I used a “Fall Sweet Fall” design from Cricut Design Space. (#M4D328C5B)
Step 11: Weed your design and use transfer tape to apply it to the printed decorative panel.
Step 12: Remove the adhesive liner strip from the back of the panel stand and stick it to the back of the panel.
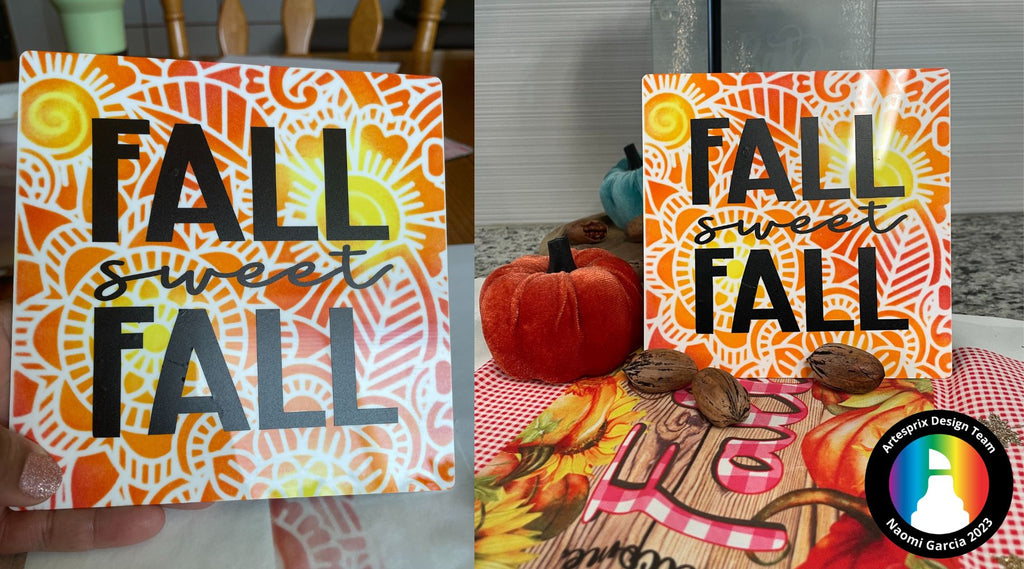
I love how this decorative panel turned out! It’s perfect for my kitchen counter, it would also be great to pair with a "Boo Basket". For more seasonal ideas for your next Iron-on-Ink project, check out the Artesprix Blog. Let us know if you try out this project by using the #Artesprix & #IrononInk or post your project to the Artesprix Facebook Group. Grab your decorative panels from Artesprix and get started on your home decor today! If you want to learn more about me, visit my About Me here.
Now, go make something fall-ish!
Naomi Garcia
**This post may contain affiliate links. That means that I may receive compensation if you purchase through the links I have provided. The price you pay for the product or service is not higher, but I may get compensated.**


