Geaux Tigers Artesprix Metal Panel
Artesprix Design TeamFall Projects, Markers
Products in this post


It’s Tanya, It’s been a busy few weeks down here in Louisiana. Hurricanes and football are about the only 2 constant things here and as I write this blog, we just had another hurricane this month!
But anyway…..Louisiana State University (where I have had the honor to have worked for the past 21 years) just had their 1st football game and I thought I would sublimate a metal panel with the LSU mascot. I pulled up a tiger photo on the internet and used it as a guide.. So, let’s get started!

What are Sublimation Markers?
Any art tool that allows people be more creative at expressing themselves is something I gravitate to. The sublimation markers allow anyone to create their own original artwork and transfer to any dye sub substrate!!! This really changes the “homemade” gift game. As an art educator, Artesprix will definitely be added to some of my classes.
Materials Needed:
Artesprix Decerative Metal Panel
Artesprix iron-on-ink MarkersPlain Copy Paper
Heat Source (Heat Press or Craft Press)
Printer/ Computer
Scissors
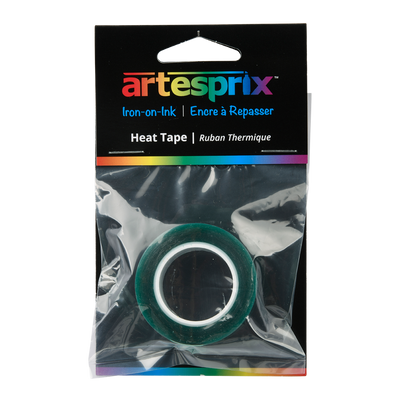
Heat Tape
Protective Paper
Step-by-Step Tutorial:
Step 1: First I trace the shape of the metal panel on a plain piece of copy paper.
Step 2: To draw in “LSU”, I simply draw LSU on the back side of drawing and then I can trace the text backwards on the front side.

Step 3: Color in your design with Artesprix Markers, don't worry about pencil marks because they will not transfer. Your design may seem muted but once we add heat and pressure the colors will come to life!

Step 4: Be sure to leave at least ½ inch around the edge so you can tape the design to the metal. I wrapped the overlap around the back of the metal panel, making sure that the image perfectly fit on the front side. Using the heat tape, tape securely.
Pro Tip: I wrapped the copy paper around my design, I can do this because it is a one sided blank. I would not recommend doing this for double sided blanks as the color could transfer to the back side unintentionally.

Step 5: Turn on the heat press and set the temp to 400℉. I turn mine a little higher to calibrate my heat press.

Step 6: Create a “sublimation sandwich” by covering the top and bottom of the piece of metal with the protective paper. This is a great time to double check your text, it should read correctly though the pieces of paper.
Step 7: Press for 90 seconds. Before you take the tape off your design, take a peek at the design to make sure it transferred properly.


Step 8: The last step is to put the kick-stand on the back of panel. Bend the kick-stand slightly on the line. That angle will help the leg flare out and support the panel when standing upright, Pull the tape off the back of metal kick-stand and then attach the taped edge to the back.
These panels are a great way to make decor quickly, whether it be for a football game with family & friends or a spring time holiday dinner party, this blank is very versatile. Want to see another Decoriative Metal Panel Project? I love this one, created by Rita.
Craft On!
Tanya
**This post may contain affiliate links. That means that I may receive compensation if you purchase through the links I have provided. The price you pay for the product or service is not higher, but I may get compensated.**

1 comment
Beautiful!