Hand-Painted Kitchen Towel using Artesprix Sublimation Paint
Artesprix Design TeamFall Projects, Kitchen Towel, Paints
Hello! I am Design Team Member Paula from Paula’s Studio. I am primarily a paper crafter who loves to make greeting cards but I also love using paper and my creativity to make other things. My excitement for Artesprix products comes from the ability to use the inks in different forms and techniques to expand on the options of how I can use my skills and artwork. The Artesprix Kitchen Towel is the perfect sublimation blank to have on hand this holiday season. I used the Artesprix Sublimation Paint to create an Autumn themed Kitchen Towel that I can use over and over, guilt free!

**This post contains affiliate links. That means that I may be compensated if you purchase through the links I have provided, however the cost to you would remain the same.
What are Artesprix Sublimation Arts & Crafts Supplies?
Sublimation is the process of taking a solid ink and applying heat and pressure to allow it to vaporize skipping the liquid state. This causes the ink to permanently adhere to the surface if it is primarily a form of polyester or poly-coating as the heat causes the surface to accept the gases leaving behind vibrant and permanent colors. Commercially, printers are used to print the designs. Artesprix provides products such as markers, ink pads, and paints to allow us to create projects at home without committing to a printer and lets us dip into our creative side too.

Supplies:
Artesprix Kitchen Towel
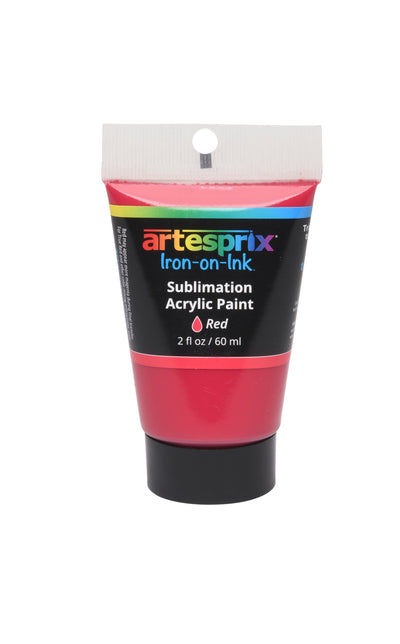
Artesprix Paint Set
Acrylic Lightening Medium for Sublimation Paint
1-5 Autumn leaves in different sizes and shapes
Paint brush
Dotting tool (optional)
Brayer (optional)
Cup of water
Paint palette or tray
Paper towel
Pencil
Copy/printer papers
Scissors
Artesprix Heat Tape
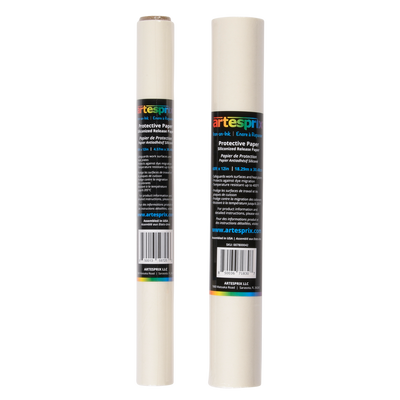
Artesprix Protective Paper Roll
Heat Source
Heat Protection Gloves
Glass Mat (optional)
Glassboard Studio
Lint roller
Pressing pillow
Step-by-Step Tutorial:
Step 1: Instead of tracing the blank, use a whole sheet of copy paper to draw the pumpkin because my blank is larger than the paper. If you prefer not to free-hand, trace an image from online or use your electronic cutting machine.

Step 2: Put a few drops of red, orange, and yellow paints on a paint palette or tray. I like to mix colors right on my brush and load a little of each at the same time. These colors are okay to mix together but I want also give each one a chance to shine on its own.

Step 3: Lay a leaf on a sheet of paper as it will get messy. Brush the leaf generously with the paint. If you put too little it may dry too fast or not leave much of an impression. If you put too much it will drown out the details. It’s okay to mess this up until you figure out the look you are going for as you can reuse the leaves over and over.

Pro Tip: If your leaves are too curly, you can press them between two books overnight to make them flat and easier to work with for this project. I did mine a few days in advance and I was afraid they would be too dry and brittle but they worked fine.
Step 5: Lay the leaf paint side down on a clean sheet of paper and cover with another sheet of paper. Use a brayer or your hand to rub the leaf so that it transfers paint to the paper.

Step 6: Repeat the previous step on the same paper and one or two more sheets of paper with different sizes and shapes of leaves. You can use the same leaves over and over. Just put them randomly all over, you will be able to cut them apart later.

Step 7: Now work on the pumpkin that you drew. Use the same colors as the leaves on the pumpkin but add more orange. The stem is brown with a little bit of white mixed in and some green over the top and for the curly parts.
Step 8: Add touches of whimsy smears, or smudges, drops, etc. especially if they happen on accident but do not be afraid to add them in. Here I am using a dotting tool to add various colors and sizes of dots all around the pumpkin.

Step 9: The main transfer with the pumpkin is now complete and we should have additional sheets with the leaves. I only made 2 sheets but I could have used three. Allow to try completely.

Pro Tip #2: If you find you have extra designs, save them for future projects, they never expire!
Step 10: Set your heat press up to 380℉.
Step 11: Lay out the Kitchen Towel and go over it with a lint roller. Start by folding to mark the middle. I folded my pumpkin on paper in half to find the middle. Align the transfer with the towel about an inch from the bottom of the towel. Secure in place with Heat Tape.

Step 12: Create a "sublimation sandwich" by placing your secured project between two pieces of protective paper.

Pro Tip #3: For this project we will also add a cushion such as a pressing pillow or foam pad underneath the "sandwich". This helps get an even press.
Step 13: Press with medium pressure at 380℉ for 60 seconds.

Step 14: Be cautious this step is HOT, please use heat protection gloves. After 60 seconds, lift a corner of the paper and peek to ensure that the ink is transferred and vibrant on the kitchen towel. If not, check the time, temperature, how the project was portioned, pressure and re-press. If so, remove from heat source and let cool.

Step 15: Allow to cool, then repeats steps 11-14 for the leaves. I cut them out and arranged them around the towel and pressed a few times to get them all in. I had to keep moving the towel to fit on the heat press plate. Remember to do a sublimation sandwich and use fresh paper to catch any ink that is escaping as to not ruin your artwork.

This is a fun project to bring some of the nature outside into your home and can easy be done with kids to make a keepsake. As you can tell I did not choose to use text on this project. Sometimes I just don’t want to but you can certainly add that to your design. These paints are so vibrant and beautiful. I hope you’ll fall in love with them as I have! You can learn more and see more project inspiration in the Artesprix Iron-on Ink Inspirational Facebook Group. Please use tags #Artesprix and #IrononInk for your projects on your social media posts so we can find them. You can shop for more Artesprix products right here.
Thank you for following along!
Paula Portelli
**This post contains affiliate links. That means that I may be compensated if you purchase through the links I have provided, however the cost to you would remain the same.

Learn how to make a custom sublimation tumbler using Artesprix Sublimation Inks in this beginner-friendly tutorial. We will show you how to use Artesprix inks, plastic wrap, and heat-resistant transfer...
Learn how to make a custom sublimation tumbler using Artesprix Sublimation Inks in this beginner-friendly tutorial. We will show you how to use Artesprix inks, plastic wrap, and heat-resistant transfer...

Iron-on-Ink sublimation makes it simple to turn blank surfaces into personalized, lasting projects. In this Creative Press, we’re sharing four approachable Iron-on-Ink project ideas designed to help makers build confidence,...
Iron-on-Ink sublimation makes it simple to turn blank surfaces into personalized, lasting projects. In this Creative Press, we’re sharing four approachable Iron-on-Ink project ideas designed to help makers build confidence,...

Make your holidays more meaningful and more sustainable with Artesprix Iron-on-Ink! This season, turn your gift wrap into a creative moment all its own with custom sublimation tags that can...
Make your holidays more meaningful and more sustainable with Artesprix Iron-on-Ink! This season, turn your gift wrap into a creative moment all its own with custom sublimation tags that can...
Subscribe to be the first to know about new products, ideas, and special coupon codes at Artesprix!


