Adorable Loving Door Hanger with Iron-on-Ink
Artesprix Design TeamInk Pads, Inks, Valentine's Day Projects
Products in this post


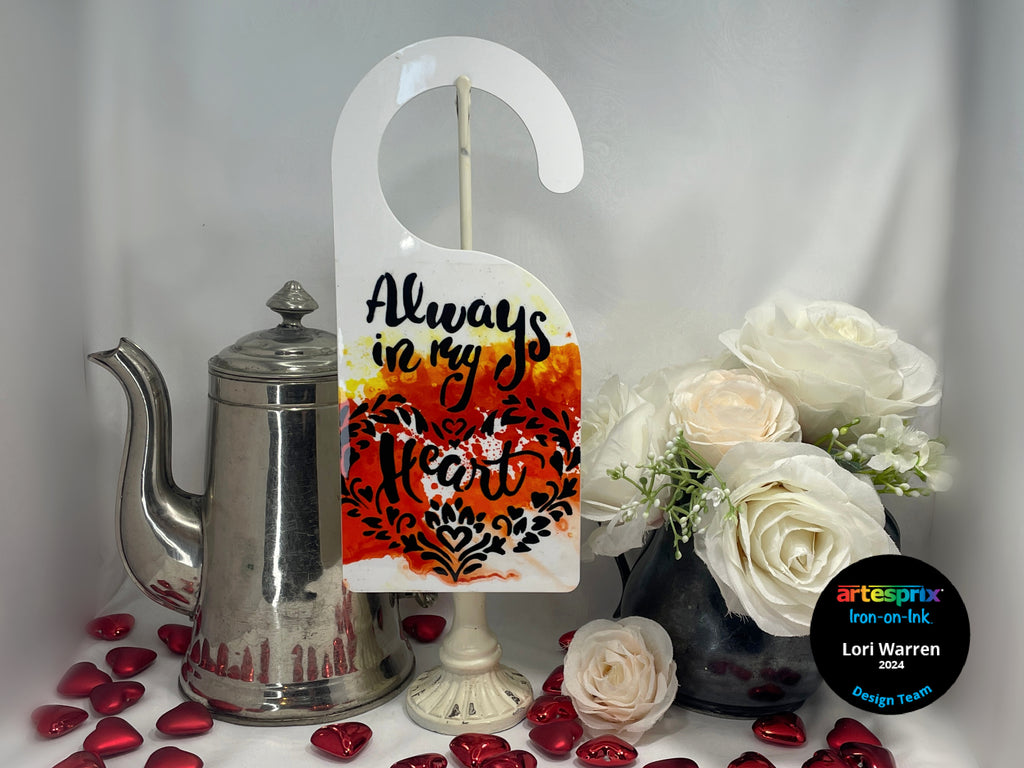
Hello all, Design Team Member Lori here, posting a new project featuring Artexprix Sublimation Stamp Ink, Markers, Refill Ink and a Door Hanger Sublimation Blank. Why is Sublimation in my heart? Let me count the ways. One, Iron-on-Ink is so easy create with. Two, rich vibrant transfer every time. Three, consistent project results I can count on. All of these reasons result in endless ideas. Check out instructions and/or Quick Tip Mixed Media video below to see how I personalized this Sublimation Door Hanger.
 **This post may contain affiliate links. That means that I may receive compensation if you purchase through the links I have provided. The price you pay for the product or service is not higher, but I may get compensated.**
What is Sublimation Iron-on-Ink?
It is an interesting and fun product that allows you to create a design on standard copy paper that can then be heat transferred onto surfaces (must have polyester in it or have a polyester coating). Once the project is transferred to the blank, it is lifetime permanent. Before Artesprix, you would need a fancy printer to experience this level of personalization, but not anymore!

Supplies:
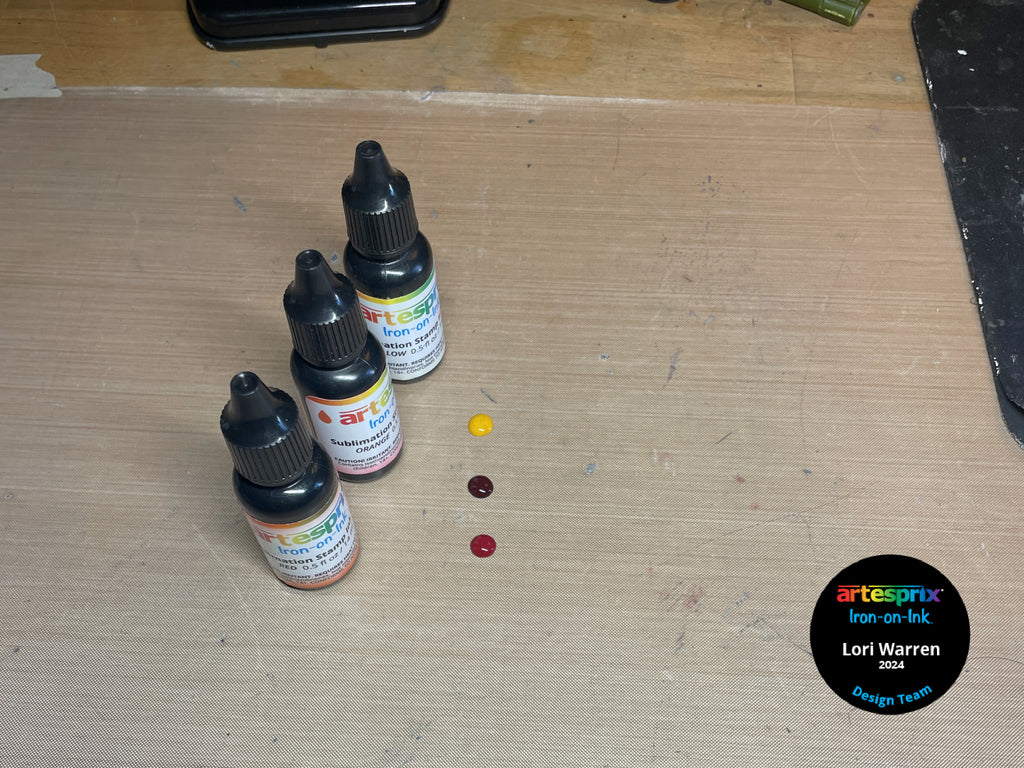
Sublimation Stamp Refill Ink – Red, Yellow, Orange
TCW, Carmen Medlin Stencil, TCW841
Removable Tape
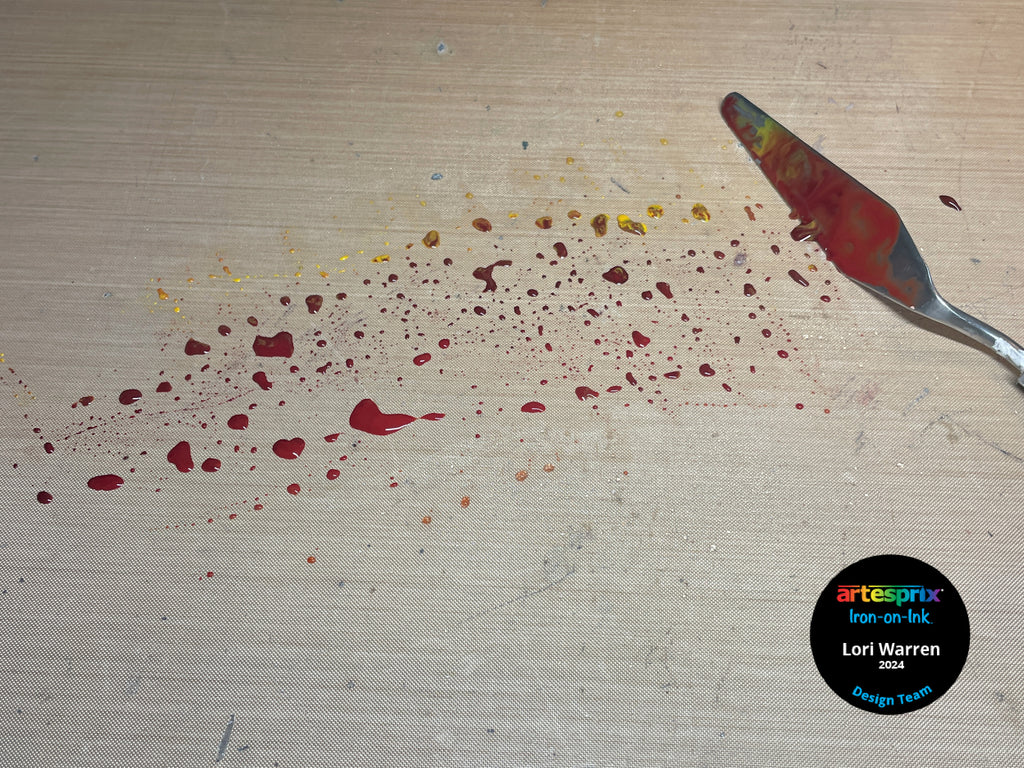
Palette Knife
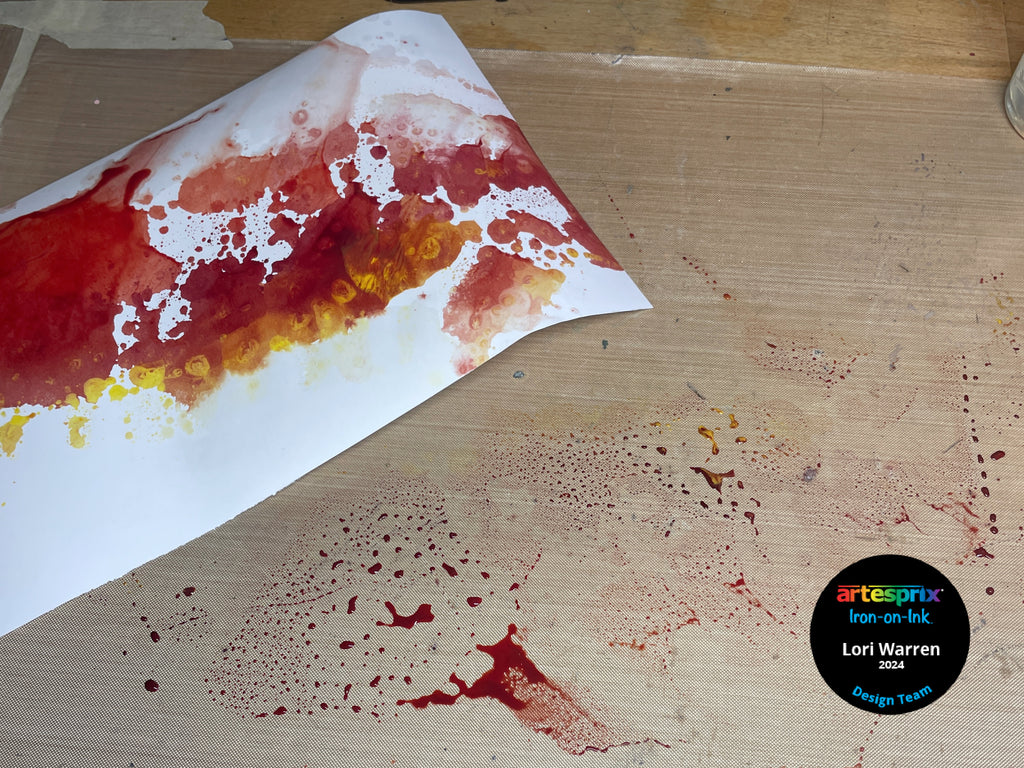
Computer Paper
Heat Source
Step-by-Step Tutorial:
Step 1: Drop Red, Orange and Yellow Sublimation Refill Ink onto a craft mat or any non-porous surface.
Step 2: Swipe a palette knife across ink drops to spread ink across craft mat.
Step 3: Transfer ink by pressing a plain piece of copy down over the ink swipe. Lift and allow to dry.
Step 4: Select a stencil with a phrase you like and place stencil backwards onto paper. Secure with removable tape.
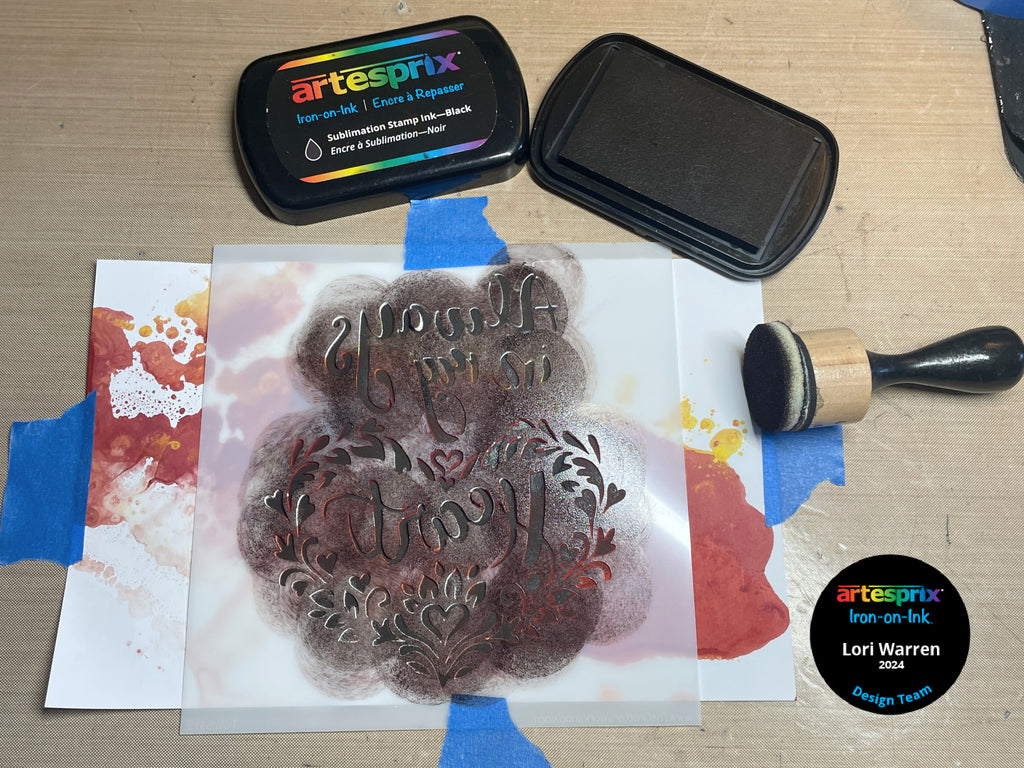
Step 5: Create mirrored text for your transfer by using a blending tool to apply Black Sublimation Stamp Ink.
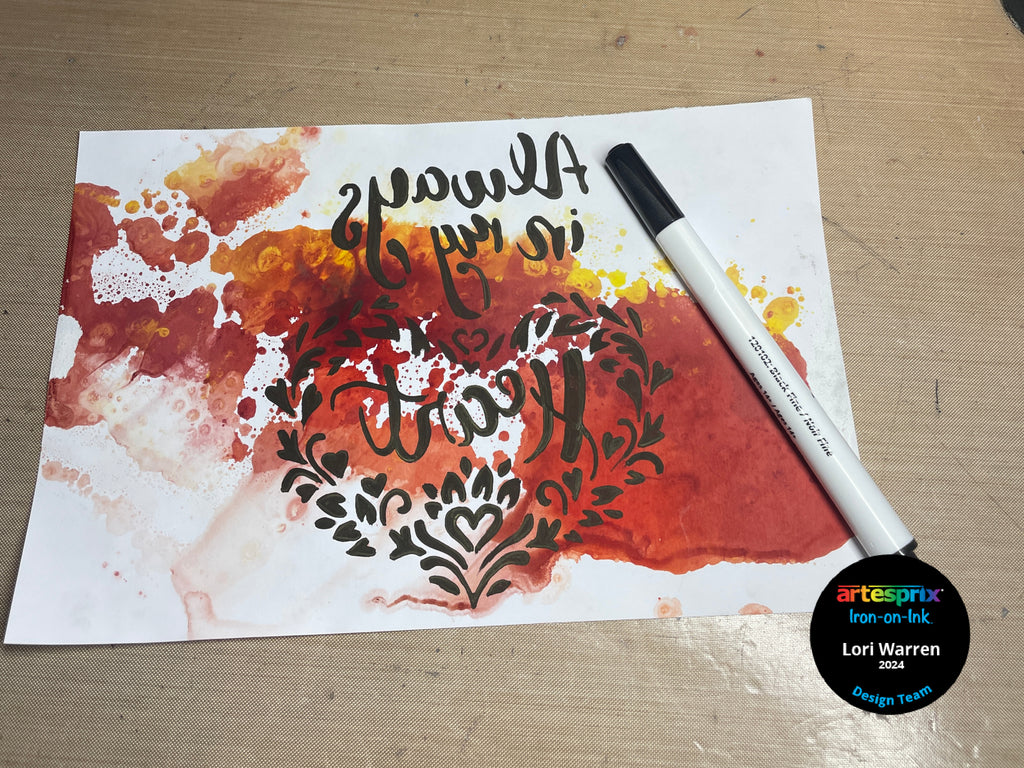
Pro Tip: Clean up stenciled edges with a Black Sublimation Marker.
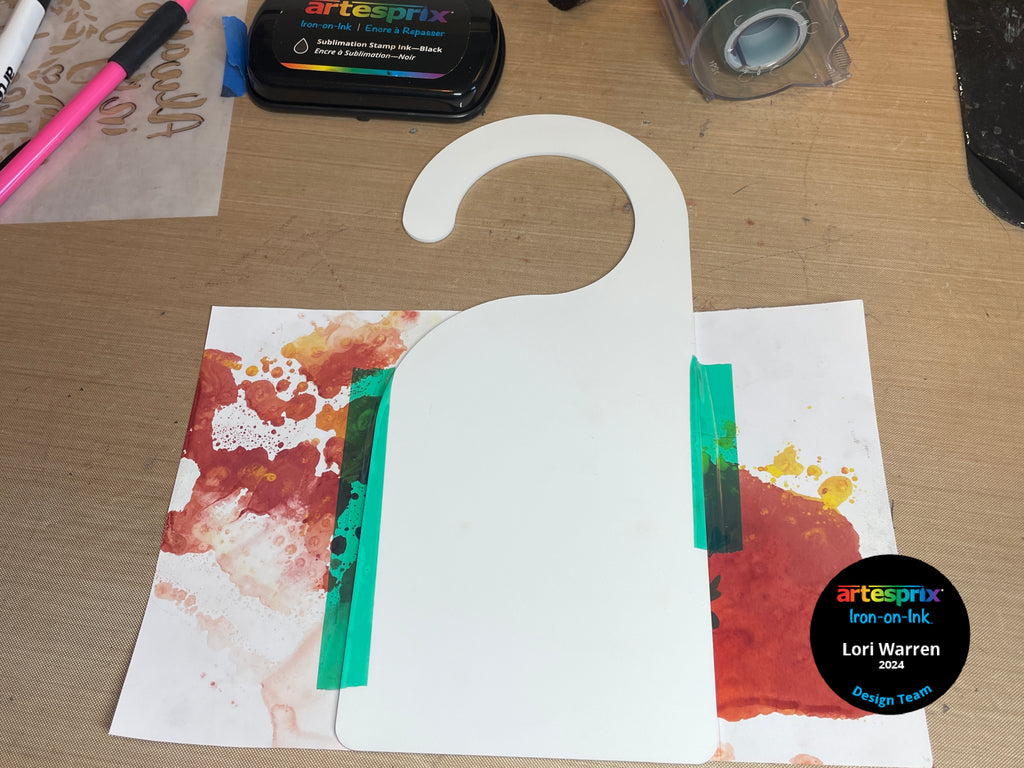
Step 6: Place Door Hanger onto the inked paper and secure with heat tape.
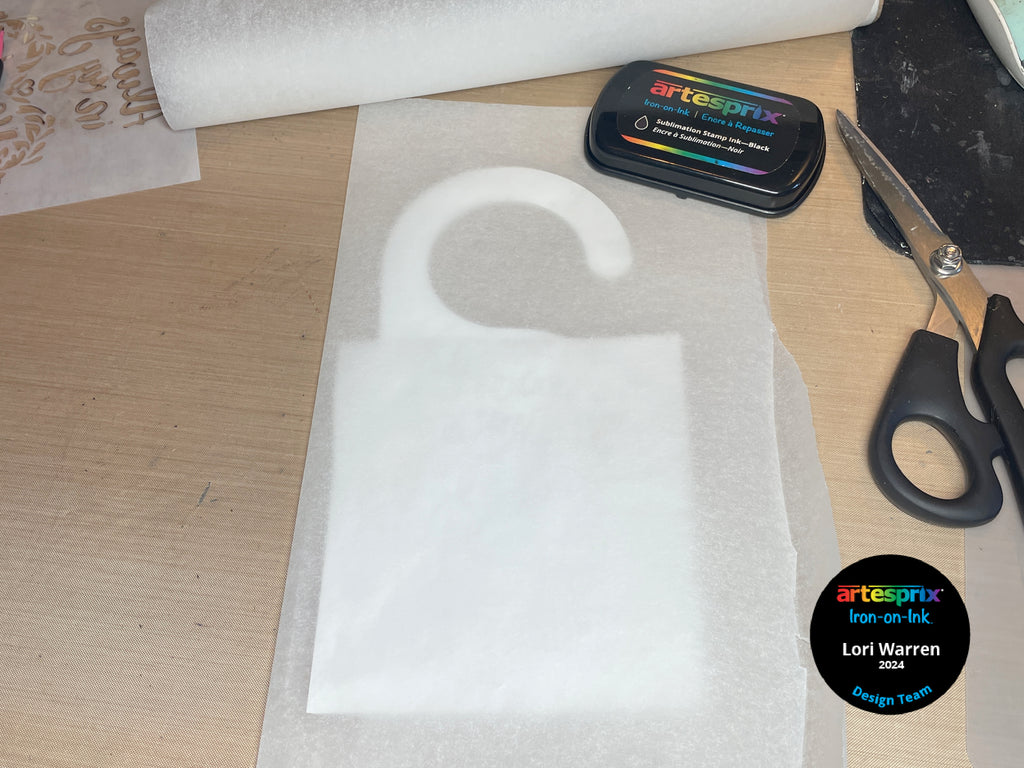
Step 7: Make a "Sublimation Sandwich" by placing the secured project between two pieces of protective paper.
Step 8: Heat set using appropriate settings for the blank. Door Hangers call for 90 seconds at 400℉.
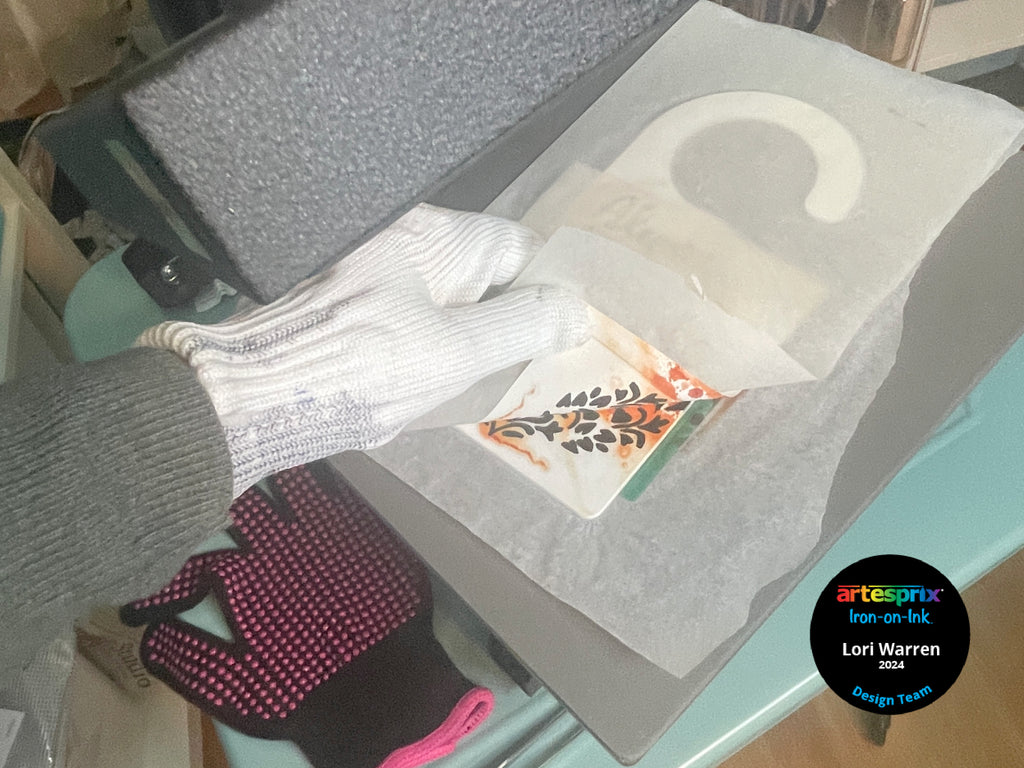
Step 9: After heat set, take-a-peek at the transfer to ensure it was successful. It is important that tape is not removed out of place until transfer is confirmed. This allows you to re-heat if needed.
Step 10: Once you have confirmed your transfer was successful, remove paper to reveal your permanent project!
I hope you enjoyed this Adorable Door Hanger project. This month Artesprix is currently having a BOGO sate on sublimation stamp pads and stamp rebill inks! Now is a perfect time to jump in on this exciting hobby! If you missed out on the sale, be sure to join their mailing list so you don't miss the next one or check out the Sublimation Starter Kit to start sublimating!
Happy Day!
Lori Warren
**This post may contain affiliate links. That means that I may receive compensation if you purchase through the links I have provided. The price you pay for the product or service is not higher, but I may get compensated.**


