Artesprix Coaster D.I.Y Hostess Gift with Sublimation Iron-on-Ink Pad!
Artesprix Design TeamCoaster, Ink Pads
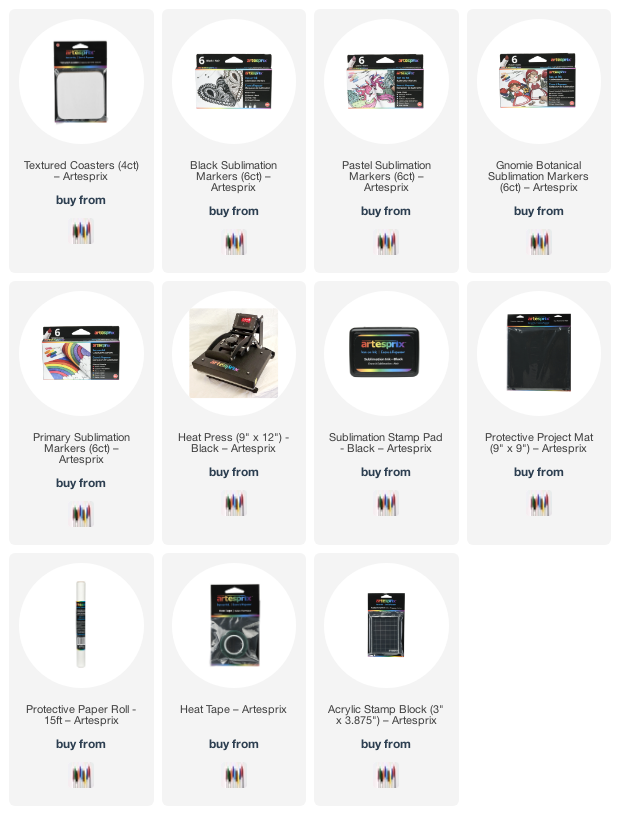
Products in this post


Artesprix Coaster design to gift your hostess using Sublimation Markers
Sublimation Iron-on-Ink Textured Coasters using Artesprix Markers & Stamp Pad
Maria Russell on the blog with you today and it’s my turn to share another fun project using Textured coasters and Sublimation ink pad to create a cute D.I.Y Artesprix Coaster to gift. The Artesprix Textured Coasters come in a pack of 4 which makes them a great gift-giving project. I have been invited to attend a “crafty” luncheon next week and we were all requested to bring something “handmade”. Our hostess loves black & white and I thought these coasters will be the perfect gift.

Here’s what you’ll need to create the project.
Materials:
- Textured Coasters
- Iron-On-Ink Sublimation Markers (Black, Original, Gnomie Botanical and Pastel markers)
- Sublimation Ink Pad – Black
- Stamp sets to use for your design
- Stamping Acrylic Block – or your MISTI stamping tool
- Plain Copy Paper
- Pencil
- Heat Tape
- Protective Paper
- Project Mat
Tools:
- Heat Source: Artesprix Heat Press, Dry Iron or Home Iron (without steam)

Step-by-Step Tutorial:
Step 1.
Place the Artesprix Coaster on a piece of plain copy paper and trace the outline using a pencil to determine the area that you have to work on.

Step 2.
Mount your rubber stamp on an acrylic block (or stamping tool) and stamp the image on the copy paper using Artesprix Sublimation Ink Pad. Since my theme is black and white, I used a Gingham Background rubber stamp for Artesprix Coaster design.

I stamped a few times to get a really good impression.

Step 3.
Using Artesprix Heat Tape, tape your blank down to your design. If you are using the Artesprix Heat Press, you only need one on each side to hold it down. If you are using an iron, you will need more. Sometimes the iron will cause the image to slip and you will get a ghost image. [Only use Artesprix Heat Tape on the outer edge of the design (not over it).]
Step 4.
Turn your heat press on and set the temperature to 400 degrees Fahrenheit and the timer for 90 seconds. Once you reach your desired temperature, you are ready to heat press.
Step 5.
Create your sublimation sandwich. Cut two pieces of Protective Paper to cover your project on the top and bottom. Make sure that your design is down to your blank and at the top of your sublimation sandwich. Place it inside the Heat Press and close the machine. The Heat Press will beep indicating that your project is finished!

Step 6.
While wearing protective gloves, lift the handle, and take your Artesprix Coaster out. Place the Artesprix Coaster on top of the Protective Project Mat and wait for your project to cool down. Also, note if you are wearing protective gloves you can remove your image from your blank as soon as it is finished.
Step 7.
Gently remove the paper to reveal the design for the Artesprix Coaster big reveal! I repeated the steps above to create three more coasters!

Step 8.
I also created another coaster to use for my craft room and tested out a new stamp set. I colored the images in with my Primary Sublimation Markers.
Here’s what they all look like:

This is how I wrapped the 4 set of coasters to give it as a gift:

Here’s the Artesprix Coaster that I created for my craft room. I think it turned out so cute!

If you like this DIY Artesprix Coaster hostess gift project, consider checking out some of the design team’s DIY on the blog. Here is another cute Poly-Zip Case project by Jenn Powell.
You will find all the blanks and other supplies available for purchase on the Artespix website. I have also listed and linked them below. Thank you for stopping by and happy crafting!
———SUPPLIES———-
The post Artesprix Coaster D.I.Y Hostess Gift with Sublimation Iron-on-Ink Pad! appeared first on Artesprix.


