Artesprix Spicy Blank of the Month Garden Stake
Artesprix Design TeamCricut, Markers
Products in this post
Hello, crafty friends. I’m Designer Naomi, and I’m excited to share another fun Artesprix tutorial with you. This tutorial features the Artesprix's featured Blank of the Month for June: Garden Stakes. Where I live in West Texas, it’s just not gardening season without growing spicy chili peppers. For me, there are only 2 types of peppers: spicy, and spicier (“picoso” and “mas picoso” in Spanish). So I decided to create a pair of fun garden stakes to match my taste. This is a spicy one, so let’s get started.
**This post may contain affiliate links. That means that I may receive compensation if you purchase through the links I have provided. The price you pay for the product or service is not higher, but I may get compensated.**

What is Artesprix Iron-on-Ink?
Artesprix Sublimation Markers, Ink, and Paint are specially formulated to allow you to use basic copy paper to: color, stamp, stencil, and monoprint anything you wish and turn it into a heat-transferable design. These designs are then applied to a polyester or polyester coated substrate with heat and pressure. You can use a heat press or a home iron! These designs, through this process of sublimation, will become permanent on your substrates.

Supplies:
Garden Stakes
Home printer (optional)
Sublimation Markers
Cricut Bright Pad or any lightbox.
Copy Paper
Protective Paper
Heat Tape
Heat press
Pencil
Step-by-Step Tutorial:
Step 1: Trace the garden stake on a piece of copy paper using a pencil.

Pro Tip #1: You can fit 2 stakes on a single sheet of paper if you turn your paper landscape.
Step 2: Print out a copy of your design. You can mirror it to make tracing easier.

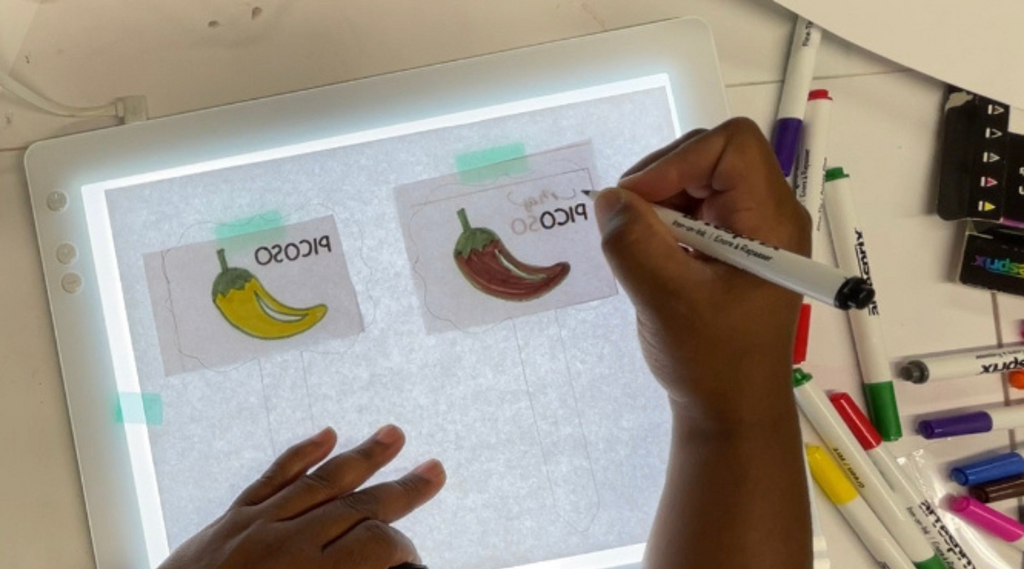
Step 3: Position your printed design under the outlines of the garden stakes that you traced. If you did not mirror your design, your printed design should be face-down on the Lightbox.
Pro Tip #2: Taping the design to the back of your traced paper will hold it in place while you work. Washi tape, or a painters tape is great for this!

Step 4: Trace your design using Artesprix Sublimation Markers. Filling in empty space with small, fun details will make your design pop.

Step 5: Lay the garden stakes on top of the finished design, white side down and secure with heat tape.

Pro Tip #3: Because these blanks are made of the same material and are the same thickness, you can press together.
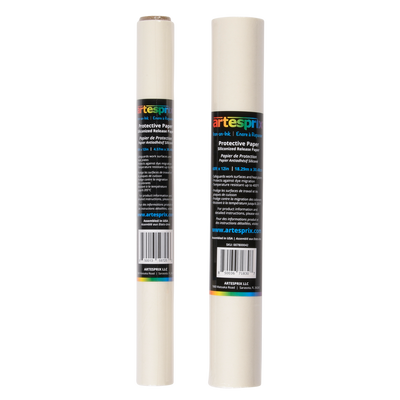
Step 6: Make your "sublimation sandwich" by placing a sheet of protective paper on the surface of your work area. Add the taped garden stakes on top of that, and cover with another sheet of protective paper.

Step 7: Place your entire sublimation sandwich on your heat press with the blanks closest to the bottom layer and the sheet of copy paper with your design closest to the top layer.
Step 8: Press at 400℉ for 90 seconds with heavy pressure.
Pro Tip #4: BE CAREFUL! These are made of metal so they will be extra HOT.

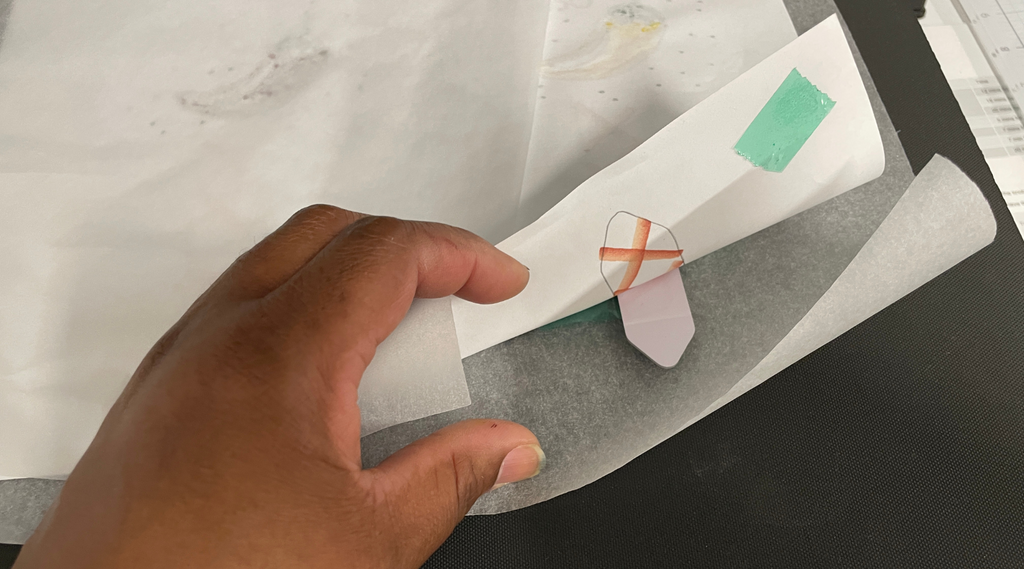
Step 9: Pull back a corner of the design to make sure it transferred. If it did not, you can press it a few more seconds.

Step 10: If you "peek test" from Step 9 was successful then you can finish revealing your design.
I told you this was going to be spicy, or as they say in Spanish, picos! What do you think? Personalizing these garden stakes was so much fun and easy! You can add additional designs by using Artesprix Stamp Pads with stencils. Or you can paint a design using the sublimation paint. The possibilities are endless.

For more smokin’ ideas for your next Iron-on-Ink project, check out the Artesprix Blog. Let us know if you try out this project by using the #Artesprix & #IrononInk or post your project to the Artesprix Facebook Group. And don’t forget to grab your Garden Stakes before July!
If you want to learn more about me, visit my About Me here.
Now, go make something spicy!
Naomi Garcia
**This post may contain affiliate links. That means that I may receive compensation if you purchase through the links I have provided. The price you pay for the product or service is not higher, but I may get compensated.**


