Inspire T-shirt with Iron-on-Ink
Artesprix Design TeamMarkers, T-Shirt
Products in this post


Hello Artesprix fans! Nicole from the Artesprix Design Team back on the blog with you today to share with you another cute shirt I created using the Pastel Sublimation Markers (my favorite). For this project you do not need stamps or a die cutting machine! All you need is PicMonkey, a printer and Artesprix's Sublimation Markers! I designed an 8x11 canvas and added the graphics from the PicMonkey graphics to create the design of the shirt. Cool, right!? This was supposed to be for me...but then I realized I used a youth medium shirt… so, now it’s Edward’s. Scroll down to see how easy this shirt is to make.

What are Artesprix Sublimation Markers?
Artesprix Sublimation Markers have the capability to transfer your drawings from a plain copy paper to any Polyester Fabric or Polyester Coated Blank with a unique process called, "'Sublimation."
Materials:
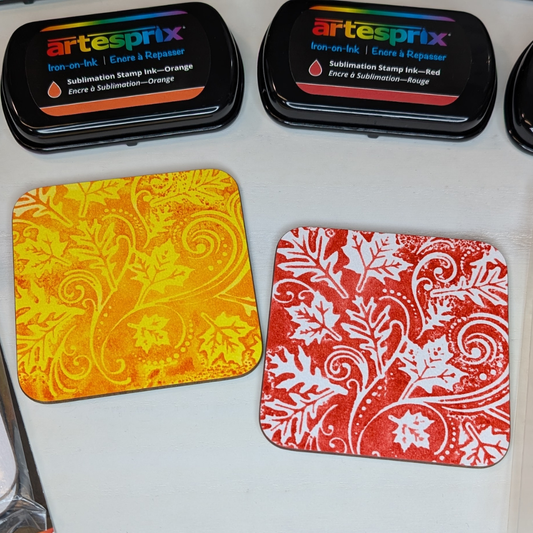
Gnomie Botanical and Pastel Artesprix Markers
Printed Design from your computer
Lightbox or window
Plain Copy Paper
Heat Source - Artesprix Heat Press
Step-By-Step Tutorial:
Step 1: To begin, I used PicMonkey to create the design on an 8.5x11" canvas.

Step 2: Then, I printed the image out in color so I could see the image through clearly. Next, I placed it against the window with another piece of copy paper on top of the printed image.

Step 3: Now, the fun part… coloring in the images.
Pro Tip: Set your Heat Press to 370℉ and 35 seconds, so it will pre-heat while you create!

Step 4: Your standard 8.5x11" copy paper is the perfect size paper and it fits nicely on the center of the Youth T-shirt. Your colors may look muted on the paper but that will change once we add heat.
Step 5: Prep your T-shirt. Because sublimation and moisture don't mix, it is a good idea to lint roll and pre-press your fabric blank. Lint roll your shirt, then press for 5 seconds, using protective paper to ensure your shirt stays white. This will also help remove any wrinkles before transferring your design.
Step 6: I secured the design (face-down) to one side of the Poly-T Shirt using heat tape. Be sure to secure all sides of the image using heat tape to avoid slipping because if it's not secured, you may get a ghost image.

Step 7: Place the Artesprix Protective Paper in-between your shirt to prevent your design from transferring through to the other side of your garment. Now, you are ready to create a "Sublimation Sandwich", from bottom to top:
- Artesprix Protective Paper
- Artesrpix Poly T Shirt with design secured (face-down) on top, with Artesprix Protective Paper inside
- Artesprix Protective Paper

Step 8: Place "Sublimation Sandwich" in the heat press and transfer for 35 seconds. After pressing, allow the item to cool before handling.

Step 9: Peek Test! Before removing any tape, take a sneak peek before removing the paper from the shirt to ensure you got a successful transfer. If you did not get a good transfer, check your time, temperature, pressure, and ensure your "Sublimation Sandwich" was not upside down under your heat source.

Step 10: Big Reveal! After your peek test, reveal your unique design! Notice how I blended in a few colors? I added ink to my fingers and smeared it over the colored images to change the look of the words. I really like it!
If you're looking for more, check out Tanya’s shirt, here.
Thank you for visiting today! I hope you feel inspired!
Nicole
**This post may contain affiliate links. That means that I may receive compensation if you purchase through the links I have provided. The price you pay for the product or service is not higher, but I may get compensated.**