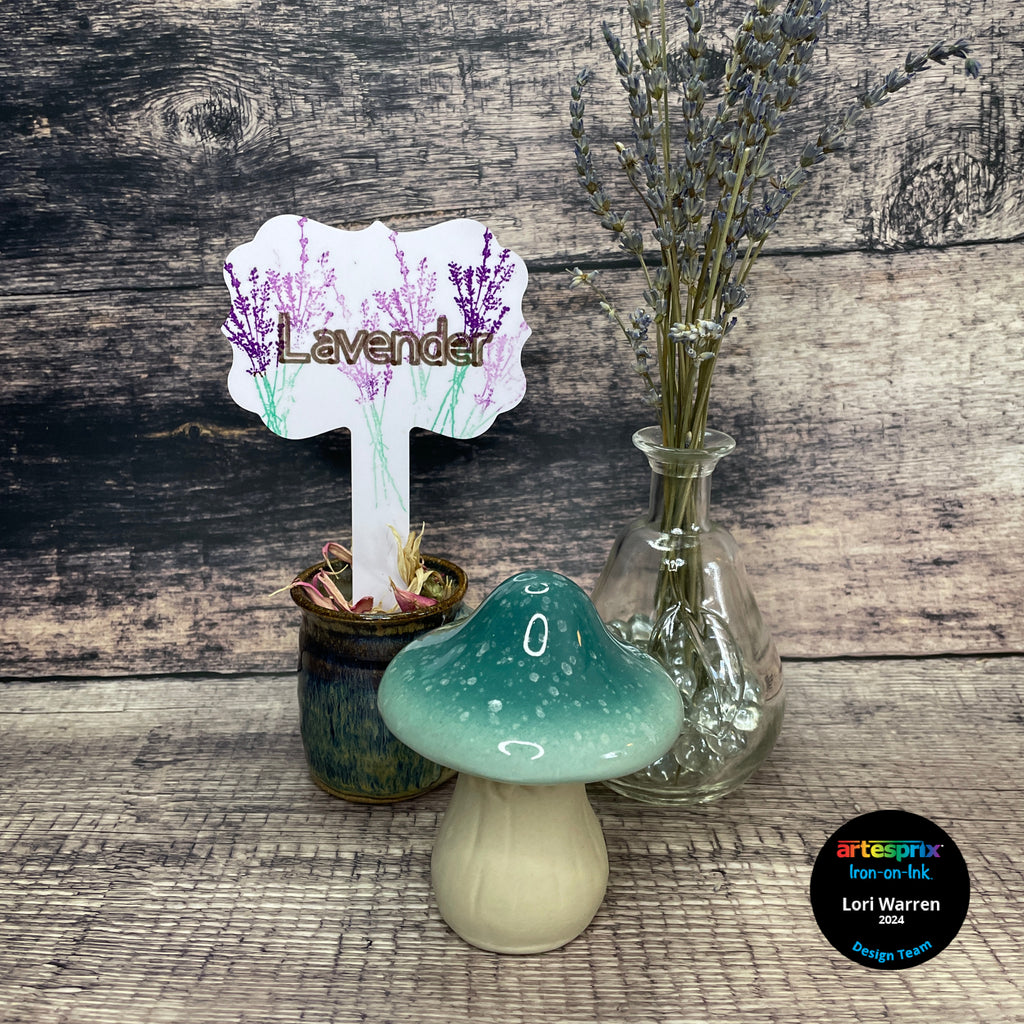
Generation Stamping Garden Stake with Artesprix Stamp Pads
Artesprix Design TeamCricut, Ink Pads, Markers, Spring Projects
Products in this post


Hello readers, Lori here, with another quick, easy and wonderful way to create with Artesprix Sublimation Stamp Ink and Markers. This project features “Generation Stamping” with a multi inked stamp image. Generation stamping is a technique of inking a rubber stamp once and then stamping the image multiple times without re-inking the image. It is a great way to provide depth and interest to stamped design and was the perfect technique to use for this Sublimation Garden Stake project. Check out the step by step instructions and Quick Tips Mixed Media Video below for the details.
**This post may contain affiliate links. That means that I may receive compensation if you purchase through the links I have provided. The price you pay for the product or service is not higher, but I may get compensated.**
What is Sublimation Iron-on-Ink?
It is an interesting and fun product that allows you to create a design on standard copy paper that can then be heat transferred onto surfaces (must have polyester in it or have a polyester coating). Once the project is transferred to the blank, it is lifetime permanent. Before Artesprix, you would need a fancy printer to experience this level of personalization, but not anymore!
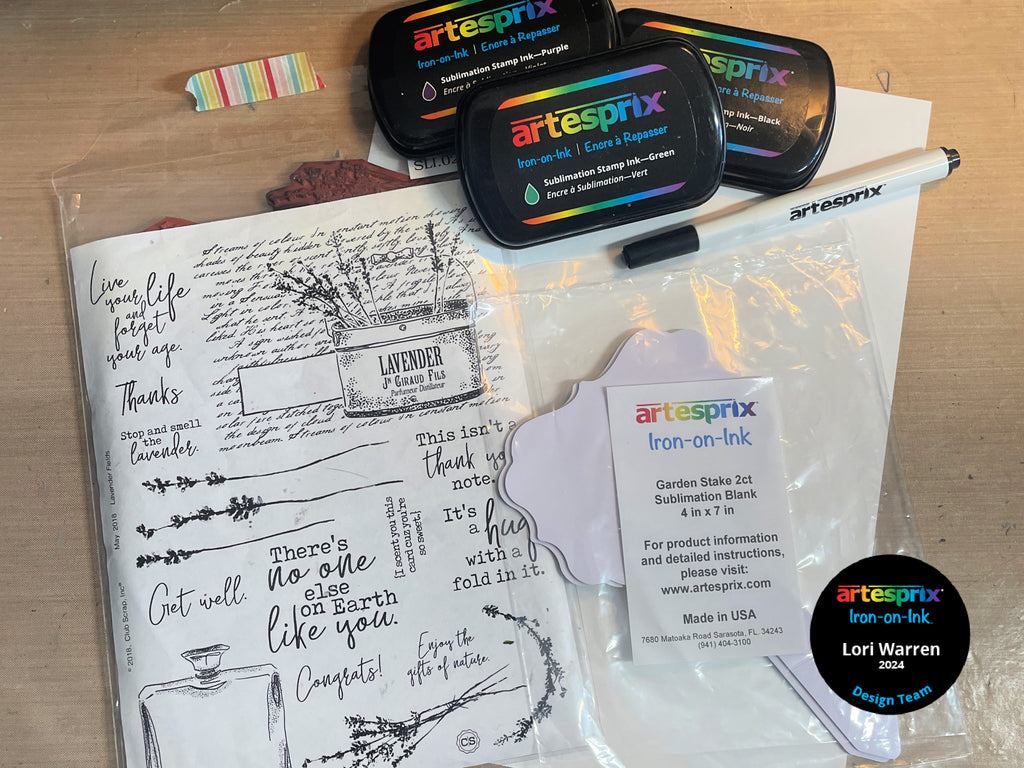
Supplies:
Sublimation Markers –Cotton Candy
Sublimation Stamp Ink –Black, Purple & Green
Cricut Printed Word Image
Cricut Machine with Pen Adapter
Club Scrap Inc., Lavender Fields stamp set
Computer Paper
Heat Press
Step-by-Step Tutorial:
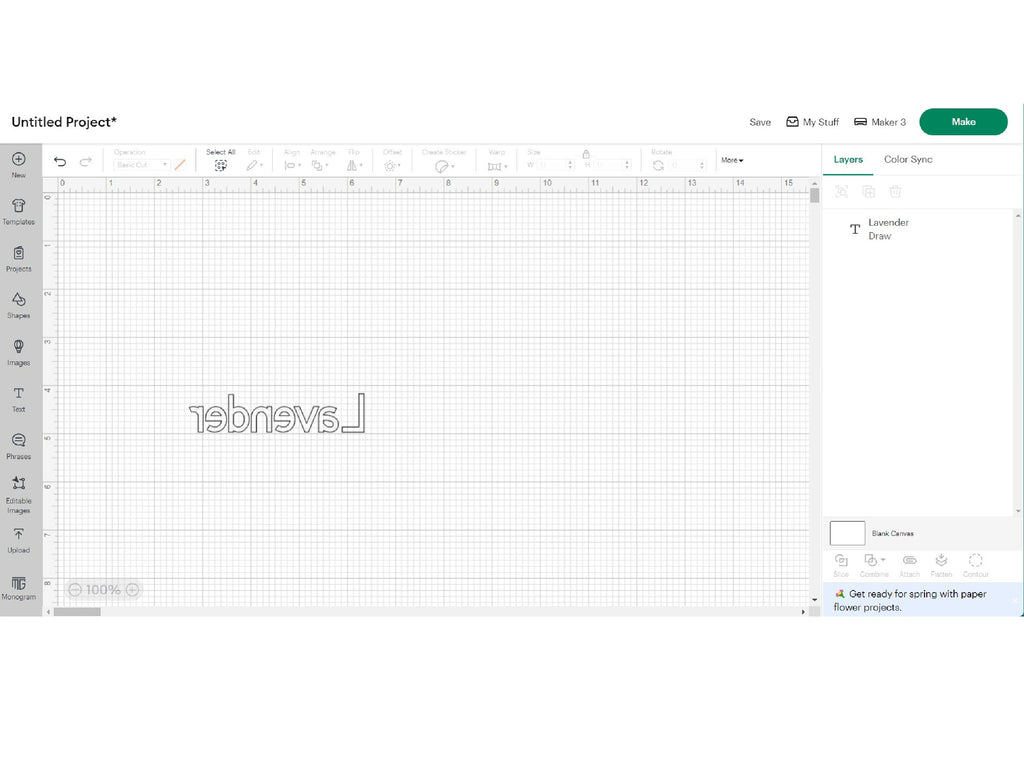
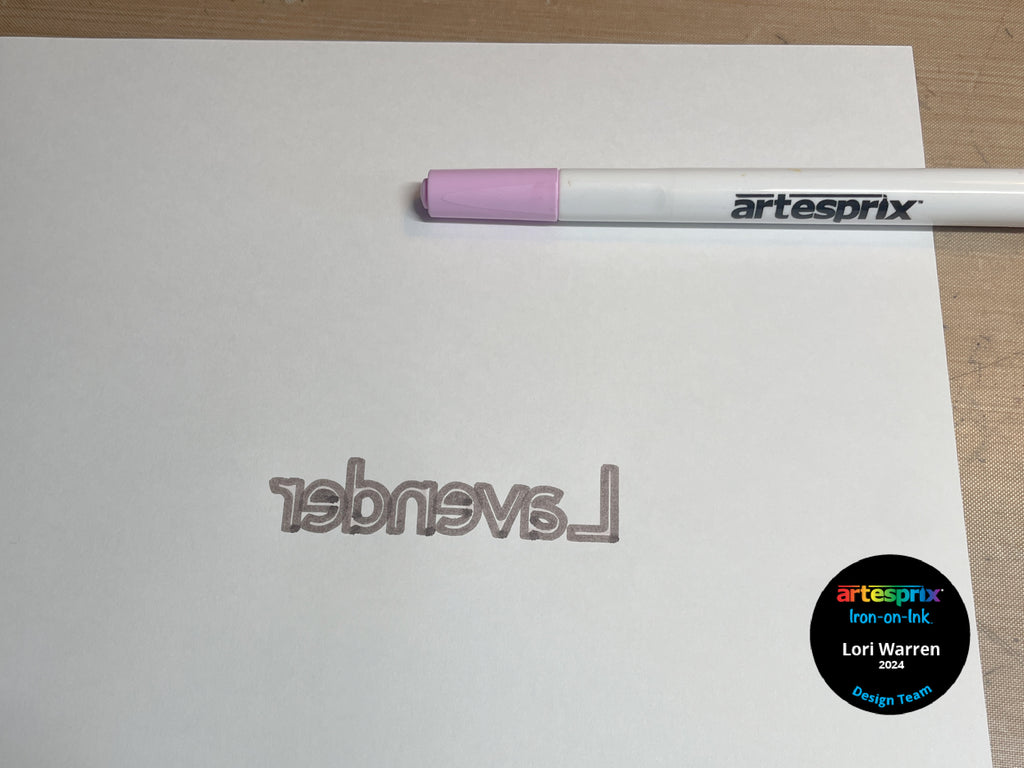
Step 1: Using Cricut Software, type a word and size to fit Sublimation Garden Stake. Flip images to be in reverse. Set Operation setting to “Pen”.
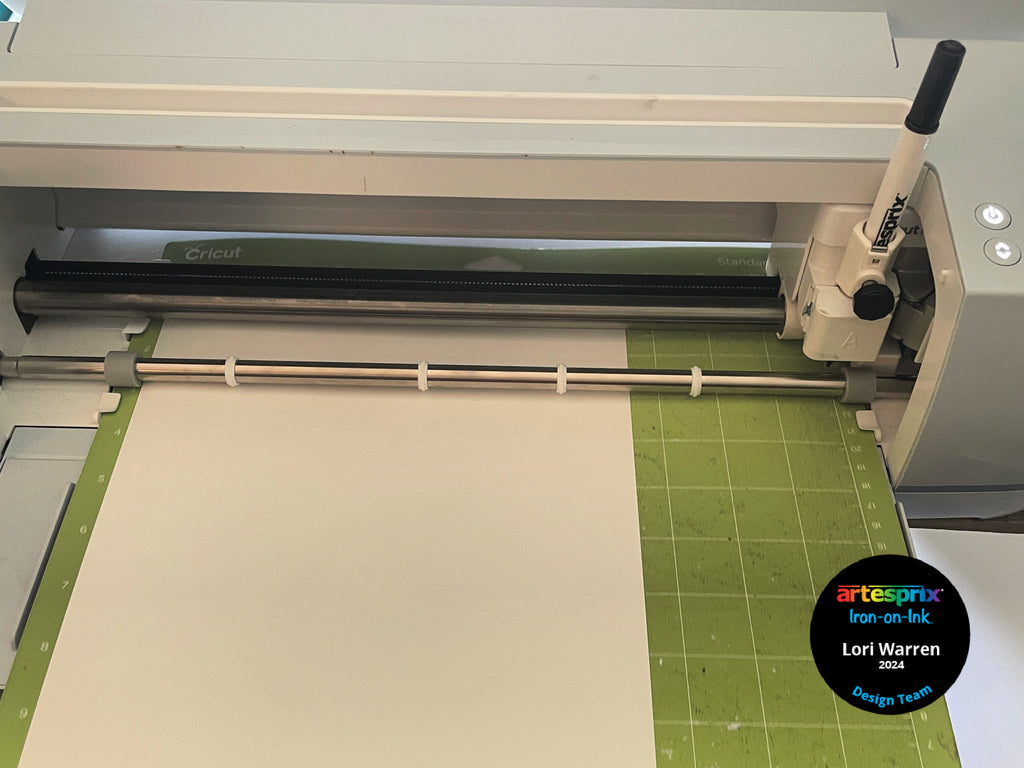
Step 2: Place a Black Artesprix Sublimation Fine Tip Marker into the Cricut marker holder, load paper, and print.
Step 3: Unload paper from Cricut machine/mat. Use Artesprix Sublimation Markers to color the printed image.
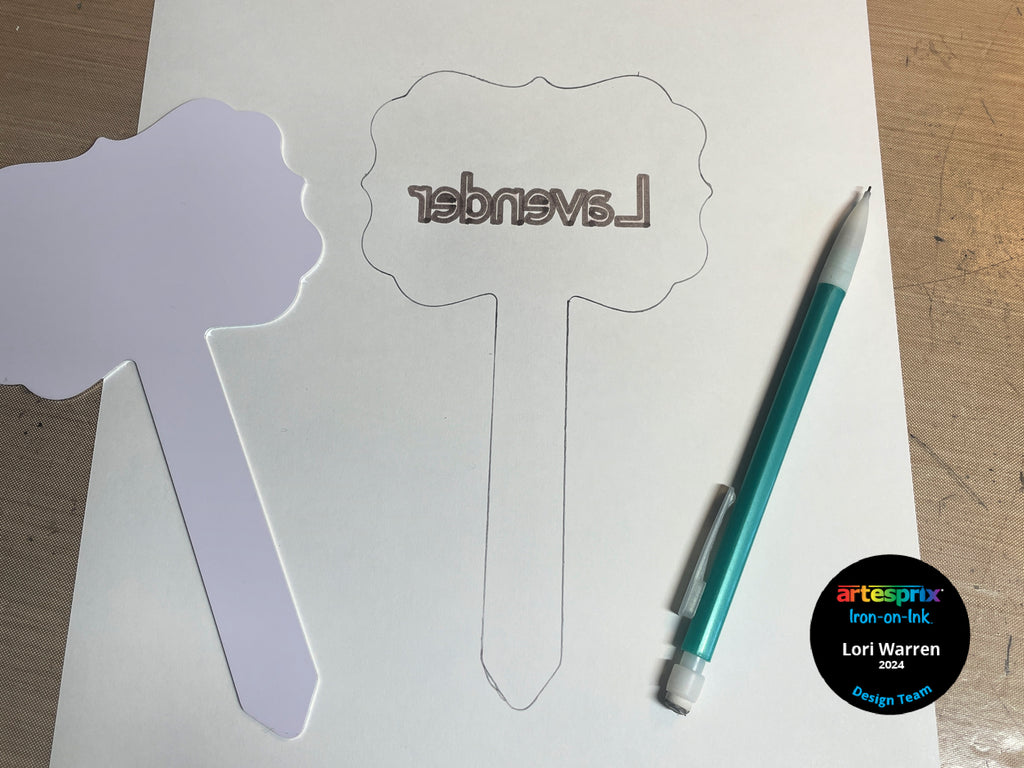
Step 4: Use a pencil to outline the Garden Stake shape around the printed word.
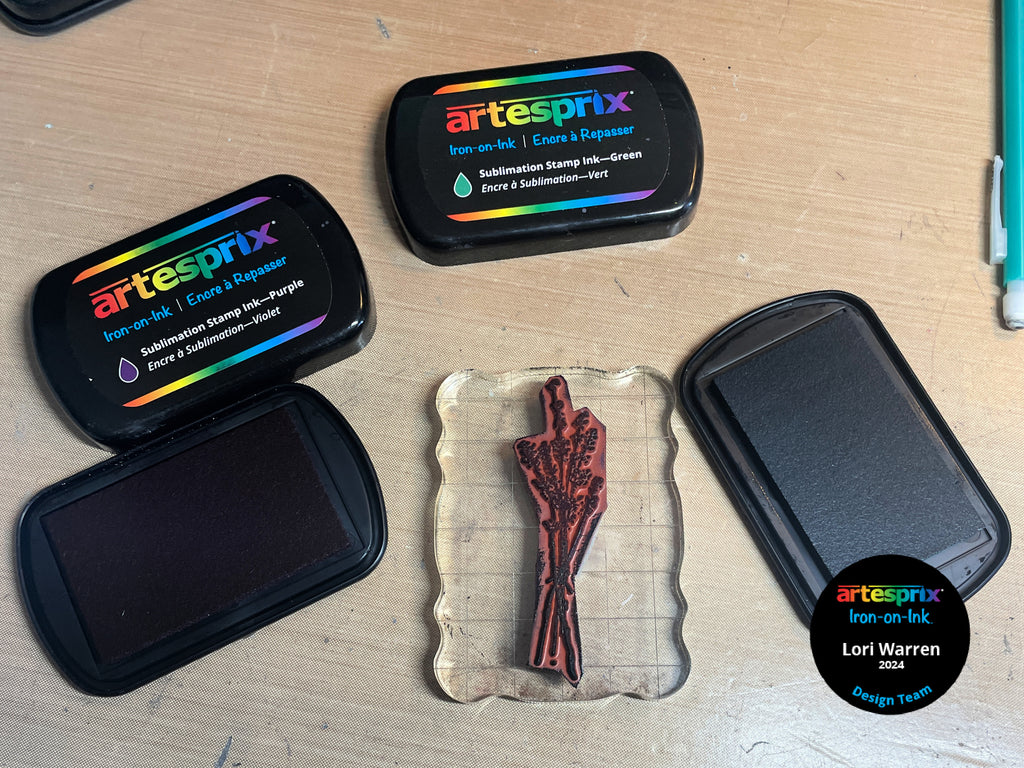
Step 5: Ink the Lavender Stamp image with Purple Sublimation Stamp Pad on the top “floral” section of the stamp and then use Green ink on the bottom “stem” portion.
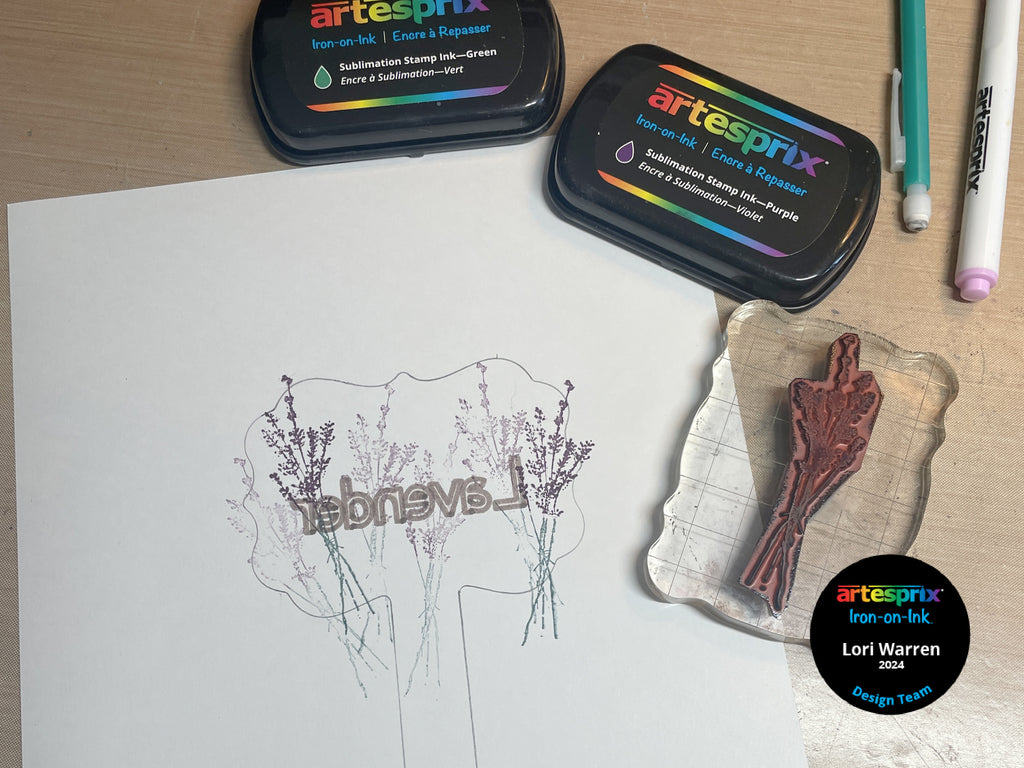
Step 6: Stamp a first generation image onto paper then repeat (without reinking stamp) a 2nd and 3rd generation image. Repeat as needed.
Step 7: Using Artesprix Heat Safe tape, adhere Garden Stake to paper.
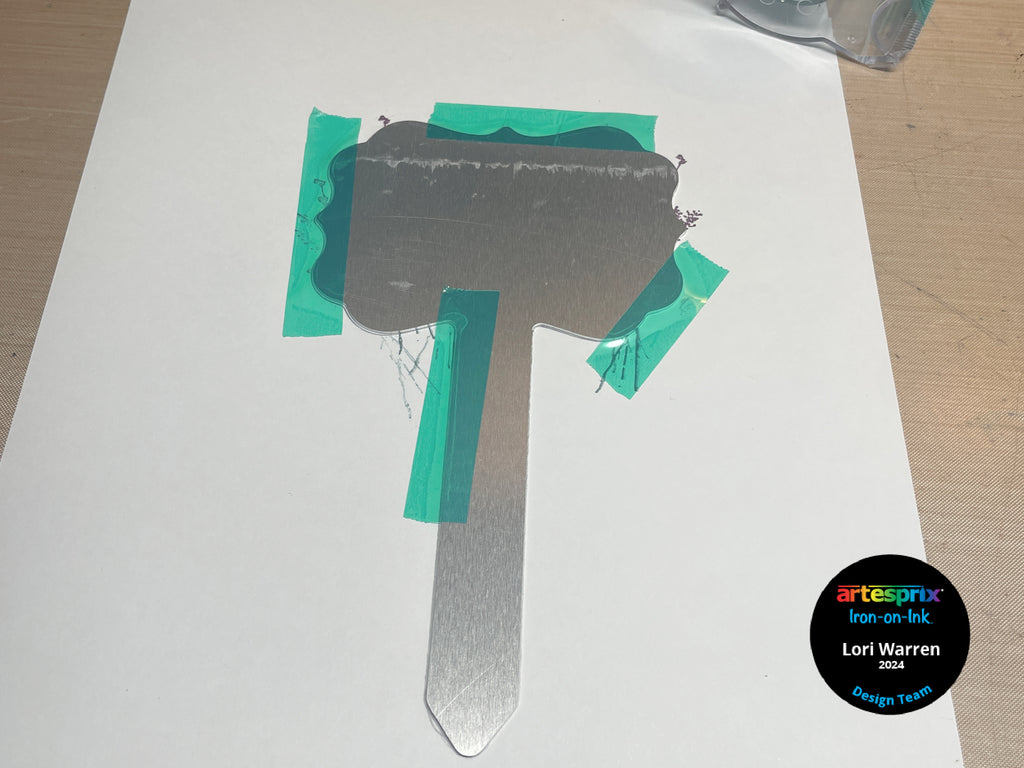
Step 8: Make a "Sublimation Sandwich" by placing the prepared paper and Garden Stake between two pieces of protective paper.
Step 9: Heat set using appropriate settings for the blank. The Garden Stake calls for 400℉ with 90 seconds.
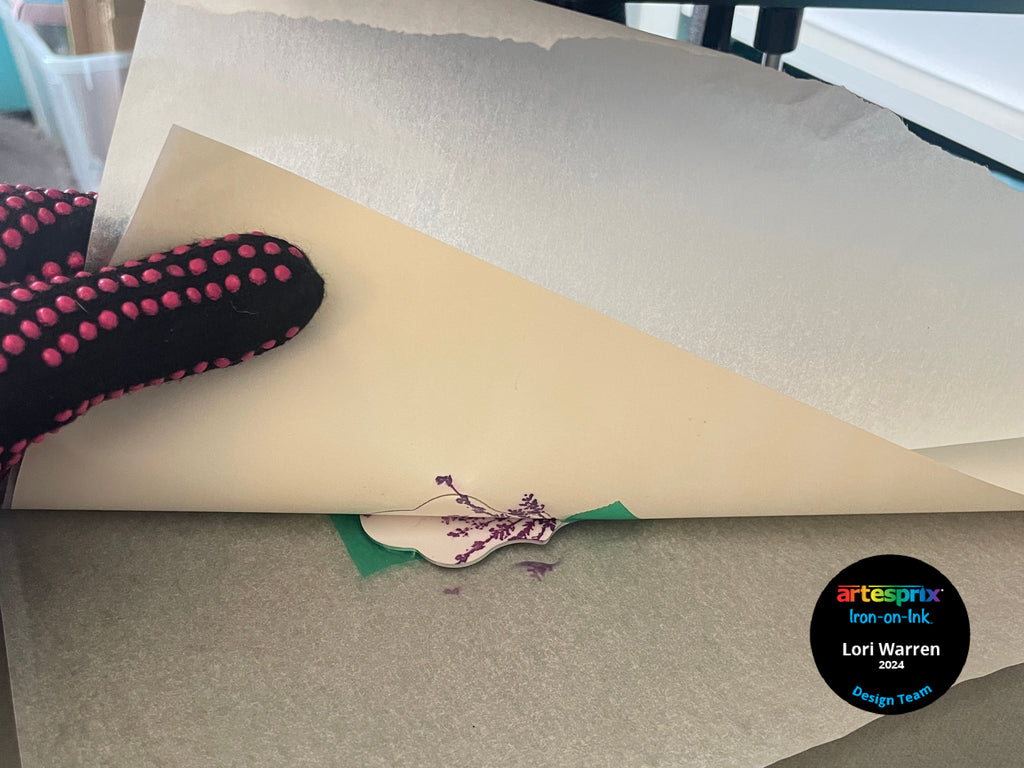
Step 10: After heat set, take-a-peek at the image to ensure transfer was successful (do not remove tape until transfer is confirmed). Re-heat if needed.
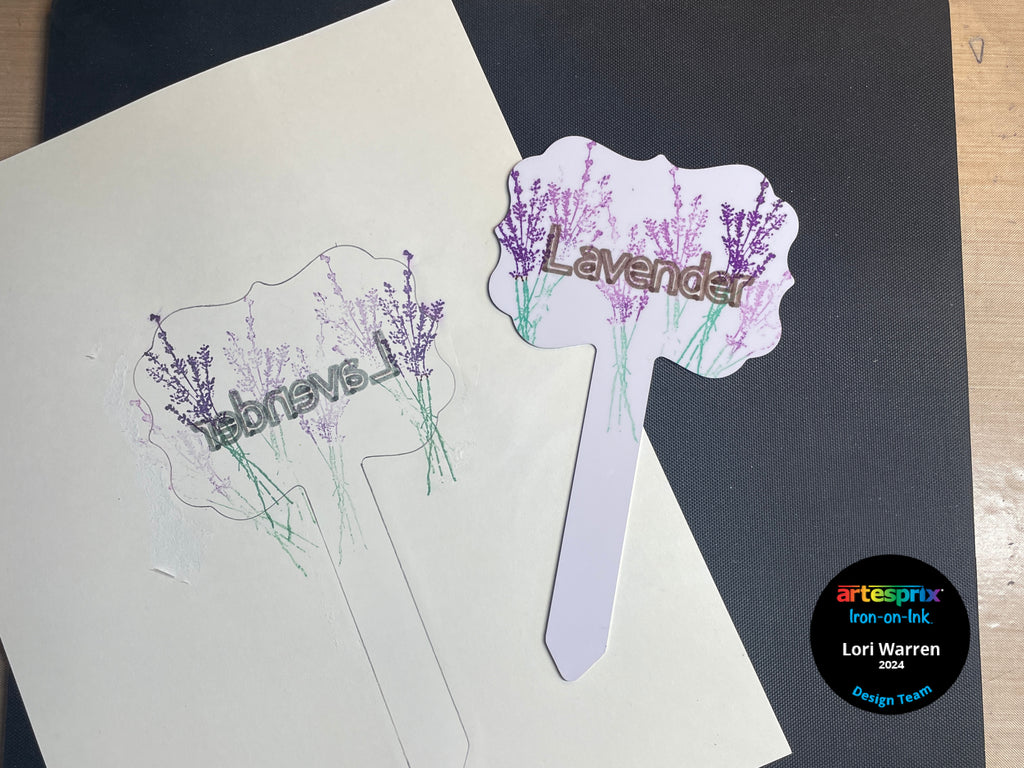
Step 11: Remove paper to reveal the transferred image.
I hope you found this project helpful in demonstrating how to use Artesprix Sublimation Stamp ink to create colorful projects with depth and interest. These Garden Stakes are only available for the Artesprix Shop for the month of April so grab them before it's too late! Don’t forget to visit the Artesprix Facebook Group where Makers are always sharing inspirational projects.
Happy Day!
Lori Warren
**This post may contain affiliate links. That means that I may receive compensation if you purchase through the links I have provided. The price you pay for the product or service is not higher, but I may get compensated.**


