Maple Bag Tag design with Artesprix Iron-on-Ink
Artesprix Design TeamBag Tag, Graduation Projects, Ink Pads, Markers
Products in this post


Iron-on-Ink Mixed Media Maple Bag Tag
Create a custom Bag Tag using Iron-on-Ink Sublimation Markers

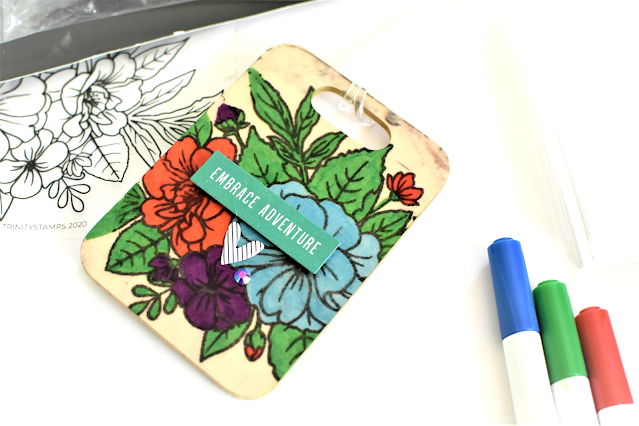
Nicole here! I am so excited to share my very first project I created for Artesprix. How is everyone holding up with this virus? I’m ready for some sunshine. But, until then, I made this adorable tag using the Maple Bag Tags and Artesprix’s Original Sublimation Markers. I love tags and they are super quick and easy to make. Sometimes, I like to dress up my travel bags and lunch bags because I think they help show off my personality!
When I started this project, I must admit, I was a little nervous. I have never done anything like this before. It was a first for me and I loved it. It was super fun! If you’re using the heat press, make sure your heat press setting is set for 400 degrees Fahrenheit and timer for 45 seconds. Checking temperature and time settings is very important in order to ensure that your Iron-on-Ink project will transfer properly. This was a lesson learned for me, but it was my first time so I gave myself a break. Practice makes perfect.
To create this tag, you will need the following:
Materials:
1. Artesprix Maple Bag Tag
2. Artesprix Sublimation Stamp Pad
3. Artesprix Original Sublimation Markers
4. Artesprix Acrylic Block
5. Artesprix Protective Paper Roll
6. Trinity Stamp’s Love You Bunches Stamp Set
Tools:
1. Artesprix Heat Tape
2. Heat Press or a regular iron
3. Extra Embellishments if desired
4. Scissors
Step by Step Instructions:
Step 1.
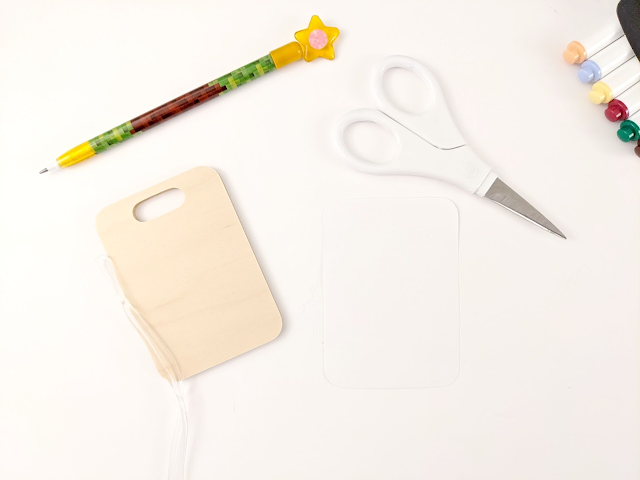
To begin, I used the Maple Bag Tag as a template to trace on white cardstock using a pencil. Then, I cut the image out using scissors.
Step 2.
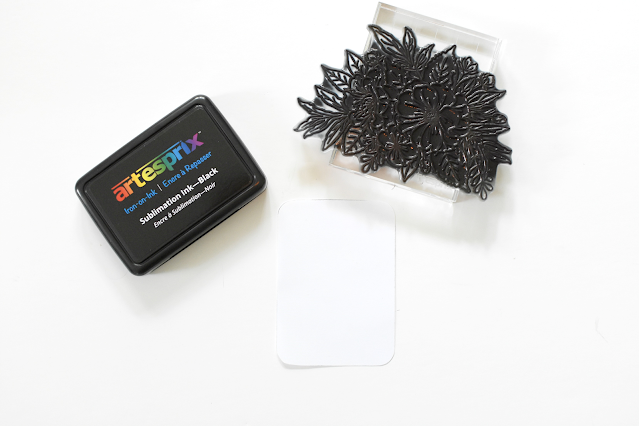
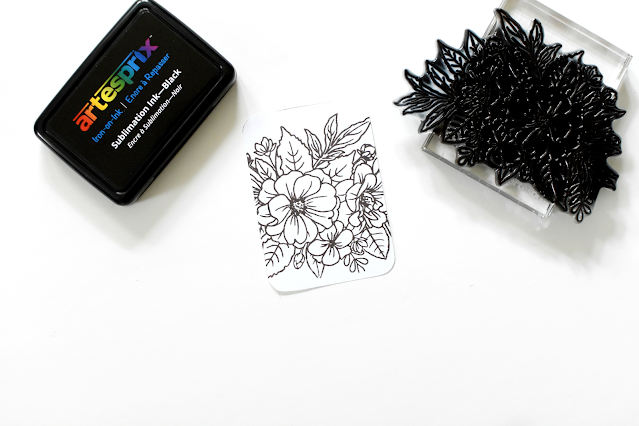
Next, I stamped Trinity Stamp’s Love You Bunches Stamp onto the plain piece of paper using the Sublimation Ink. I absolutely love the flowers in this set and if you look at my Instagram Account, you will see several projects I created using this stamp set. It’s beautiful and it worked beautifully with the Original Sublimation Markers.
Step 3.
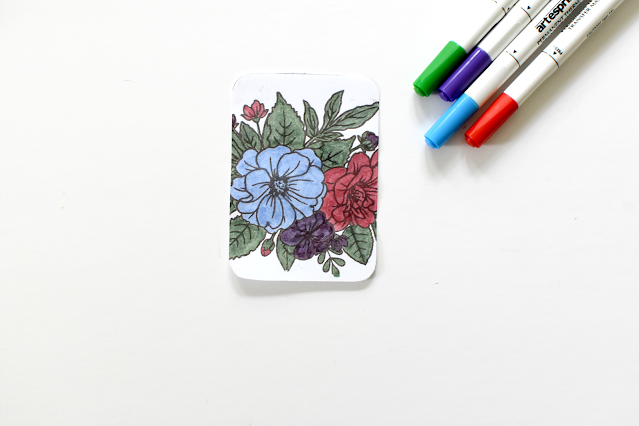
I colored the image using the Original Sublimation Markers. Be careful. Remember, if you color outside the lines, it will show up on the tag.
Step 4.
Cut two pieces of Artesprix protective paper and create (as Artesprix likes to call it) a “sublimation sandwich,” which means you place your project facing the top between two sheets of protective paper.
Step 5.
Set your heat press to 400 degrees Fahrenheit and timer for 45 seconds. Make sure you place your project in your heat source facing up. After your timer has completed, make sure to let your project cool down before touching it.
Don’t forget to check out the variety of blanks in the shop. There are many different things you can create by hand using the Sublimation Markers, Ink, and Stamps along with our blanks! Click here to see all of Artesprix’s products!
The post Maple Bag Tag design with Artesprix Iron-on-Ink appeared first on Artesprix.


