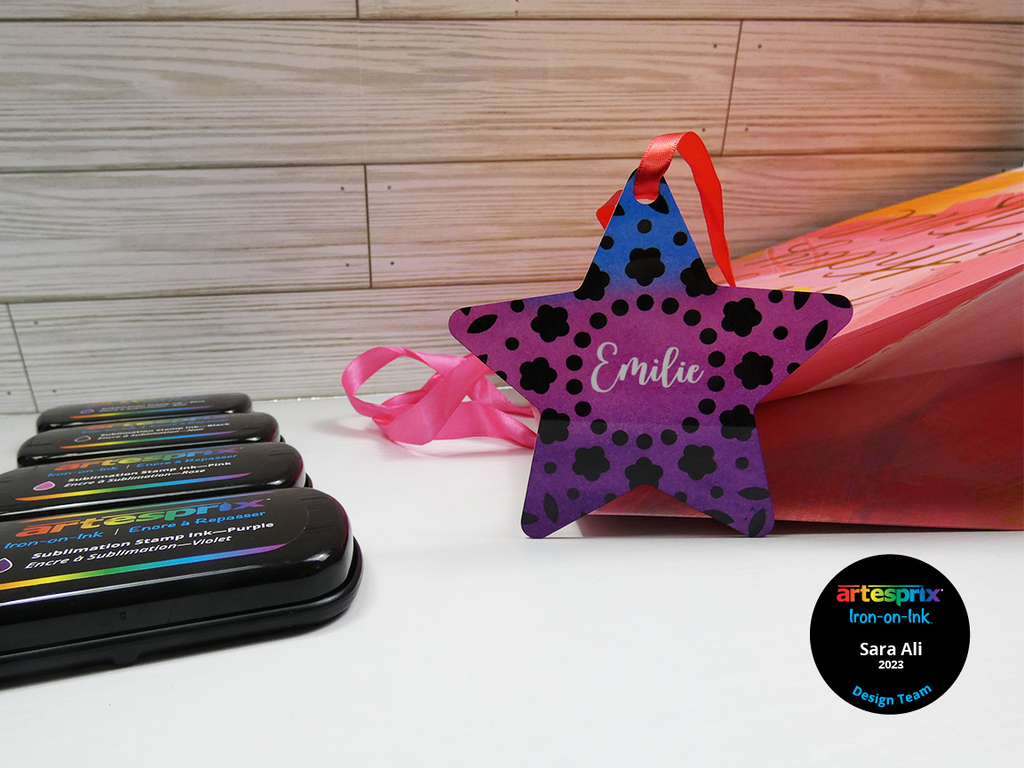
Ombre Gift Tag Using Artesprix Sublimation Stamp Pads
Artesprix Design TeamBirthday Party Projects, Cricut, Heat Resistant Transfer Mask, Ink Pads, Ornament
Products in this post


Hi friends, my name is Sara from One Craft Avenue, and I'm back for another term with the Artesprix Design Team. I’m an architectural designer by trade, but a crafter at heart! I started this journey about 4 years ago with a Cricut machine, and now I try all crafts, one craft at a time! Sublimation has always been one of my favorite crafting mediums, and trying out different sublimation crafting supplies from Artesprix is always fun! Today, we’re making a unique floral patterned star ornament using Artesprix sublimation stamp pads and a Heffy doodle stencil. Also, we will be using the very fun, Artesprix Heat Resistant Transfer Mask with the Cricut machine.
**This post may contain affiliate links. That means that I may receive compensation if you purchase through the links I have provided. The price you pay for the product or service is not higher, but I may get compensated.**
What is Sublimation Iron-on-Ink?
Iron-on-Ink is a line of specially formulated inks that transfers onto sublimation substrates once it is subjected to heat & pressure. Iron-on-Ink appears muted on paper, however the design is heat pressed onto the sublimation blank it becomes vibrant. Before Artesprix Iron-on-Ink, crafters needed a sublimation printer to experience this level of personalization. These products empower us with the ability to stamp, paint, and create sublimation designs, no printer needed!

Supplies:
Star Ornament 2ct
Heffy Doddle Ring A Rosies Stencil
Pencil
Step-by-Step Tutorial:
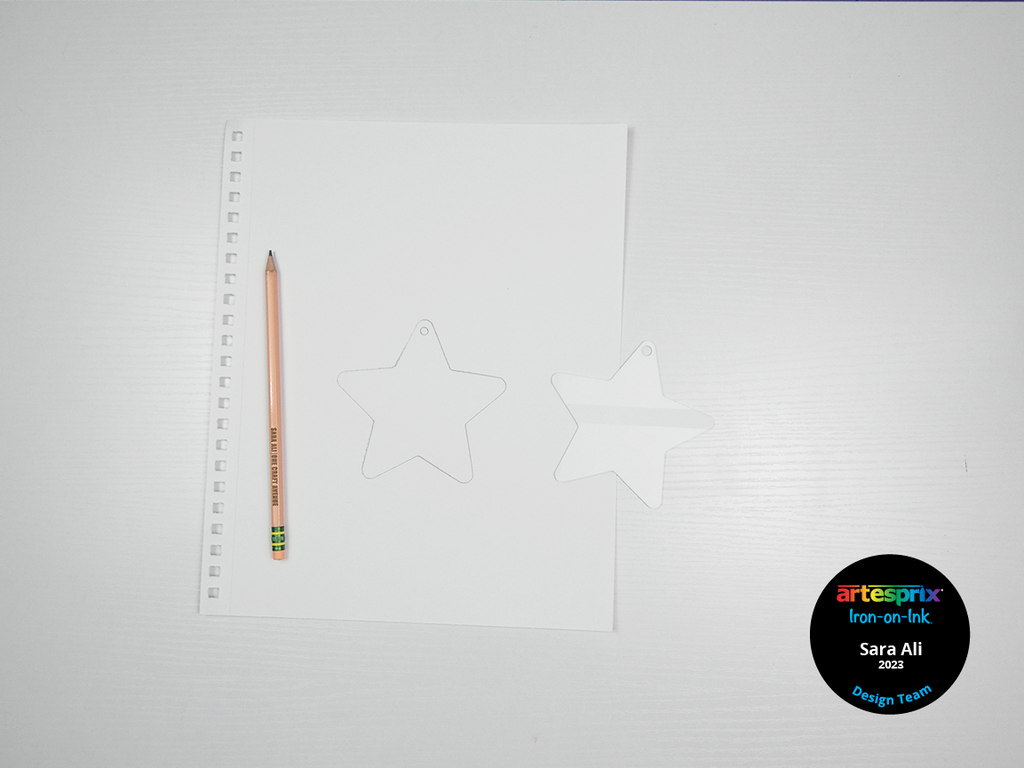
Step 1: Place your star ornament on a mixed media paper and trace it with a pencil. Using a pencil is crucial because it will not transfer to the blank when we heat press it!
Pro Tip: It’s a good idea to preheat your heat press while we create. For this blank, you’ll need to set your heat press to 400°F for 75 seconds.
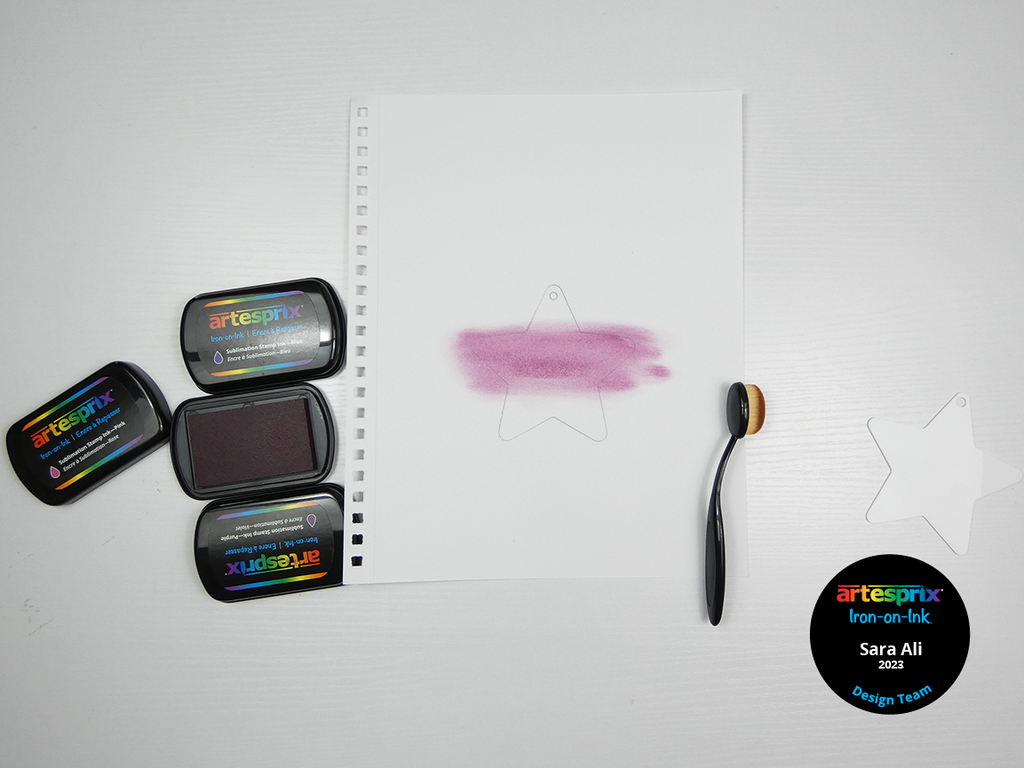
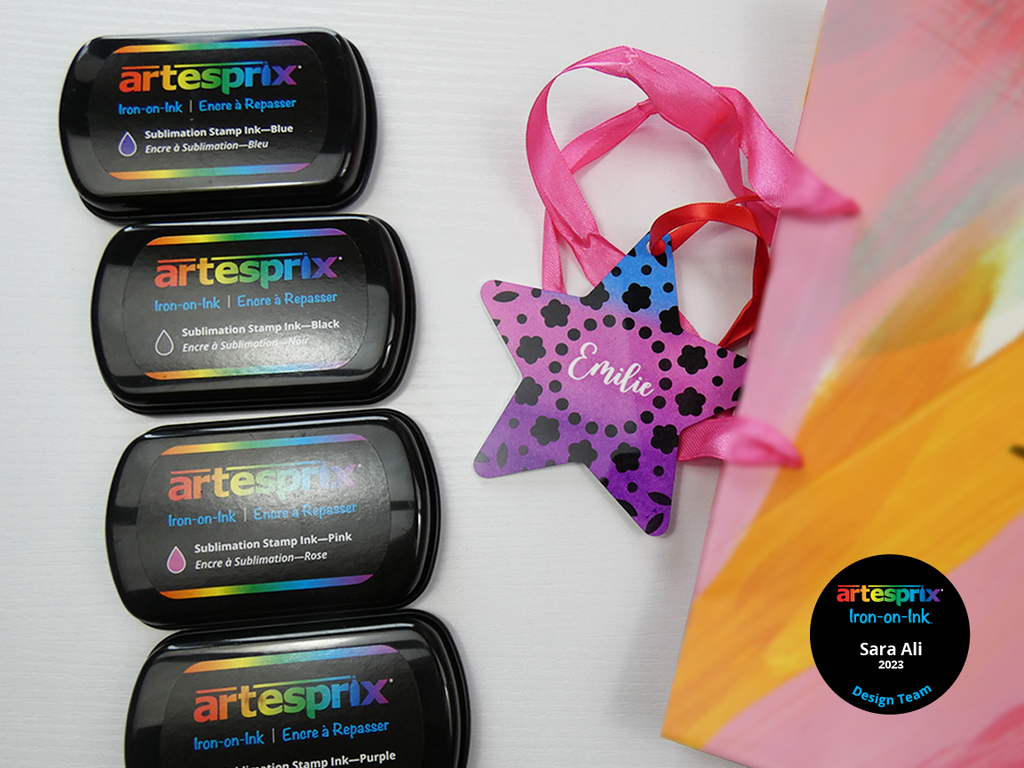
Step 2: Let’s create our design! Get your pink, purple and blue sublimation stamp pads ready, you can never go wrong with this color palette! Use your blending brush to pick up color from each sublimation stamp pad, one at a time. I started with a pink in the center followed by a purple at the bottom, and blue at the top!
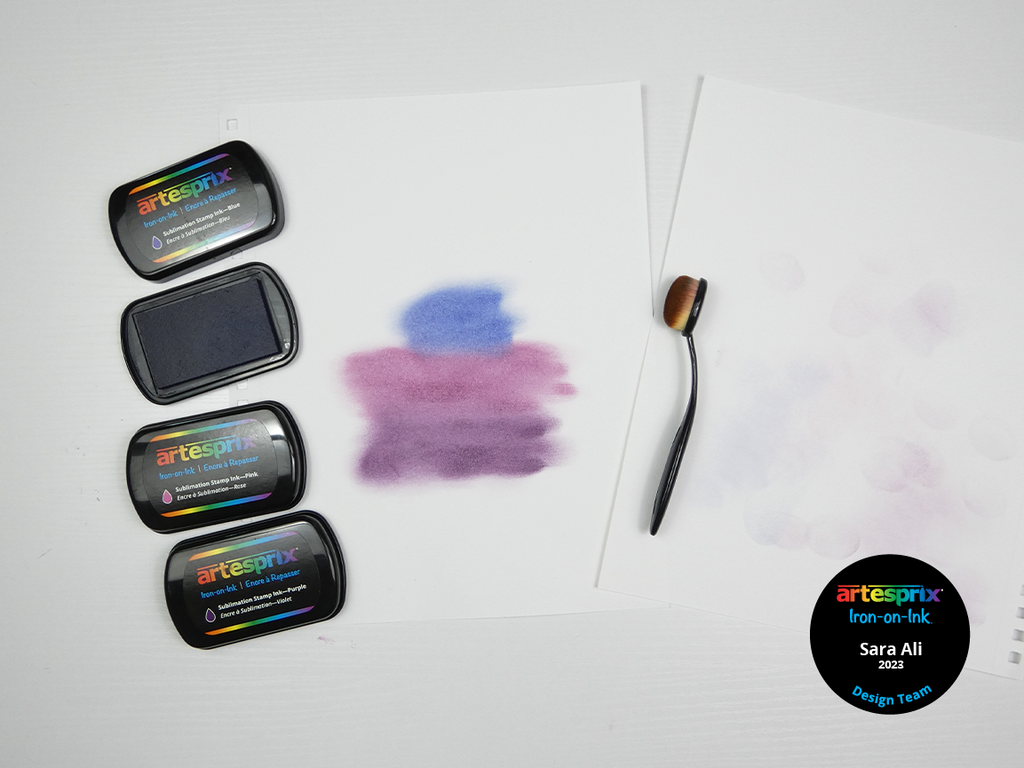
Pro Tip #2: Keep an extra sheet of paper handy to clean off your blending brush as you switch from one stamp pad to another.
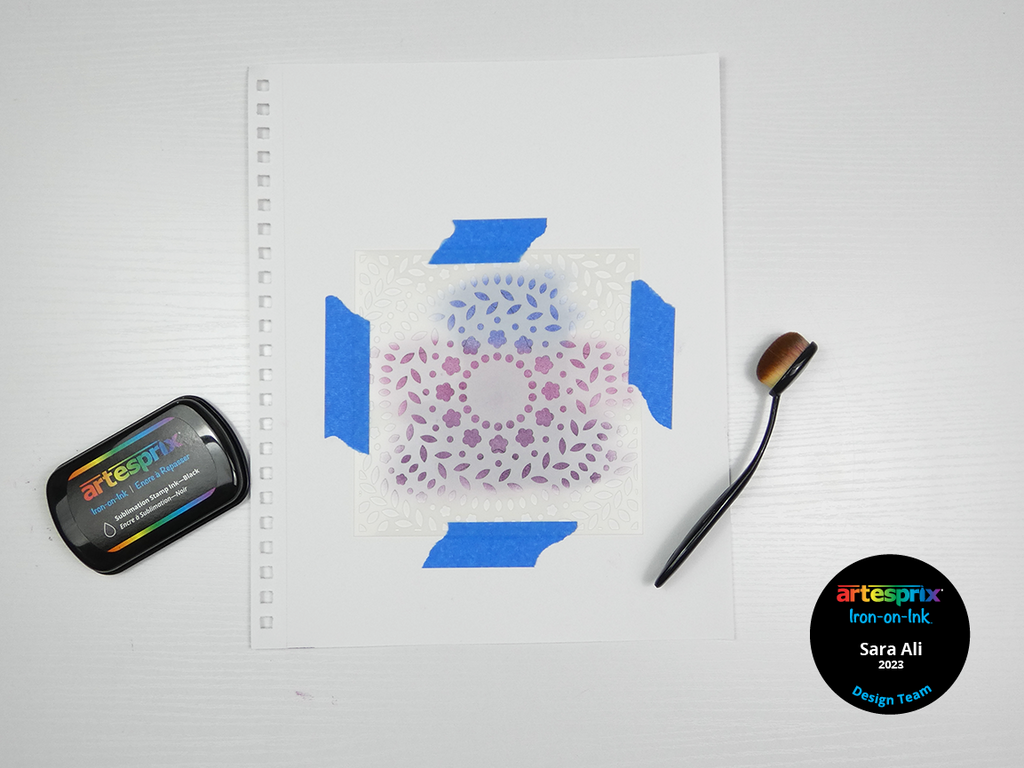
Step 3: Next, tape your floral stencil over the colored design. Taping it with masking tape from all sides ensure crip lines. Use your black sublimation stamp pad and blending brush to color through the stencil. When coloring with the blending brush, I like to go around in small circular motions.
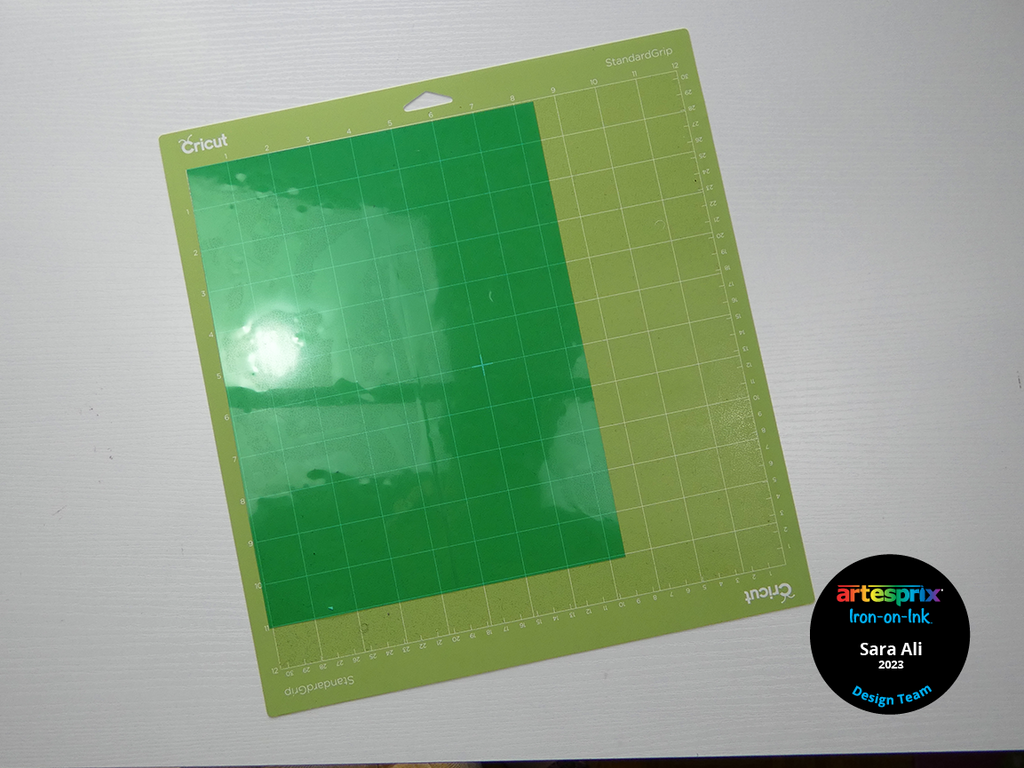
Step 4: To add wording in the center, we’ll use Artesprix’s Heat Resistant Transfer Mask and our cutting machine. I'm using my Cricut, to see all cutting machine options refer to Artesprix's Heat Resistant Mat Cutting Directions.
Pro Tip #3: I mirrored my text in Design Space as I applied my mask to the design. You could also apply it to the blank. Click here for detailed instructions on how to use your Heat Resistant Transfer Mask & best practices.
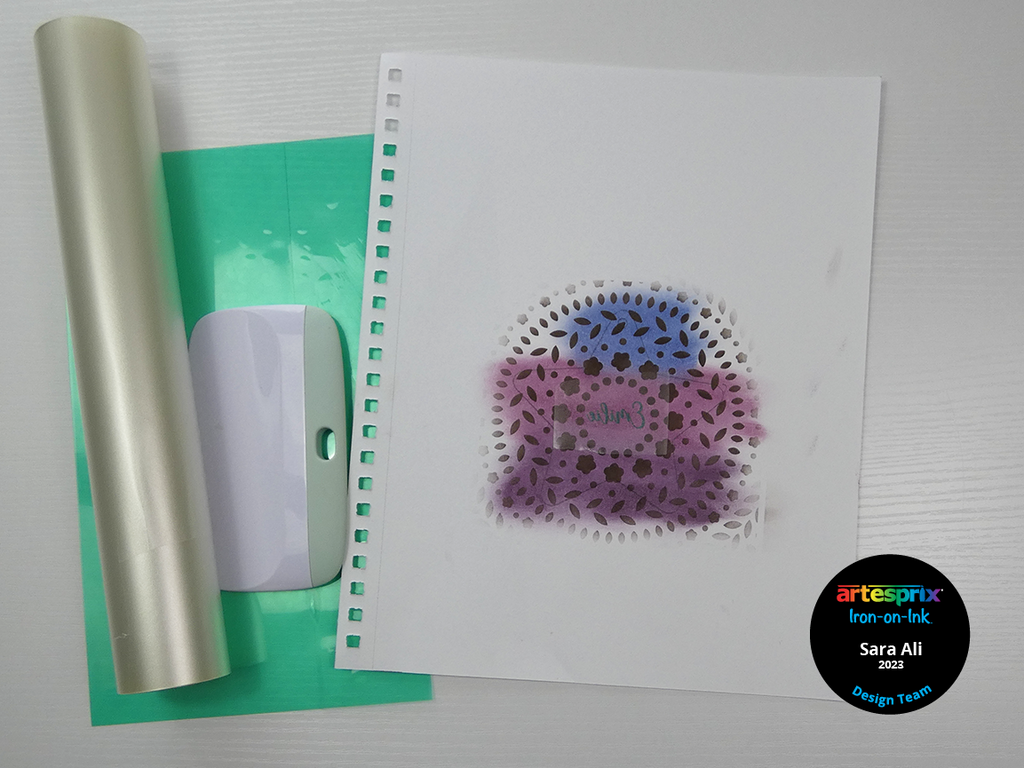
Step 5: Once you have weeded your text, use transfer tape to remove the text from the mat and adhere it to your design.
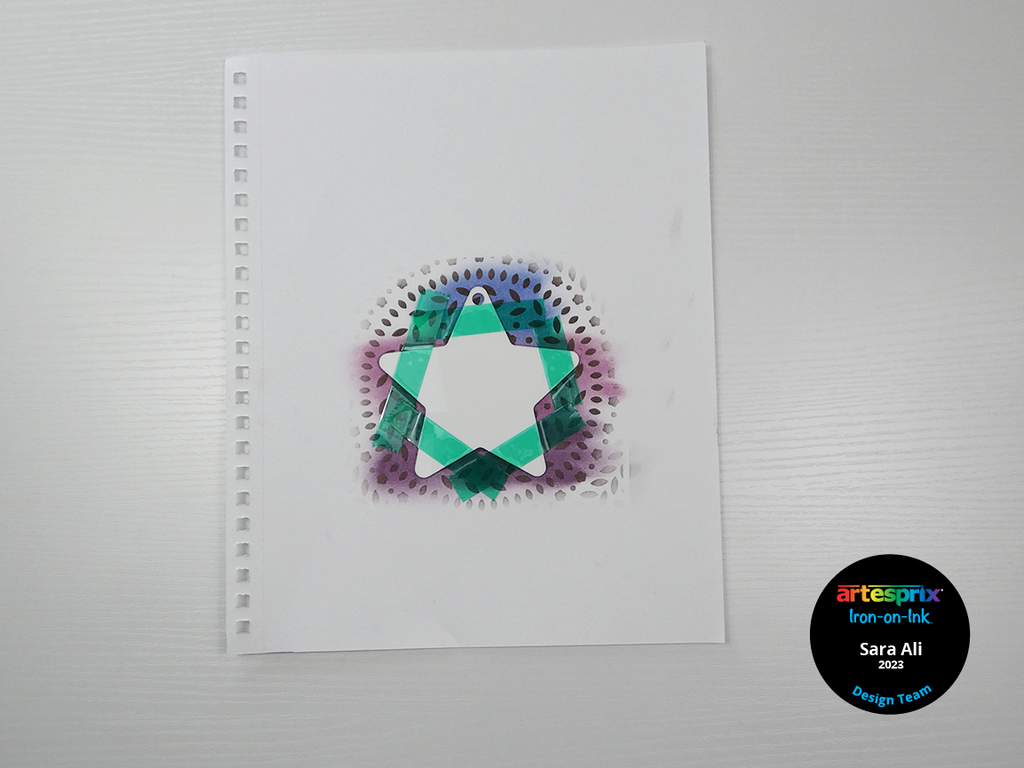
Step 6: Secure the finished design to the star ornament using Heat Resistant Tape.
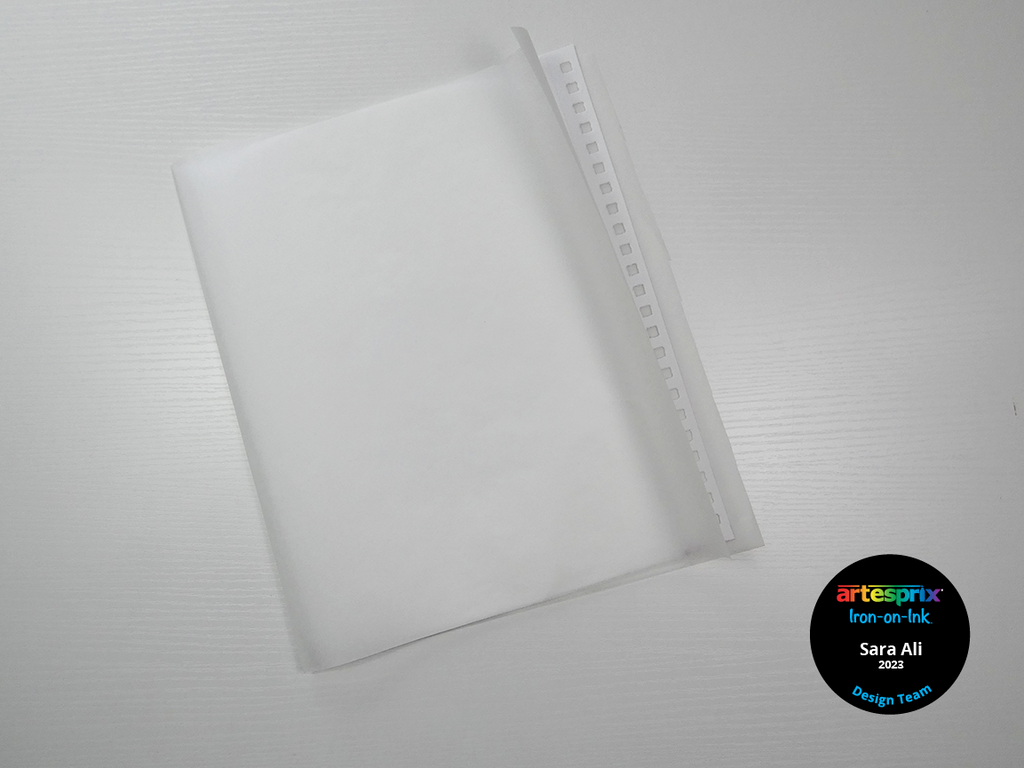
Step 7: Use your protective paper to sandwich in your star ornament with the design secured to it. Using protective paper is essential because it will catch any extra ink and you won’t have to deal with getting ink on your heat press!
Step 8: It is time to press your design! Your heat press should be set to 400°F and you’ll need to press it for 75 seconds.
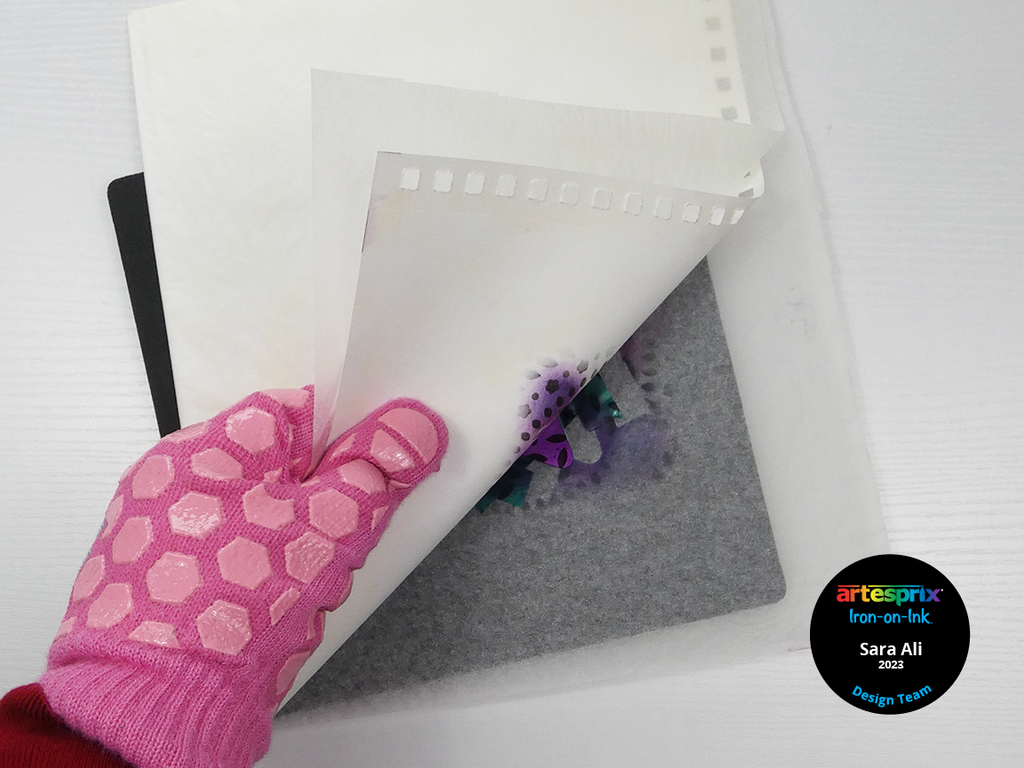
Step 9: It is "peek test" time! After you press your design, do not remove the tape, and slightly lift one corner of your design to get a peek of the transfer. If you find that you got a vibrant transfer, then remove the tape and reveal your amazing design! If you feel that you didn’t get a good transfer, you can re-press your design, but only if you did not remove any tape.
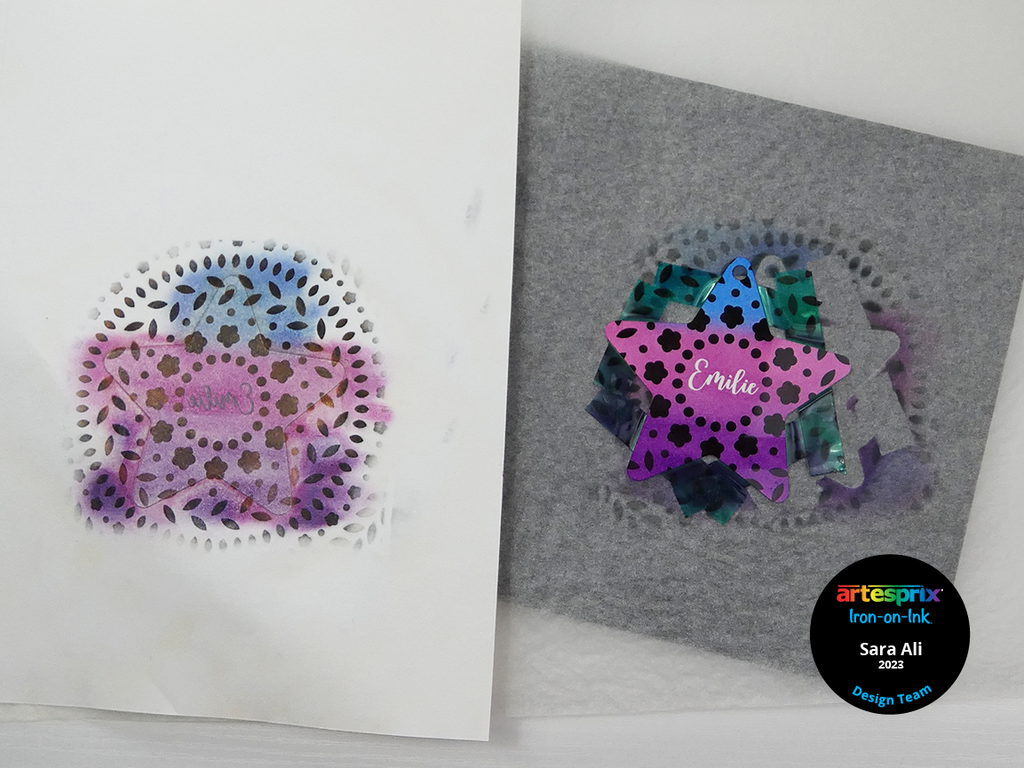
Step 10: Reveal your design! Look at how vibrant the colors are. Allow to cool before repeating the steps above and transferring to the other side.
The sublimation stamp pads made creating a background very easy, and the floral stencil elevated the design. I’m also amazed with the heat resistant transfer mask, it completely masked out the name and we have a white crisp name in the center! If you have a cutting machine, you will want to give this new sublimation craft supply a try!
Make sure you grab this Blank of the Month Start Ornament because it would make the perfect gift on it's own or paired with something small! When you use Artesprix sublimation craft supplies in your next project, please don’t forget to share your creations with us on Instagram using #Artesprix & IrononInk. Or, post your projects to the Artesprix Facebook Group
Thank you for reading! I hope you enjoyed our project today! I am on Instagram, Facebook and TikTok, let’s keep in touch!
Keep on crafting! Best,
Sara Ali
**This post may contain affiliate links. That means that I may receive compensation if you purchase through the links I have provided. The price you pay for the product or service is not higher, but I may get compensated.**


1 comment
Beautiful! That stencil is going on my list for sure.