Sublimation Affirmation Sign using Star Ornaments & Iron-on-Ink
Artesprix Design TeamBack-to-School Projects, Ink Pads, Ornament
Products in this post


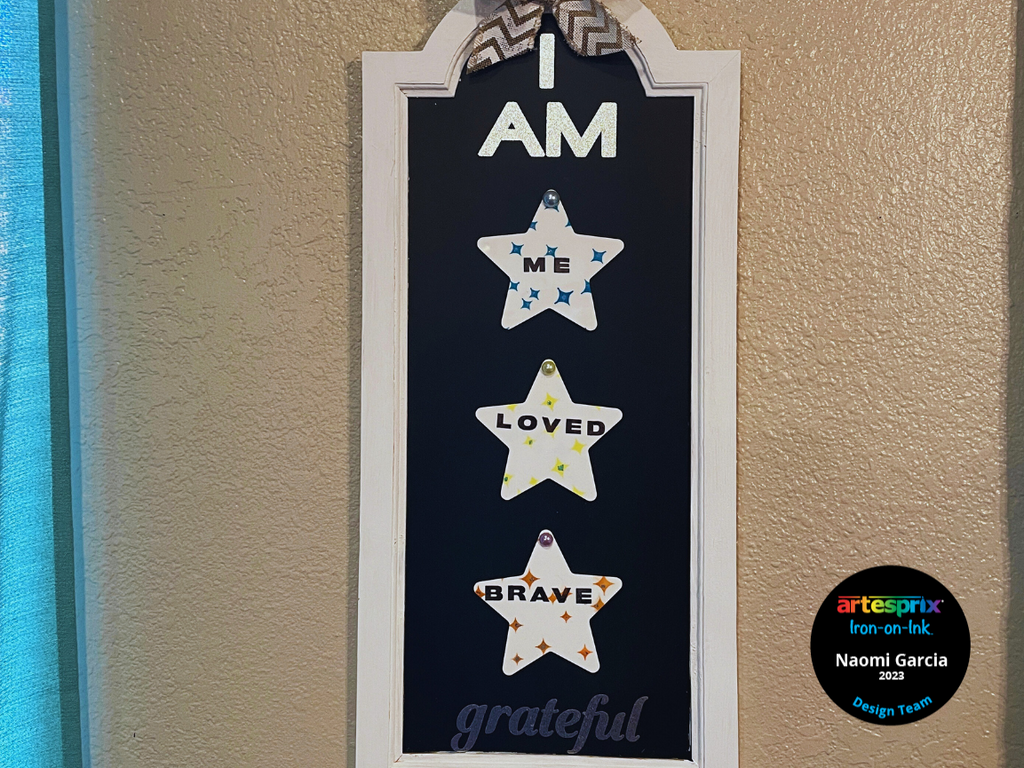
I’m Designer Naomi, back for another term with the Artesprix team! Daily affirmations are more than just words. For me, being able to actually see inspirational words is helpful on so many levels. I want to show you how I used the Artesprix Blank Of The Month for November to make a Star Ornament affirmation board. The blank is an aluminum star ornament. These Star Ornaments are super easy to personalize, elegant, and evergreen.
**This post may contain affiliate links. That means that I may receive compensation if you purchase through the links I have provided. The price you pay for the product or service is not higher, but I may get compensated.**
What is Artesprix Iron-on-Ink?
Artesprix Sublimation Markers, Ink, and Paint are specially formulated to allow you to use basic copy paper (something we all have) to: color, stamp, stencil, and monoprint anything you wish and turn it into a heat-transferable design. Anyone can make amazing designs, regardless of your artistic skill level. You can then use heat (either a heat press or a home iron) and pressure to apply these designs to a polyester or polyester coated substrate. Your designs will then be permanently printed onto your substrate.
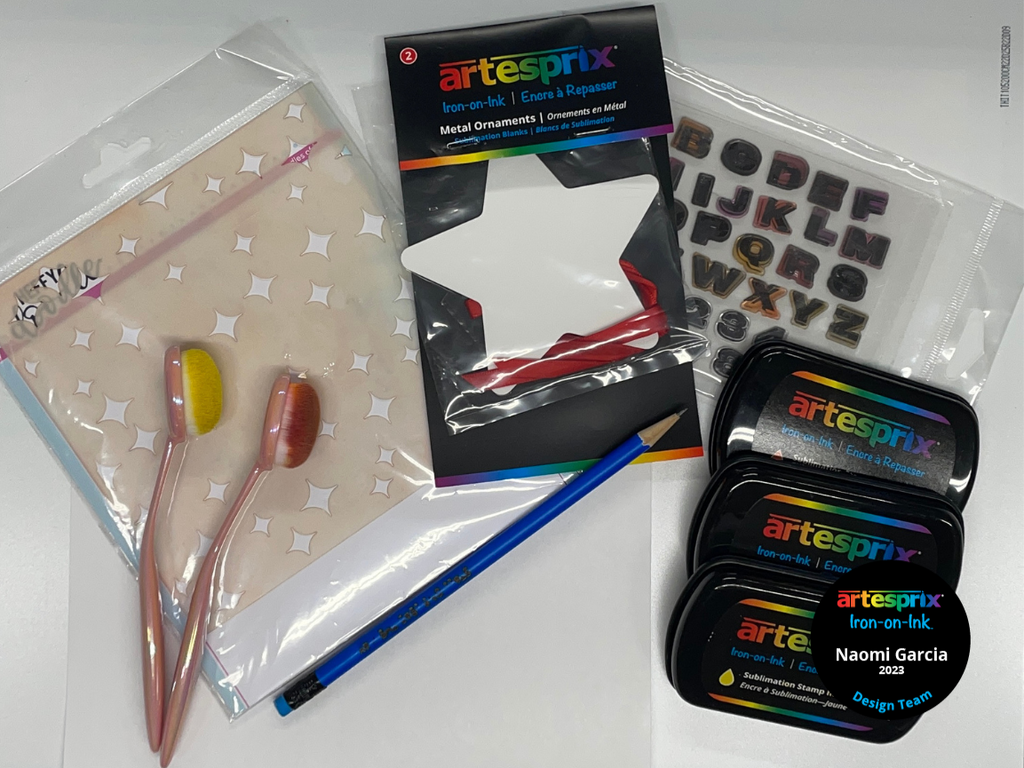
Supplies:
Star Ornaments 2ct
Sublimation Stamp Pads - Yellow, Blue, and Orange
Sublimation Stamp Set: Block Alphabet
Heffy Doodle Twinkle Twinkle Stencil
Sponge, dauber, or blending brush
Heat Press, Craft Press, or Home Iron
Heat Tape
Copy Paper
Washi Tape
Pencil
Decorative Board
Embellishments as desired (glitter, gems, etc.)
Craft Glue
Foam Tape
Step-by-Step Tutorial:
Step 1: Use a pencil to trace around the outside of your star ornament blank on a sheet of copy paper.
Pro Tip: If you're personalizing more than one star, create multiple templates on one sheet of copy paper. This will save you time and paper if you are making more than one star design or if you happen to “mess up” on your first try. I made 3 stars all together for this project.
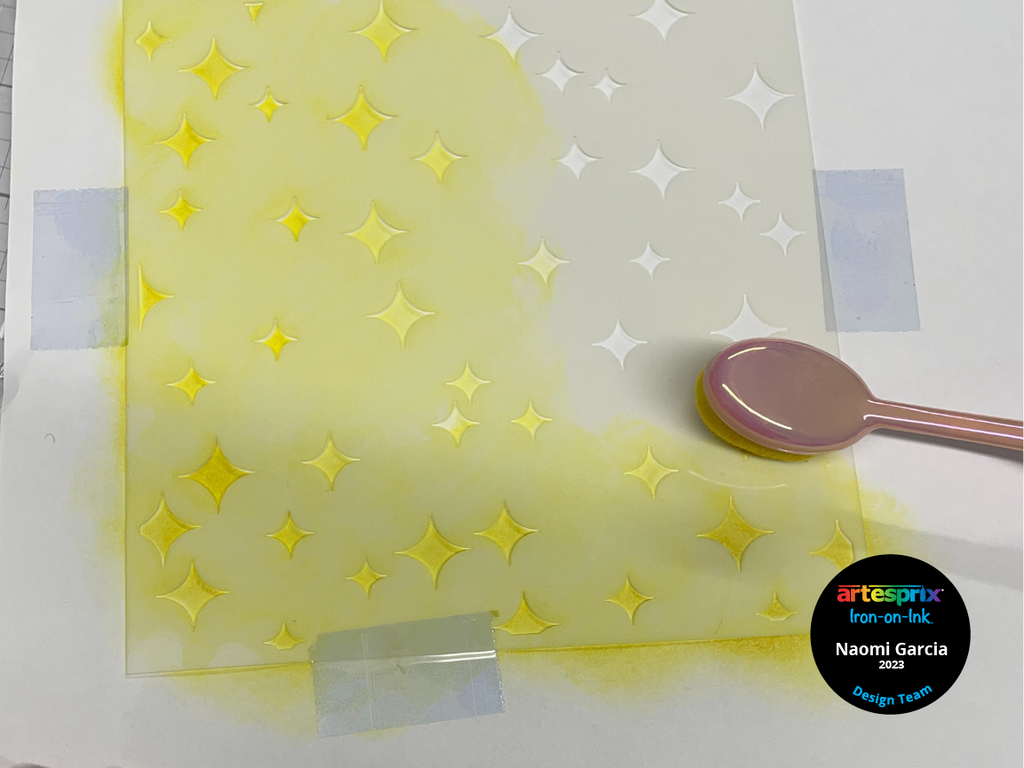
Step 2: Use washi tape to tape the stencil to the copy paper. I used the Heffy Doodle “Twinkle Twinkle” stencil, but you can use any stencil you have.
Step 3: Use your blending brush to add your choice of Sublimation Stamp Pad Ink to the paper over the stencil.
Pro Tip #2: Use a light hand when add the ink, especially around the edges to avoid ink bleeding,
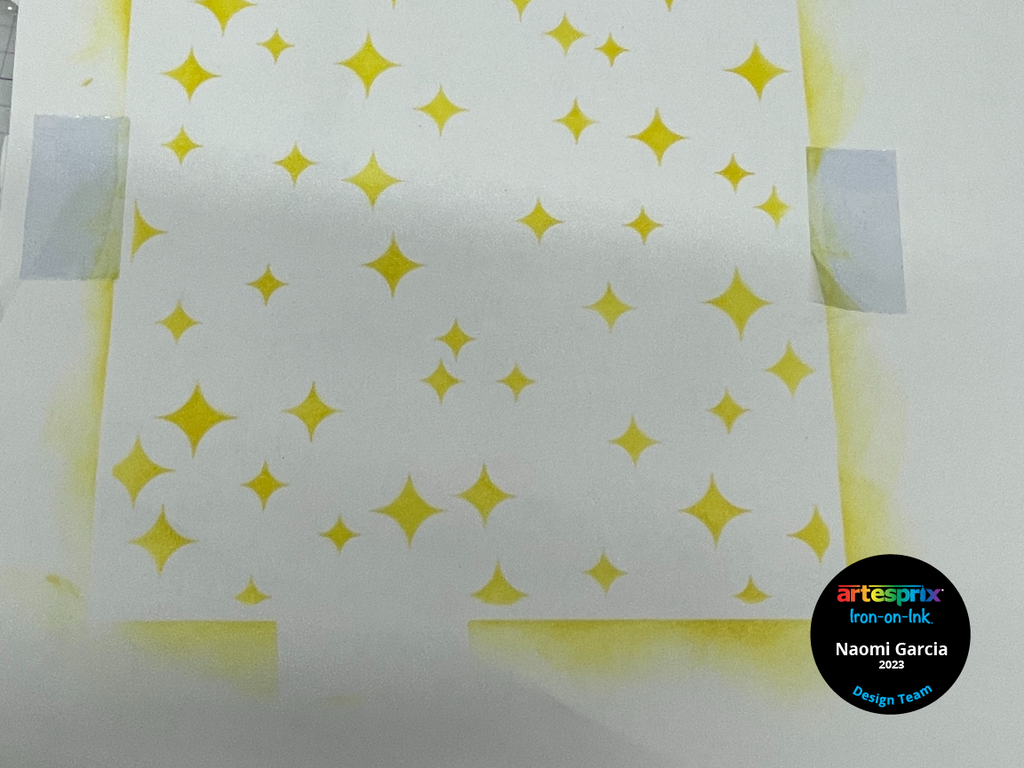
Step 4: When you are finished, remove the stencil and tape from the copy paper.
Step 5: If creating multiple transfers, repeat steps 2-4 with the other templates.
Pro Tip #3: Trim the printed design down. But leave a 1 inch border around the outside of your star to ensure you have room to tape.
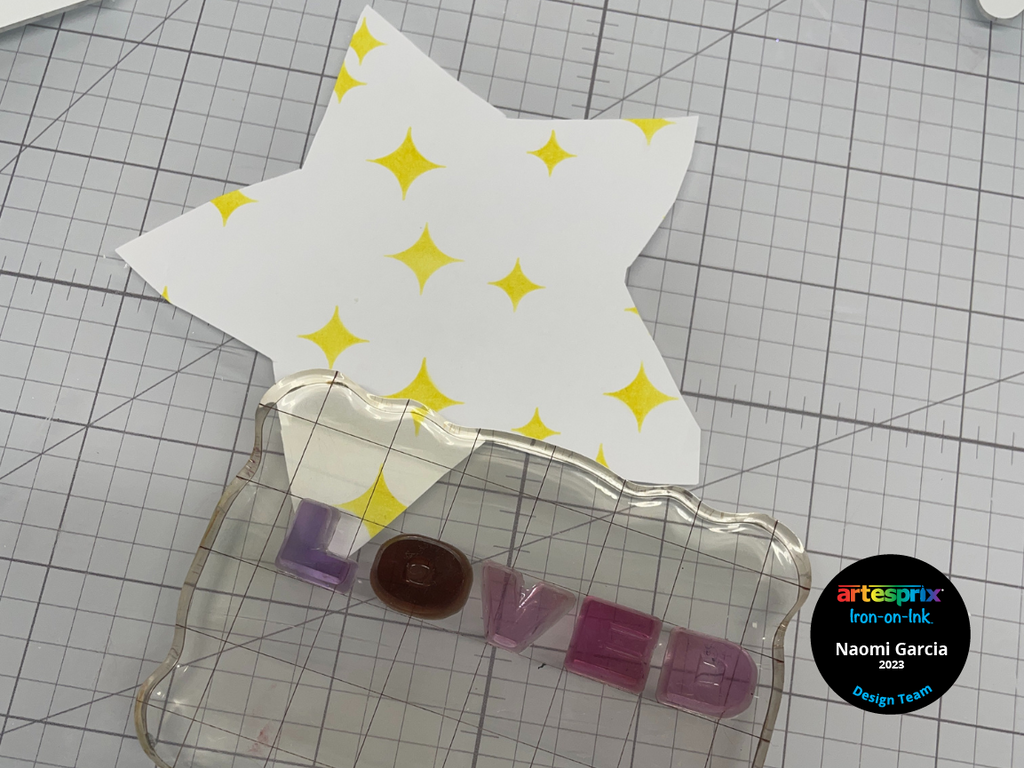
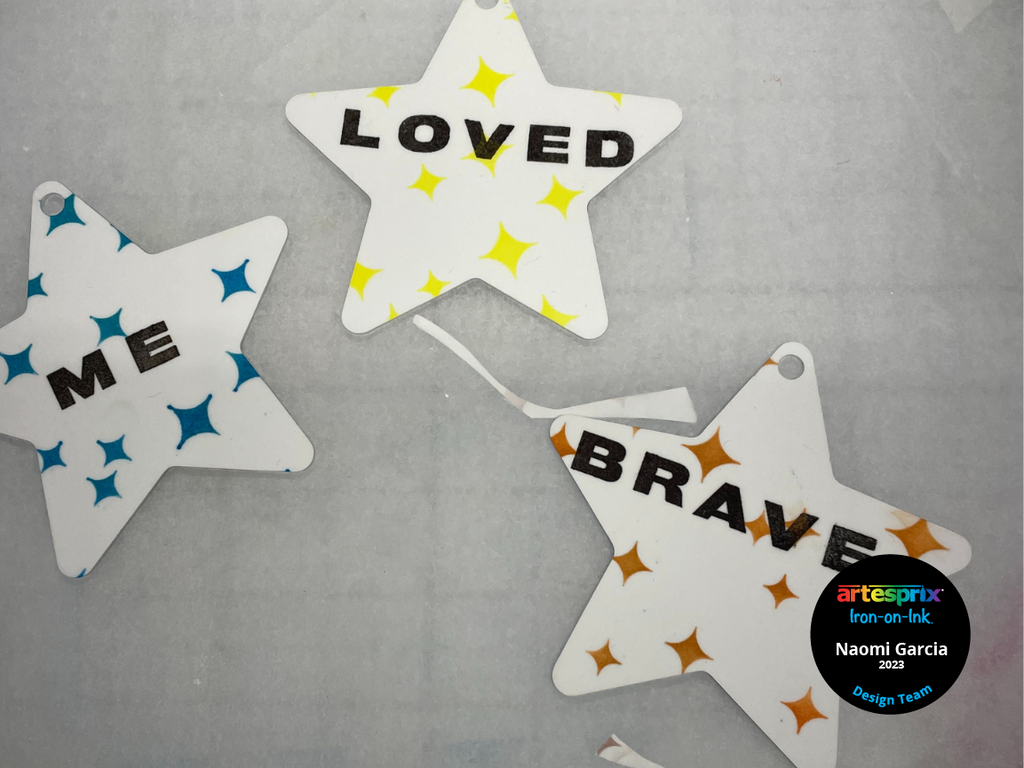
Step 6: Arrange the Sublimation Stamp Block Alphabet letter stamps on the acrylic block to spell out your affirmation words. My words were “loved”, “brave”, and “me”.
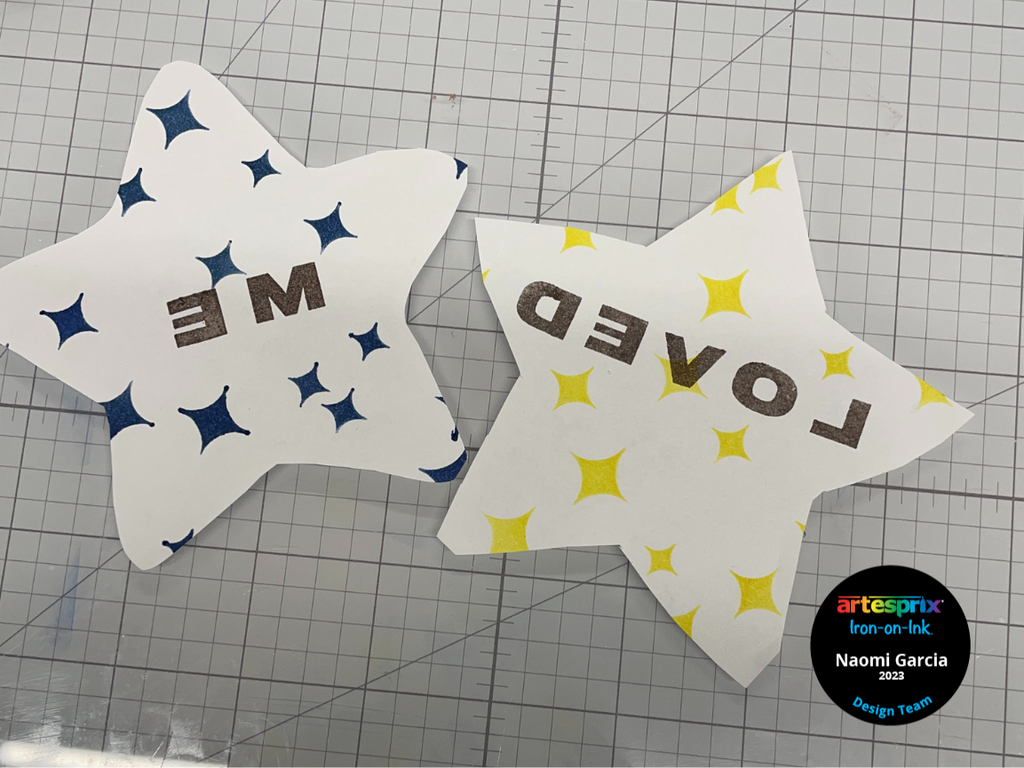
Step 7: Stamp each word on a different star template.
Pro Tip #4: If you do not have sublimation stamps, use the Artesprix Mirror Stamp Plate to achieve the mirrored text on paper with your traditional text stamps.
Step 8: Place the finished design on the star ornament and secure using the heat tape.
Pro Tip #5: Use a lint roller to clean the stars before putting them on the design.
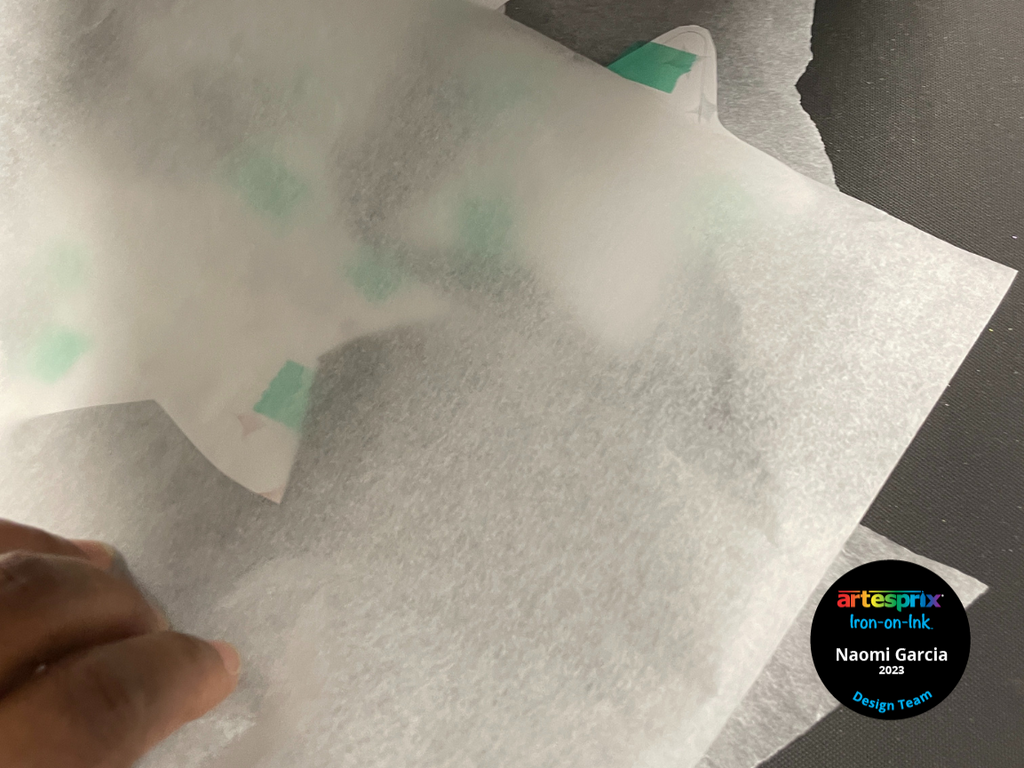
Step 9: Make a "sublimation sandwich" using protective paper and your design in this order: protective paper, star, design, another sheet of protective paper.
Step 10: Press the panel at 400℉ for 75 seconds.
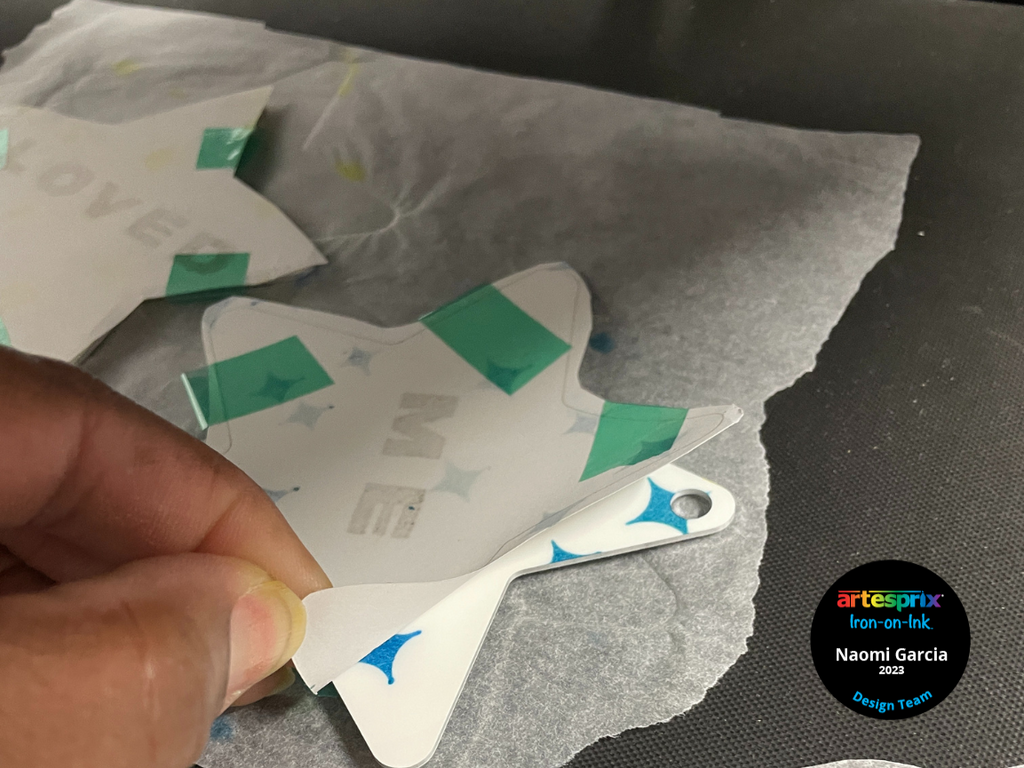
Step 11: Once the timer is up, before removing the design from the star, lift a corner of the design to make sure the design transferred correctly.
If the design is transferred well, you are done and you can remove the tape and paper from the star ornaments. If it is not, check your time, temperature, pressure and "sandwich", and re-press.
Step 12: Allow your star to cool before transferring to the other side, adding ribbon, or adding any embellishments like glitter or gems.
Step 13: (Optional) Add any lettering to your decorative board. I added the words “I am” at the top and “grateful” at the bottom of mine.
Step 14: Add your stars to your board using foam tape for dimension or glue for a flatter look.
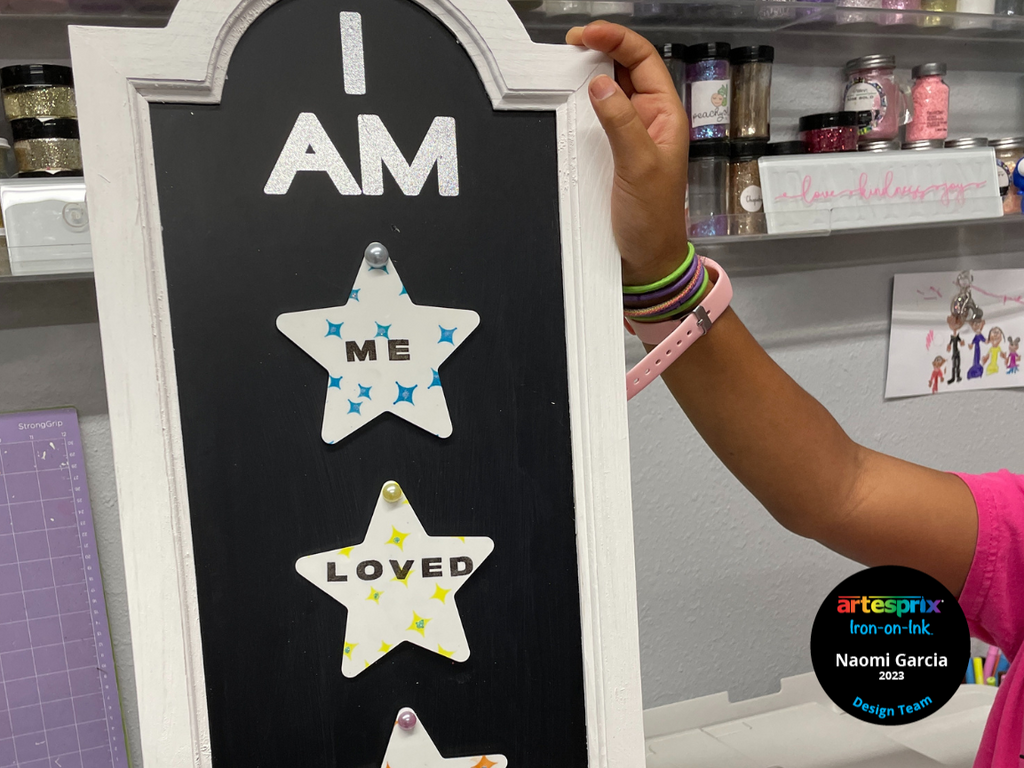
After making my affirmation sign with the star ornaments, I decided to add a bow to the top. My kids were immediately drawn to this sign and it is such a joy to hear them reading and repeating these positive words each day. Since I used foam tape, the stars are interchangeable, which is a plus. Also, since these blanks are double sided, you can add even more words of affirmation.
For more outside-of the-box and seasonal ideas for your next Iron-on-Ink project, check out the Artesprix Blog. Let us know if you try out this project by using the #Artesprix & #IrononInk or post your project to the Artesprix Facebook Group. Be sure to order your Star Ornaments soon because they’re only available during the month of November.
If you want to learn more about me, visit my About Me here.
Now, go make something inspirational!
Naomi Garcia
**This post may contain affiliate links. That means that I may receive compensation if you purchase through the links I have provided. The price you pay for the product or service is not higher, but I may get compensated.**


