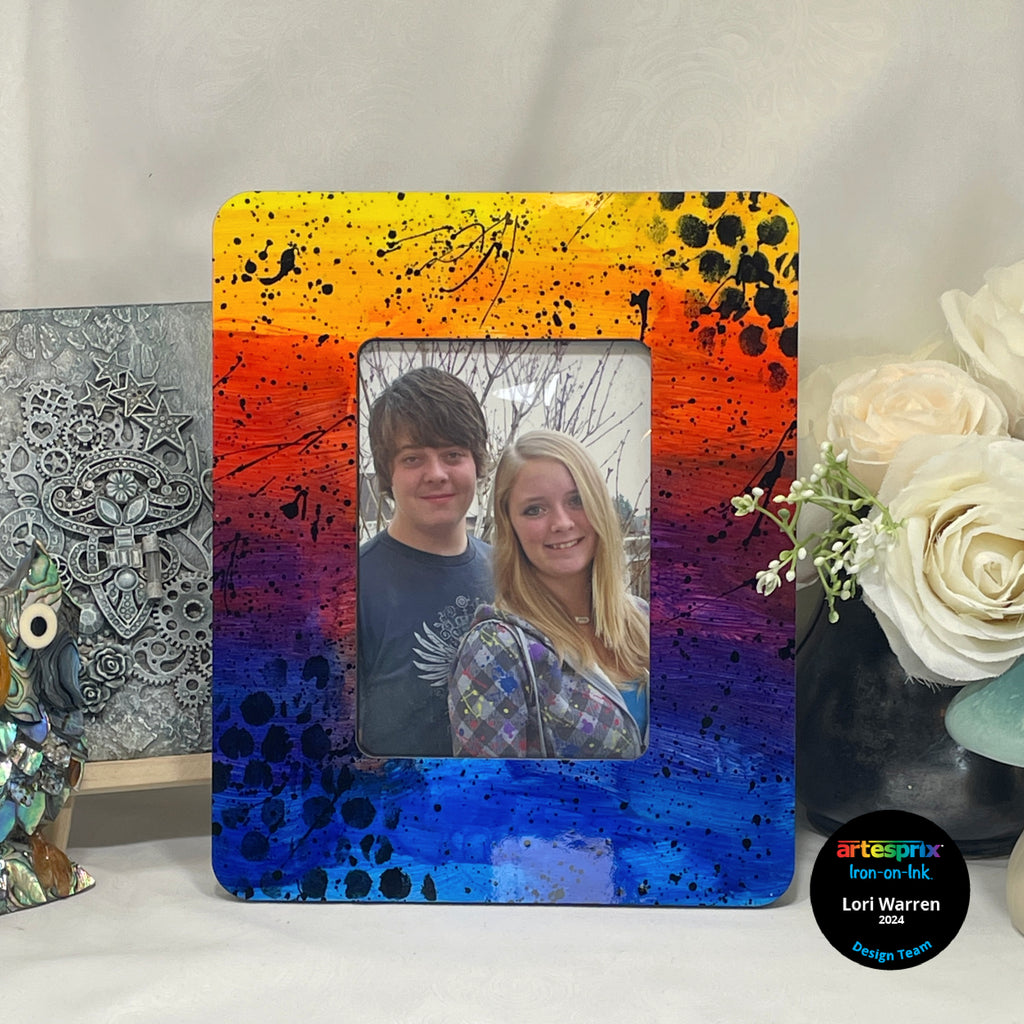
Sublimation Splatter Paint Picture Frame
Artesprix Design TeamPaints
Products in this post


Hello all, Lori here, posting a new project featuring Artesprix Sublimation Acrylic Paint, Acrylic Lightening Medium and a Picture Frame, 4 x 6 Sublimation Blank. This is an easy and vibrant project that can be accomplished in a short amount of time. Focusing just on Sublimation Acrylic Paint, the step by steps below will walk you through the complete project.
**This post may contain affiliate links. That means that I may receive compensation if you purchase through the links I have provided. The price you pay for the product or service is not higher, but I may get compensated.**
What is Sublimation Iron-on-Ink?
It is an interesting and fun product that allows you to create a design on standard copy paper that can then be heat transferred onto surfaces (must have polyester in it or have a polyester coating). Once the project is transferred to the blank, it is lifetime permanent. Before Artesprix, you would need a fancy printer to experience this level of personalization, but not anymore!
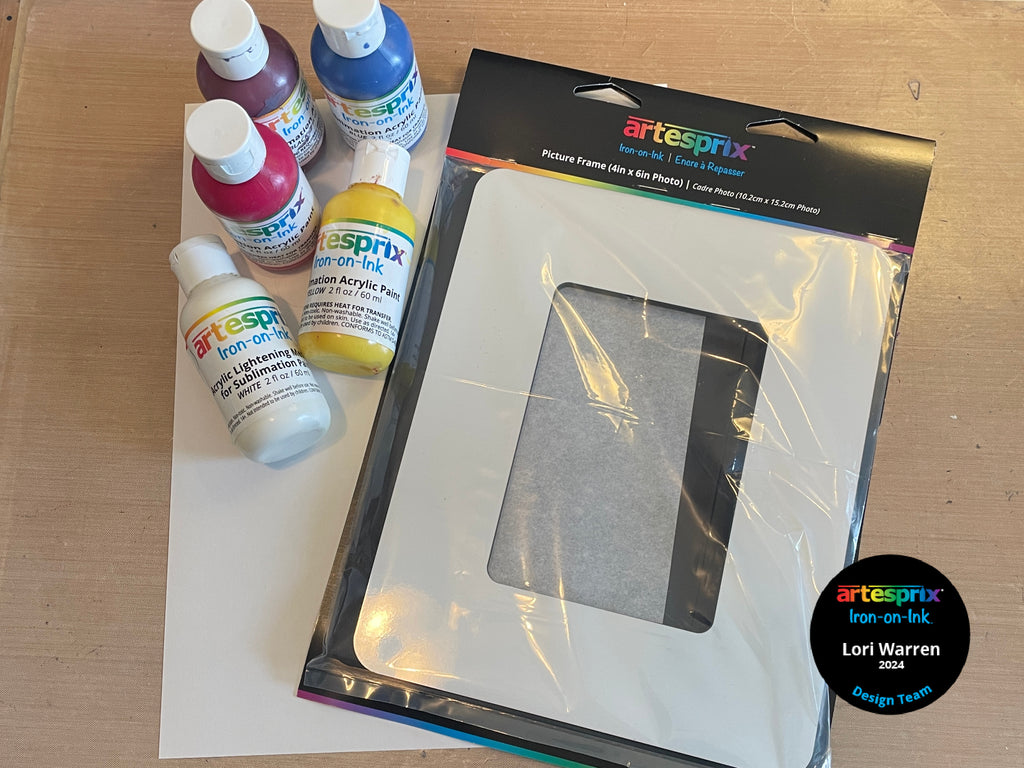
Supplies:
Sublimation Acrylic Paint - Black, Yellow, Red, Blue
Sublimation Acrylic Lightning Medium - White
Computer Paper
Make-up sponge
Heat Press
Step-by-Step Tutorial:
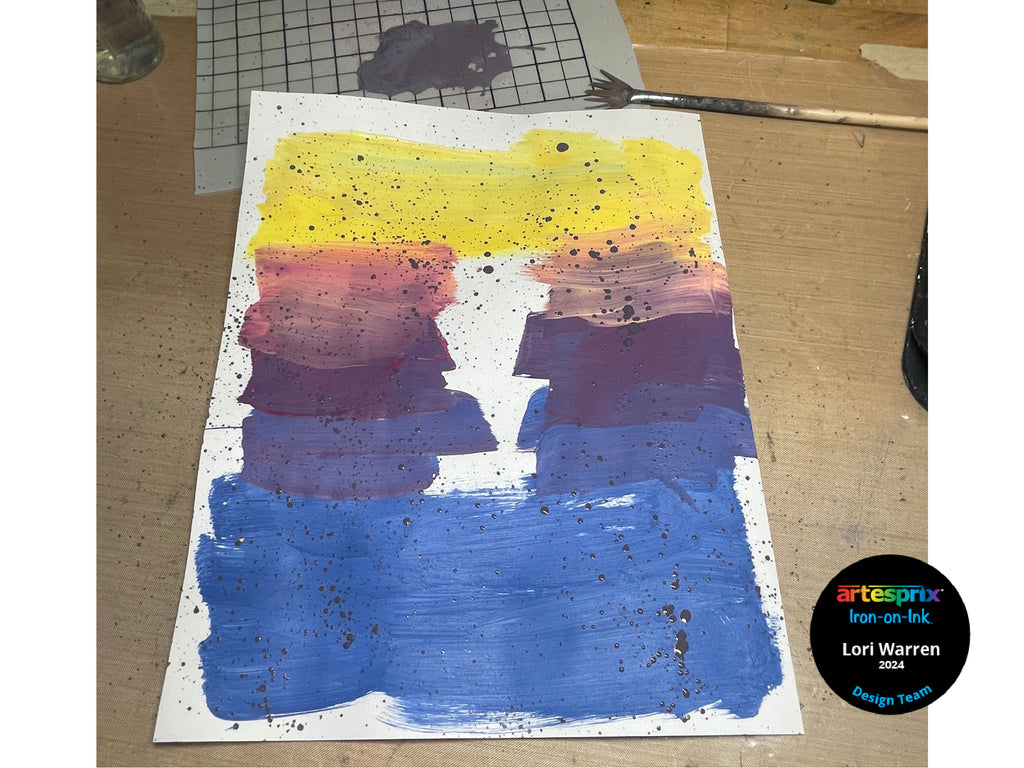
Step 1: Create an ombre color scheme by mixing Acrylic Lightening Medium with Yellow, Red and Blue Sublimation Acrylic Paint. Blend color between color changes.

Step 2: Apply paint to paper, going from dark to light. Then add paint splatters with Black Sublimation Acrylic Paint.
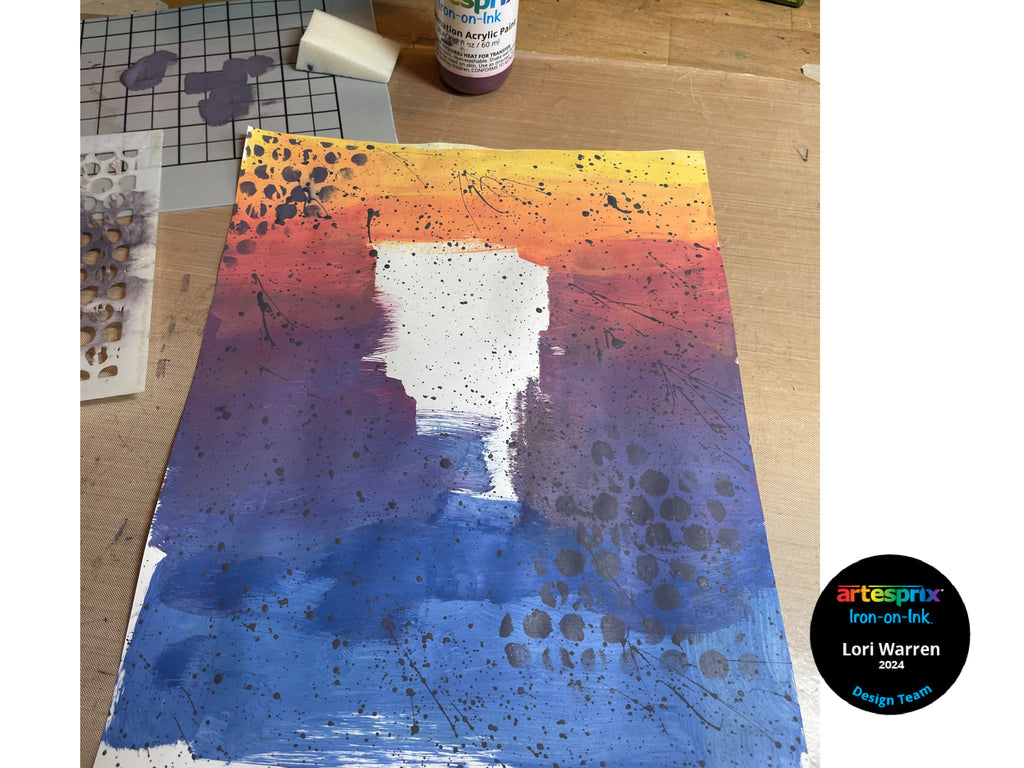
Step 3: Add additional interest by stenciling Black Sublimation Acrylic Paint to corners of paper.
Step 4: Remove Picture Frame from packaging and set aside all pieces except for the front/white part of the frame.
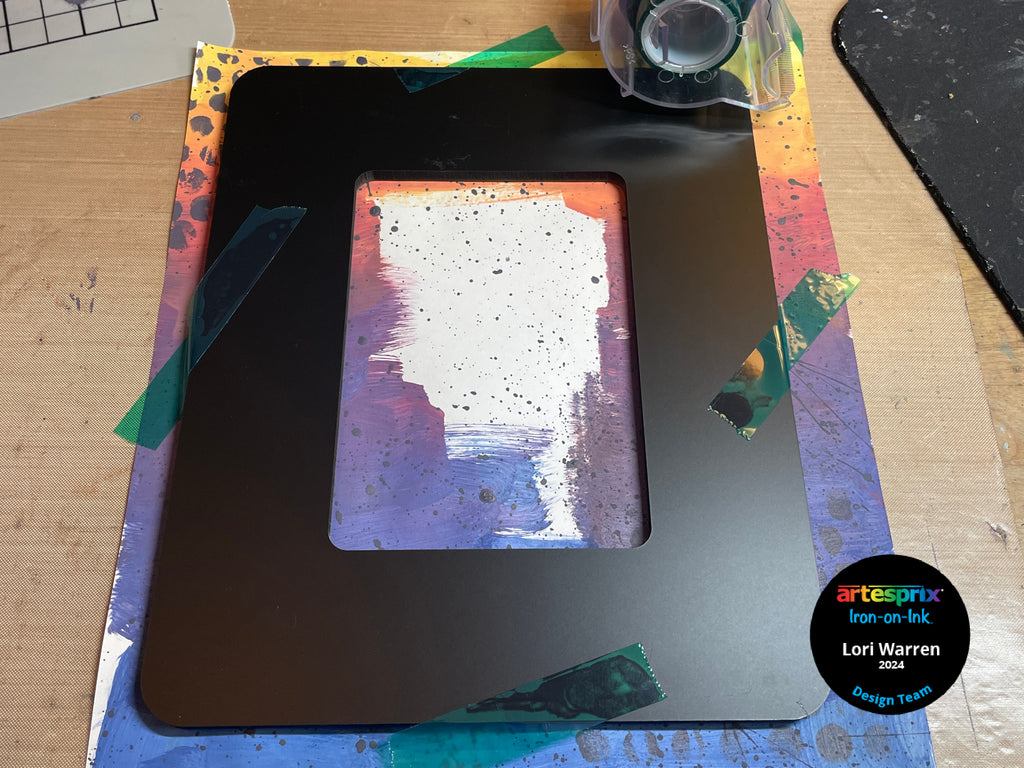
Step 5: Place the Picture Frame onto the inked paper and secure with heat tape.
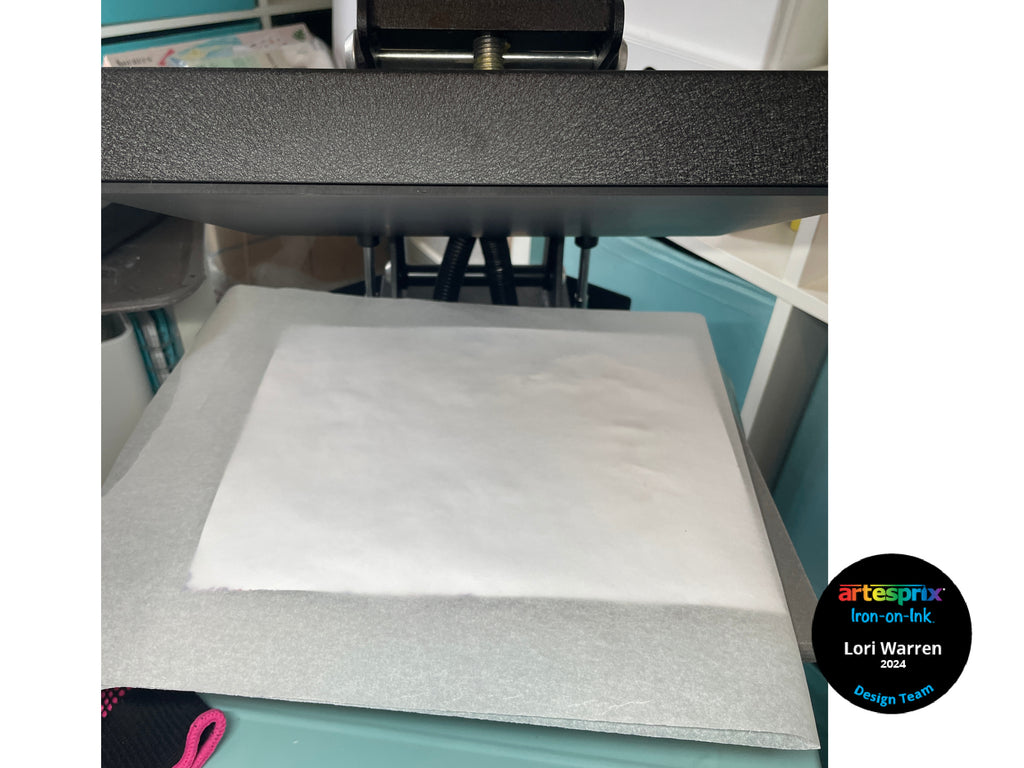
Step 6: Make a "Sublimation Sandwich" by placing the prepared paper and Picture Frame between two pieces of protective paper.
Step 7: Heat set using appropriate settings for the blank. Picture Frame calls for 400℉ for 90 seconds.

Step 8: After heat set, take-a-peek at the design to ensure transfer was successful (do not remove tape until transfer is confirmed). Re-heat if needed.
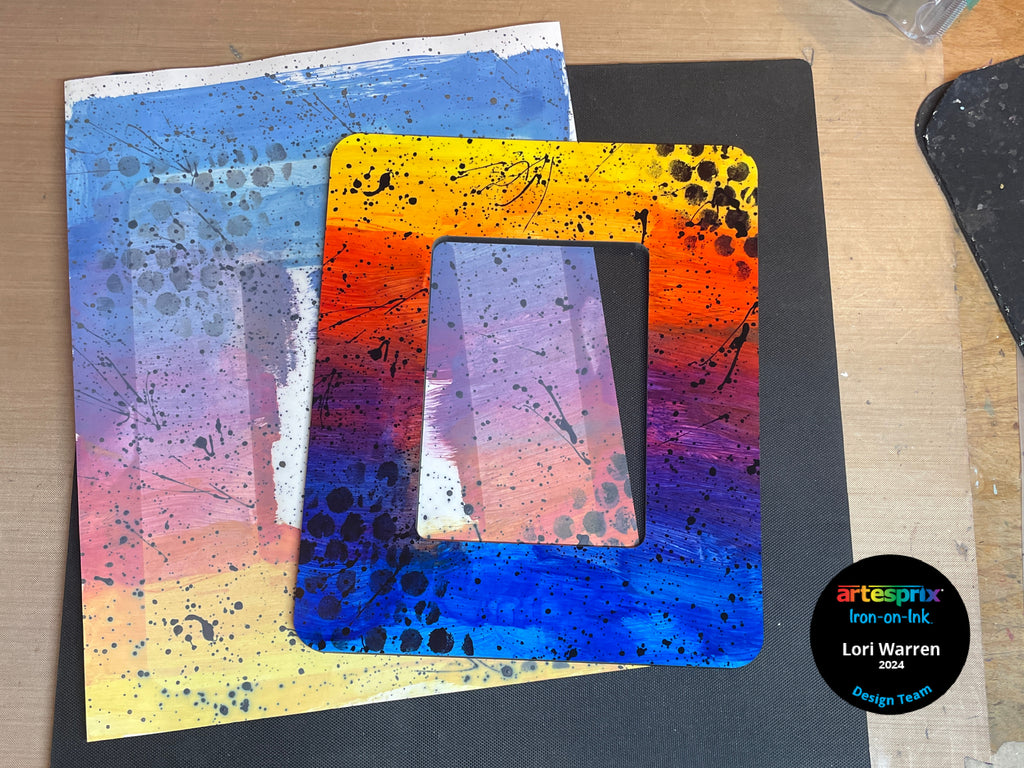
Step 9: Remove paper to reveal the transferred design.
Step 10: Remove adhesive protectant from the back of the picture frame backing and press firmly in the correct orientation.
Pro Tip: I like to add some hot glue to ensure the back is secure, while still utilizing and changing photos as needed.
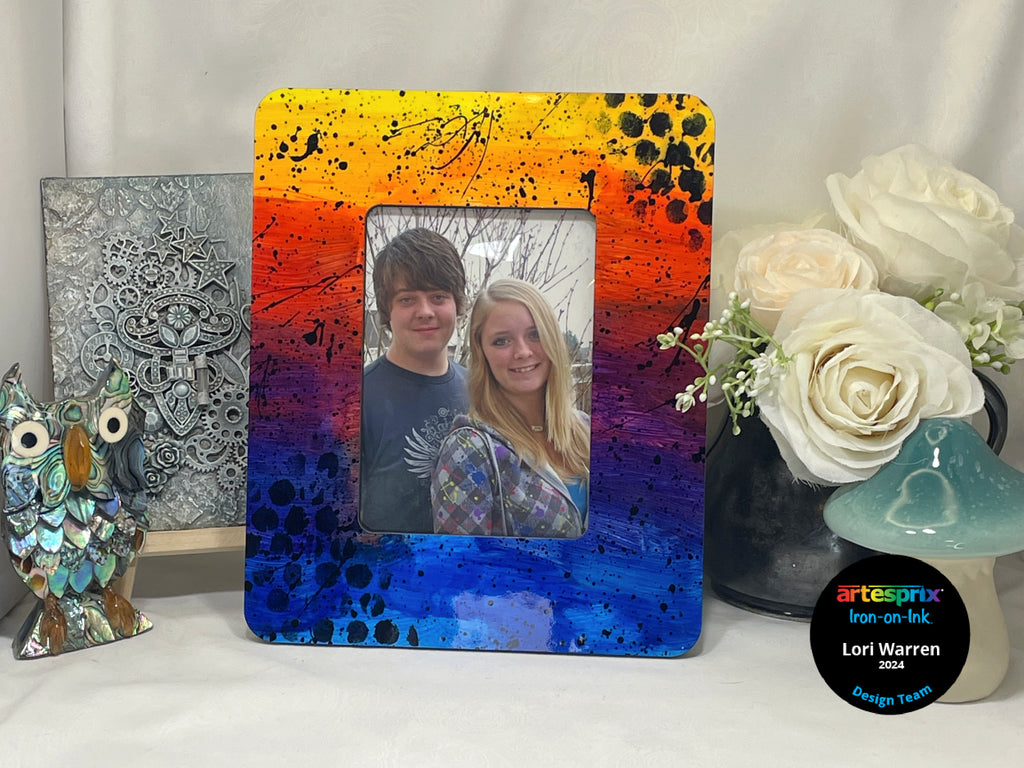
Isn’t this an easy stunner! It is so fun to create with such consistent results and you can accomplish this project too by using Artesprix Sublimation Acrylic paint and Acrylic Lightening Medium.
Hope you will give this project a try! Mix your own colors like I did or incorporate their 5 new sublimation acrylic colors!
Happy Day!
Lori Warren
**This post may contain affiliate links. That means that I may receive compensation if you purchase through the links I have provided. The price you pay for the product or service is not higher, but I may get compensated.**


