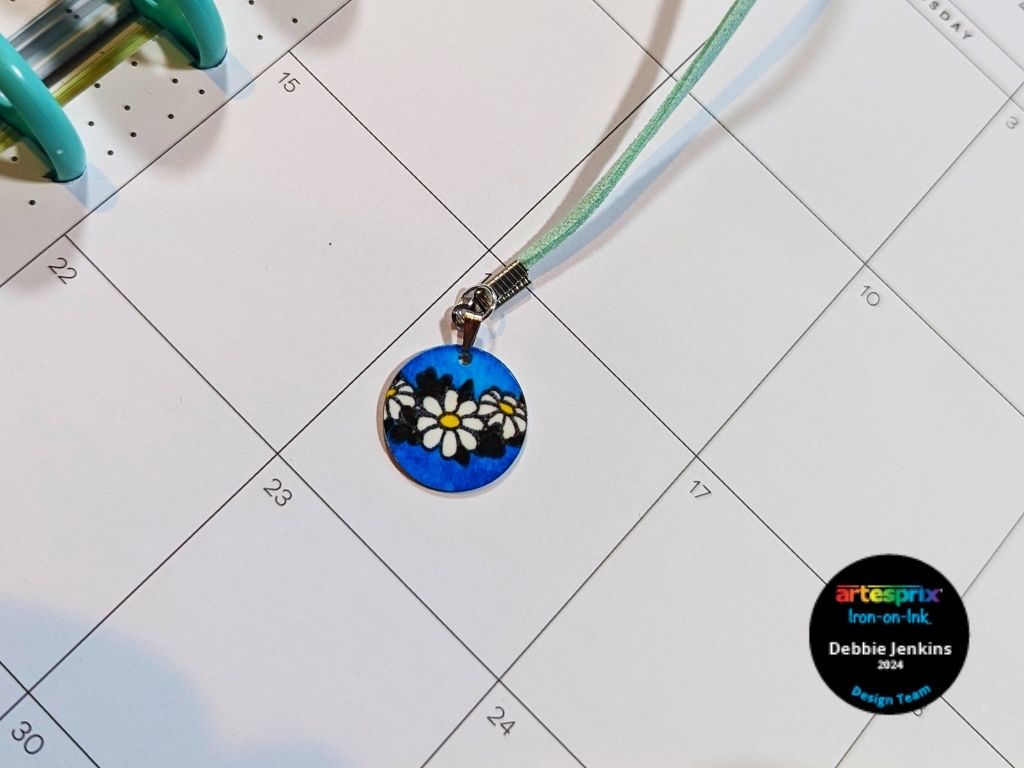
Hi guys! I'm Debbie from Debbie J's Crafting Corner. Welcome to my first kick-off blog for Term 9. I have served on the Artesprix Design Team in the past, but they have since introduced new products that I look forward to working with for the next 6 months. Today's project features the Blank of the Month for May, Charms. These are perfect for attaching to your planner, to a piece of jewelry or even at the end of a cord to use as a bookmark.
**This post may contain affiliate links. That means that I may receive compensation if you purchase through the links I have provided. The price you pay for the product or service is not higher, but I may get compensated.**
What is Artesprix Iron-on-Ink?
Artesprix Iron-on-Ink is specialty sublimation ink in craft form. Traditionally sublimation ink is found in a fancy (expensive) printer. However, Artesprix hit the crafting scene in 2018 giving Makers, like me, the ability to experience sublimation without high-end equipment. Sublimation is when ink transforms to a gas and then binds to a compatible blank once combined with heat and pressure. The big deal? Once the design is infused to the polyester coated blank or polyester fabric, it is lifetime permanent!
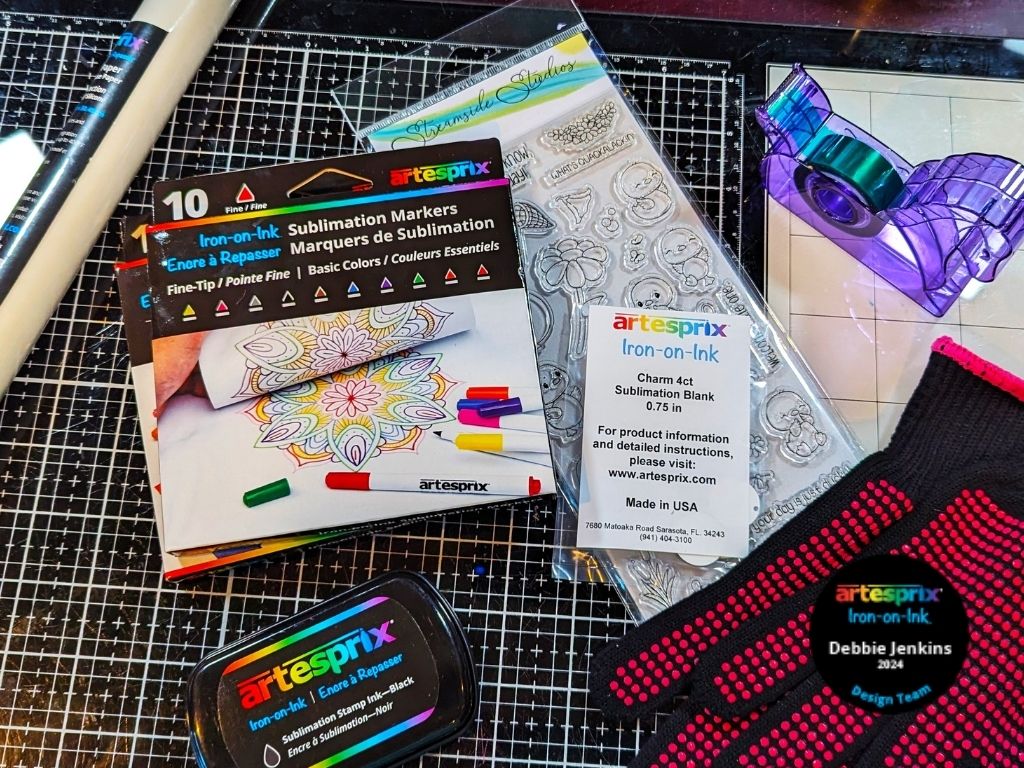
Supplies:
May 2024 Blank of the Month: Charms 4ct
Artesprix Sublimation Markers
Artesprix Sublimation Stamp Pad
Protective Project Mat
Artesprix Multi-Purpose Cleaner
Heat Tape
Protective Paper Roll
Streamside Studios – A Ducky Day stamp set
Reverse Tweezers
MISTI Stamp Platform
Cricut Easy Press
Plain Copy Paper
Pencil
Step-by-Step Tutorial:
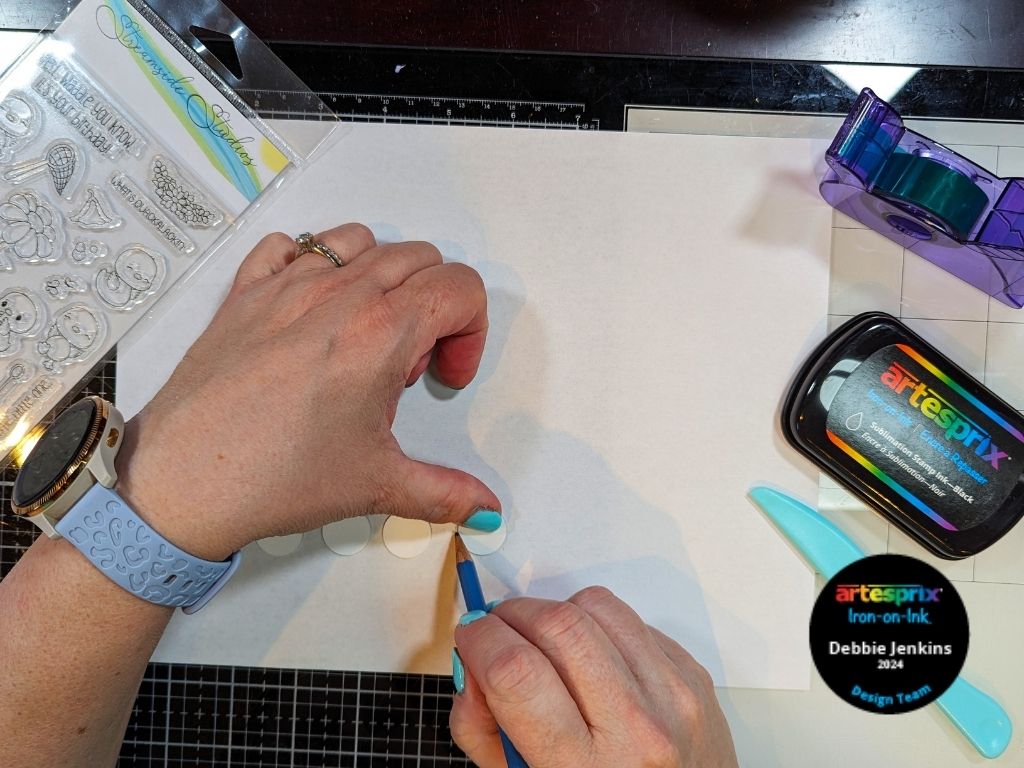
Step 1: Using a pencil, trace around the charm onto a plain piece of paper. Repeat this step multiple times for multiple charms.
Step 2: Because the Charm blanks are so small, I stamped some of the small stamps in this set using Black Artesprix Sublimation Stamp Pad to decorate each charm template.
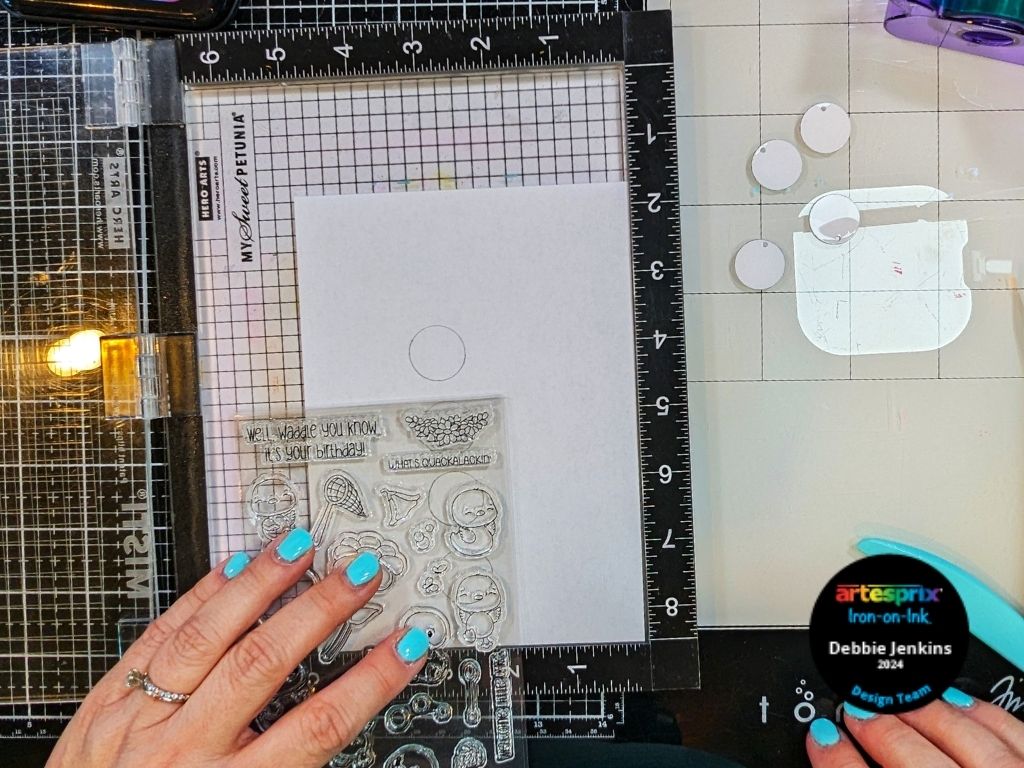
Step 3: Use Artesprix Sublimation Markers to color my design. There are lots of options with 30 colors to choose from.
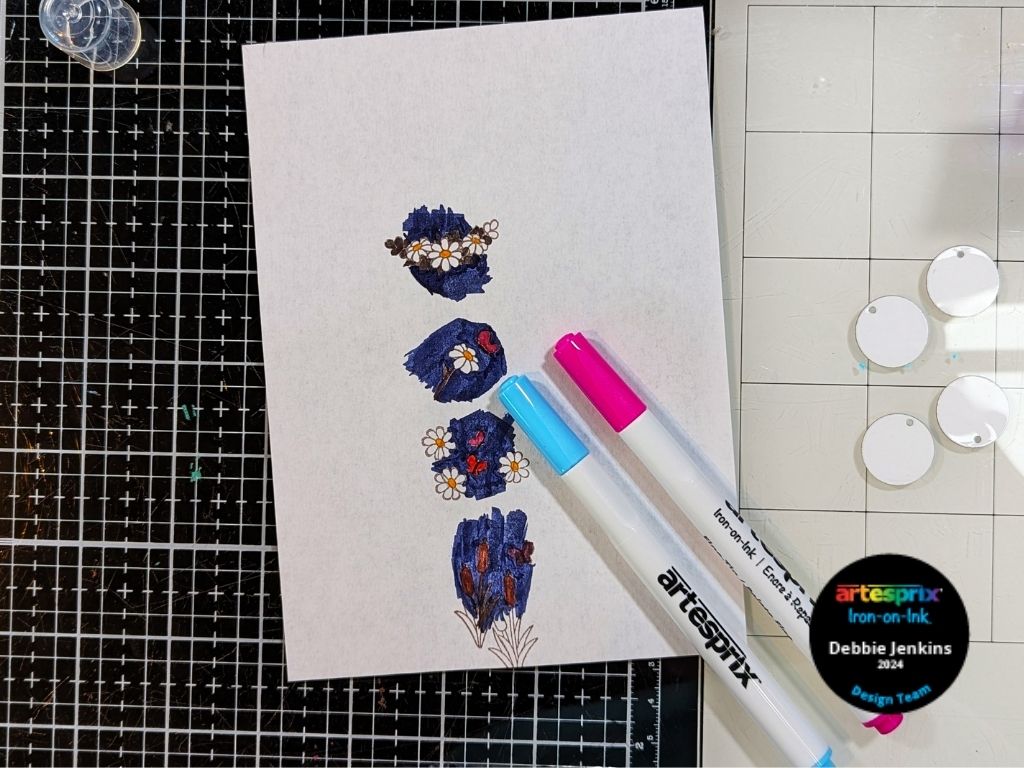
Pro Tip: The Basic Fine Tip Sublimation Marker set is ideal for small details intended for small blanks.
Step 4: Secure Charm Blanks to the design with Artesprix Heat Tape. You want to make sure to use Heat Tape, and NOT Scotch Tape or washi tape. The other tapes will NOT protect your project or your heat press!
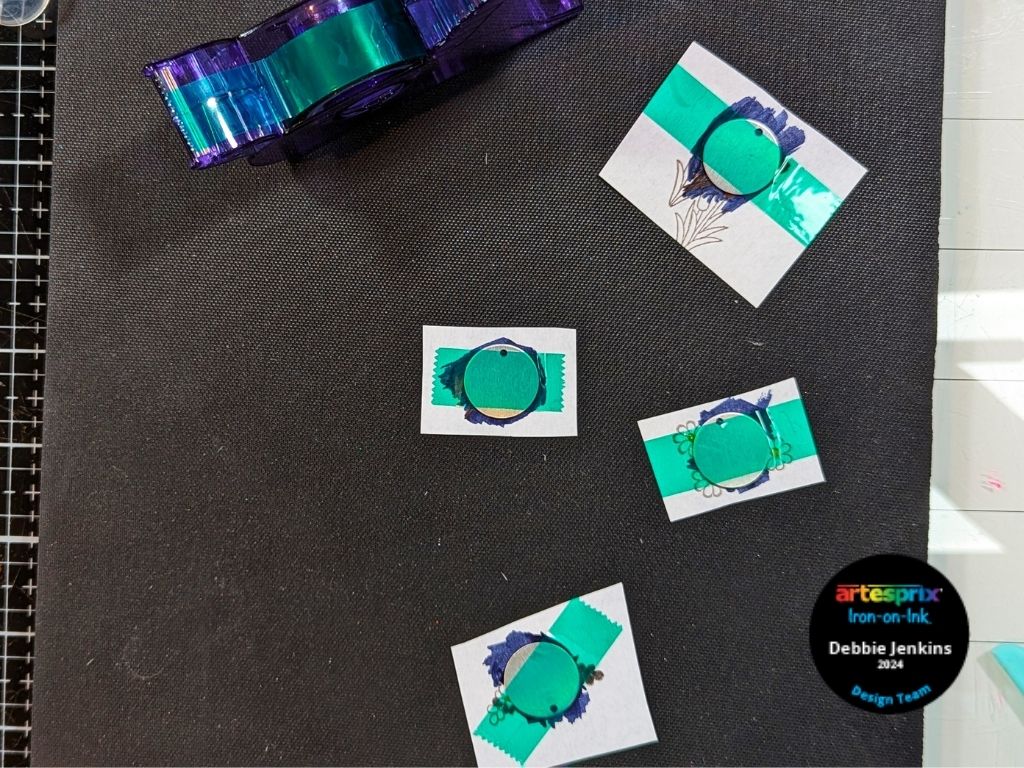
Step 4: For the "Sublimation Sandwich” you need protective paper. Ensure your protective paper is large enough to completely cover your design and blank.
Pro Tip 2: Make your "sandwich" like this: Protective paper on the bottom (bottom bun), your secured project with the paper on top, and another layer of the protective paper on top (top bun).
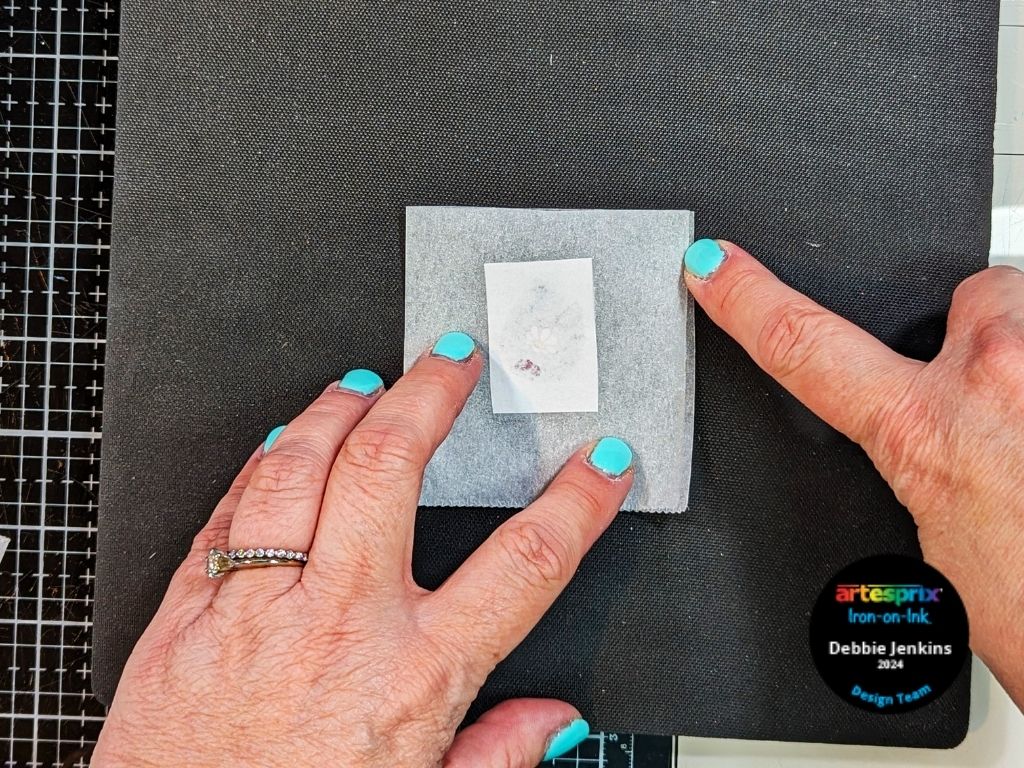
Step 5: Now it’s time to transfer! I placed my "sublimation sandwich" onto my Protective Project Mat. I set the temperature and time on my handheld Craft Press to 400℉ for 45 seconds. Keep Heat Source still during the transfer process to prevent ghosting.
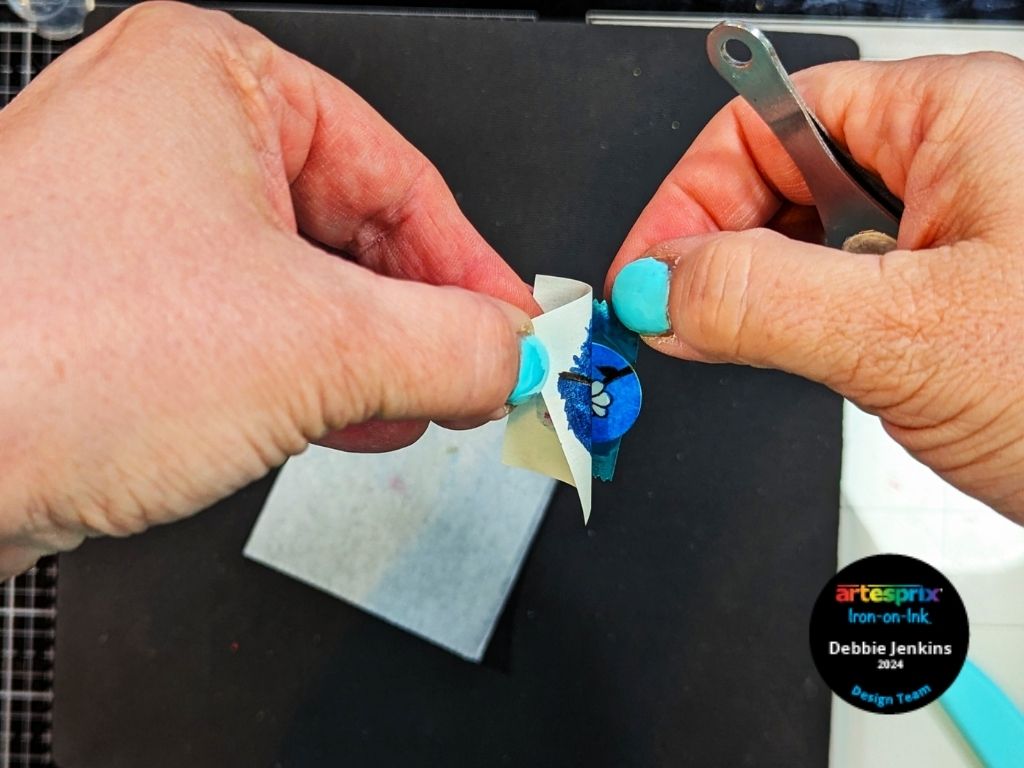
Step 6: "Peek Test" time, this can be a project saver! Before removing any tape, peel back a small part of your design to ensure the transfer was successful.
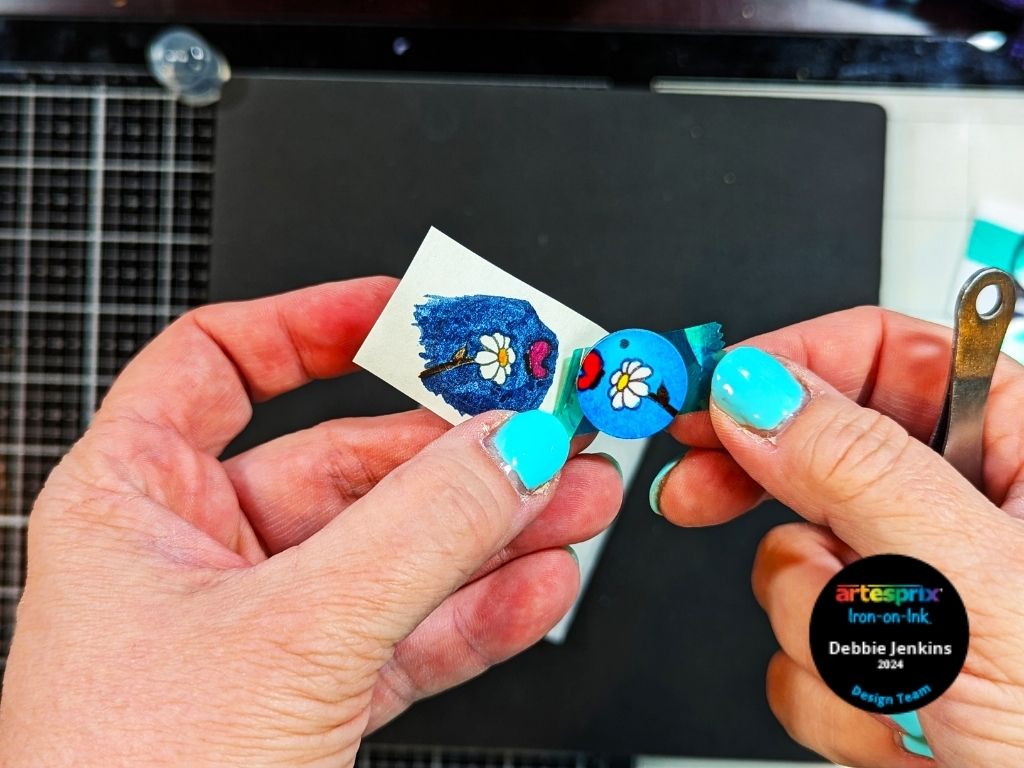
Step 7: Once you confirmed your transfer was successful, remove your design for the big reveal!
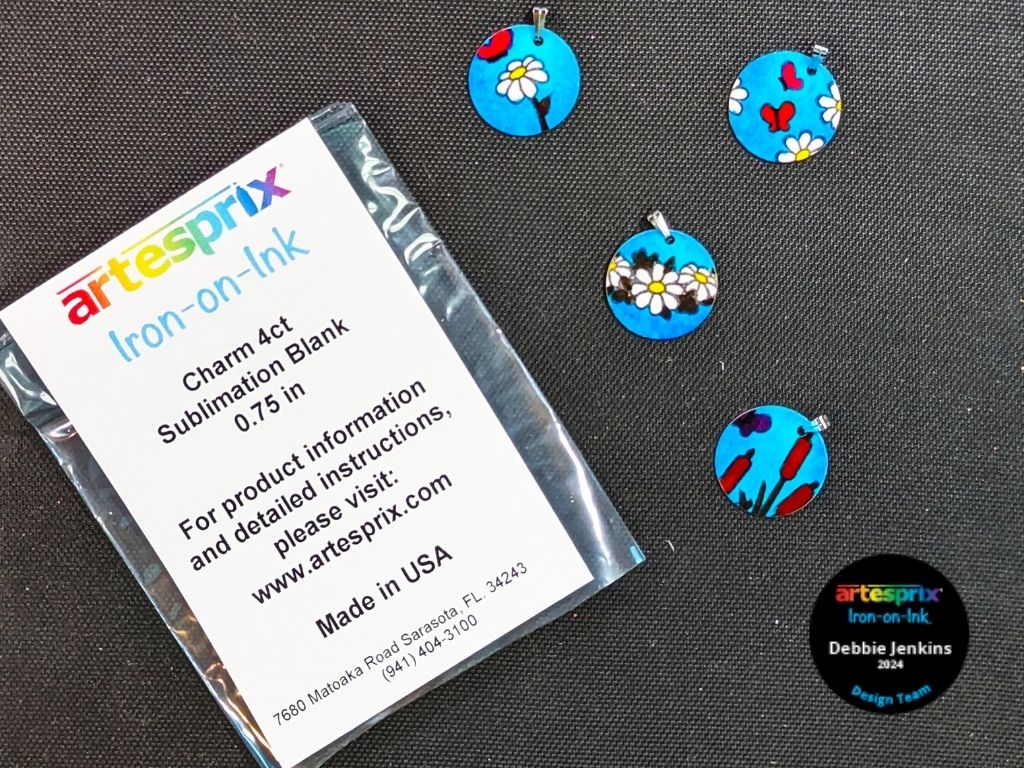
Step 8: These charms are just so cute! Artesprix includes four small bails so you can attach your charm to… whatever you decide. I added mine to some leather cord.
They will make some great bookmarks!
These were extremely easy to make because they are small! A great way to use those small stamps and dies. I am looking forward to bringing you new inspiration for the next six months. If you don't have Iron-on-Ink in your Maker's toolbox yet, head on over to the Artesprix Shop, right now! They have a "Starter Kit" that I highly recommend. (It even comes with several blanks to get you started!) If you want to learn more about me, head to Debbie J’s Crafting Corner!
Because, if I can make it, You Can too!
Big Hugs!
Debbie Jenkins
**This post may contain affiliate links. That means that I may receive compensation if you purchase through the links I have provided. The price you pay for the product or service is not higher, but I may get compensated.**