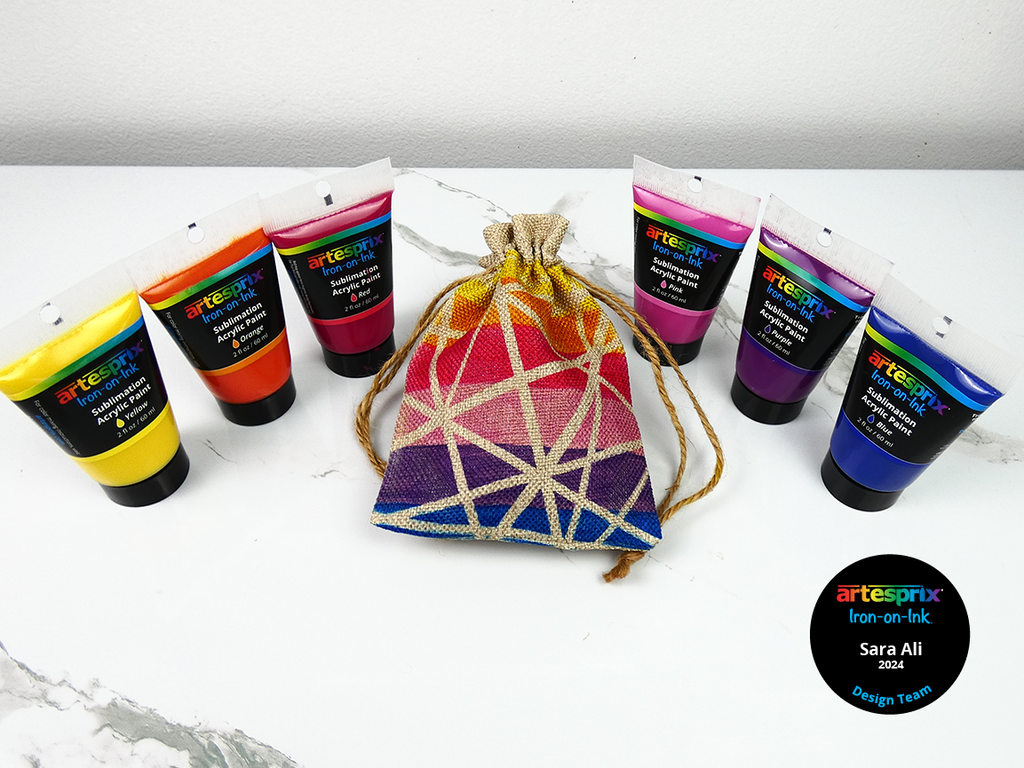
Hello friends! My name is Sara, and today we’re customizing a Drawstring Bag with the newly released Artesprix Sublimation Acrylic Paints! The new sublimation paints come in different shades which will make this project easy and fun! Since Artesprix sublimation acrylic paint is uniquely formulated with Iron-on-Ink, any designs we paint become sublimation designs that can be transferred onto any sublimation blank with no printer needed!
**This post may contain affiliate links. That means that I may receive compensation if you purchase through the links I have provided. The price you pay for the product or service is not higher, but I may get compensated.**
What is Artesprix Iron-on-Ink?
Iron-on ink is a special ink that gets printed onto poly-coated substrates once it is subjected to heat. Iron-on-Inks are always muted on paper, and they become vibrant after they’re heat pressed onto the sublimation blank.
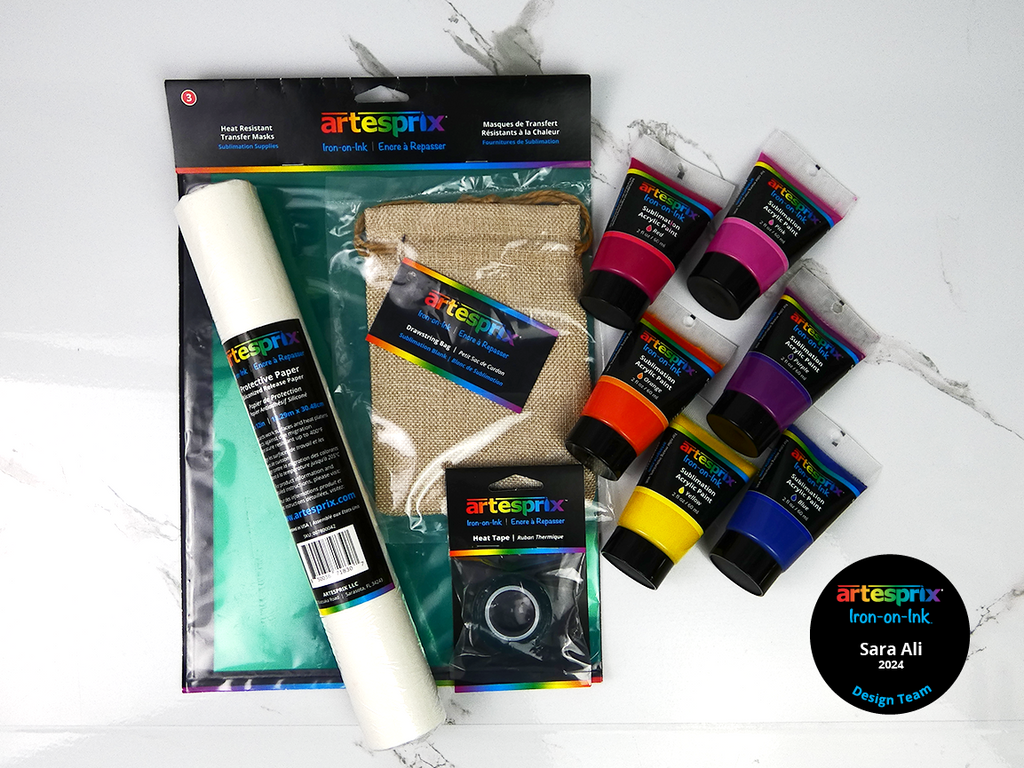
Supplies:
Drawstring Bag
Artesprix Sublimation Paint
Protective Paper
Heat Resistant Tape
Heat Resistant Transfer Mask
Mixed Media Paper
Paint Brush
Pencil
Paper Trimmer
Heat Press
Step-by-Step Tutorial:
Step 1: Place your drawstring bag on a mixed media paper and trace it with a pencil. Tracing your blank gives you a template for your sublimation design.

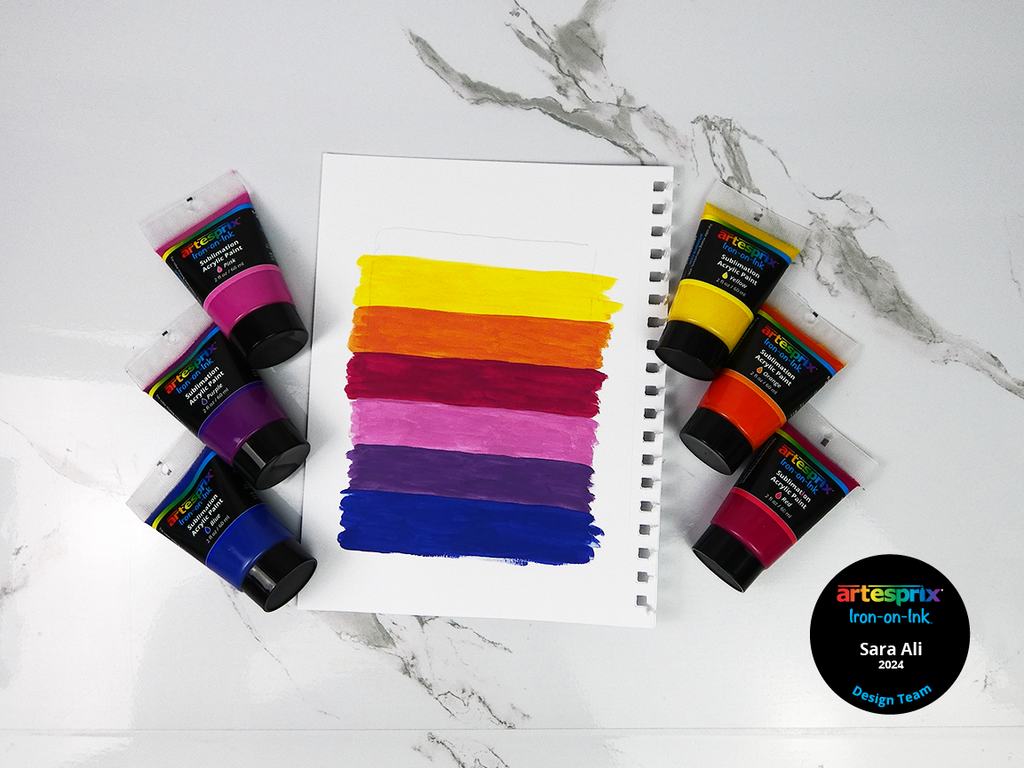
Step 2: Choose your color palette and paint wide bands from each paint color. With the new sublimation paints, we have so many shades to choose from – I went with yellow, orange, red, pink, purple and blue! For this design, I painted a wide band of color for each shade.
Step 3: Use a paper trimmer to cut small rectangular strips of the Heat Resistant Transfer Mask. You can cut however much you like, I cut about 10-13 strips. Now, use these strips on our painted sublimation design. Stick them in a scattered pattern, they’ll create different geometric shapes as they intersect!

Step 4: Tape your drawstring bag face down to your sublimation design. Secure it with heat resistant tape.
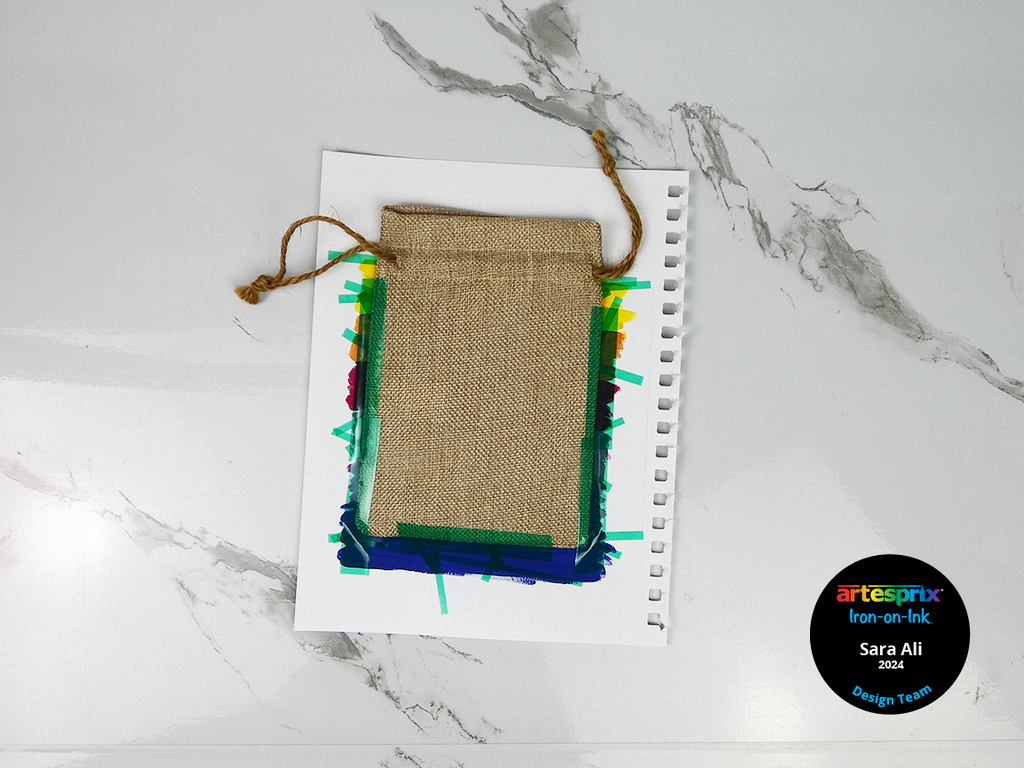
Step 5: Use your protective paper to cover the top and bottom of your drawstring bag with the design taped to it! It is very important to use protective paper because we colored outside our design template. So, the protective paper will catch any extra Iron-on-Ink and you’ll protect your heat press!
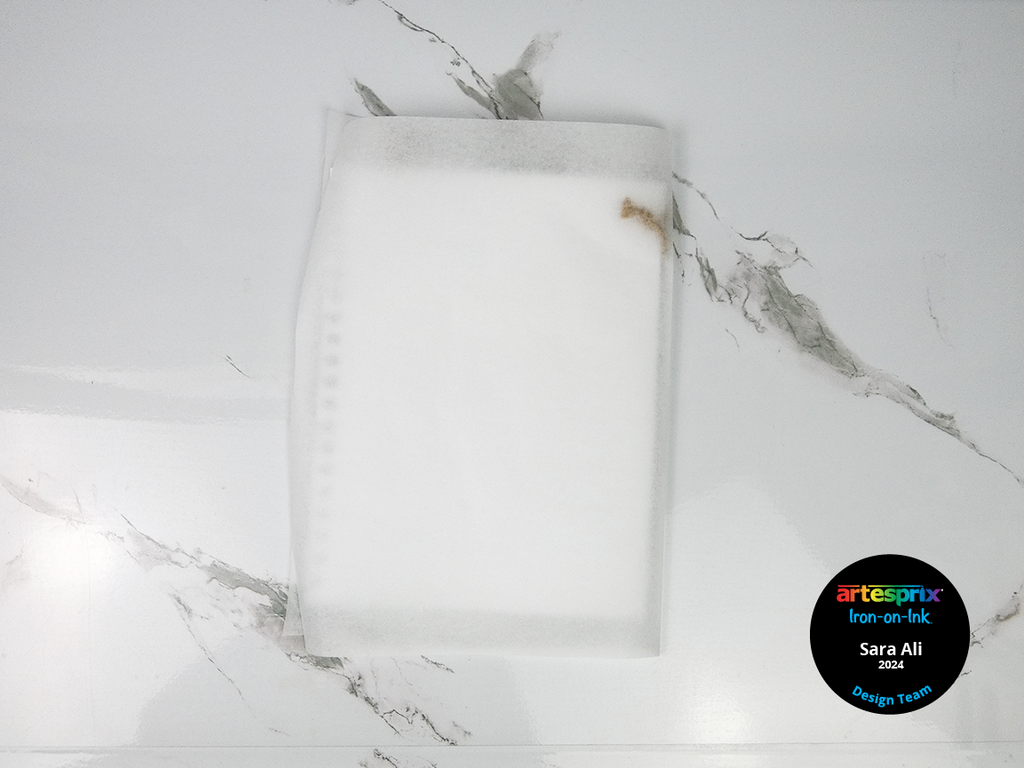
Step 6: It is time to press your design! Your heat press should be set to 400°F and you’ll need to press it for 45 seconds.
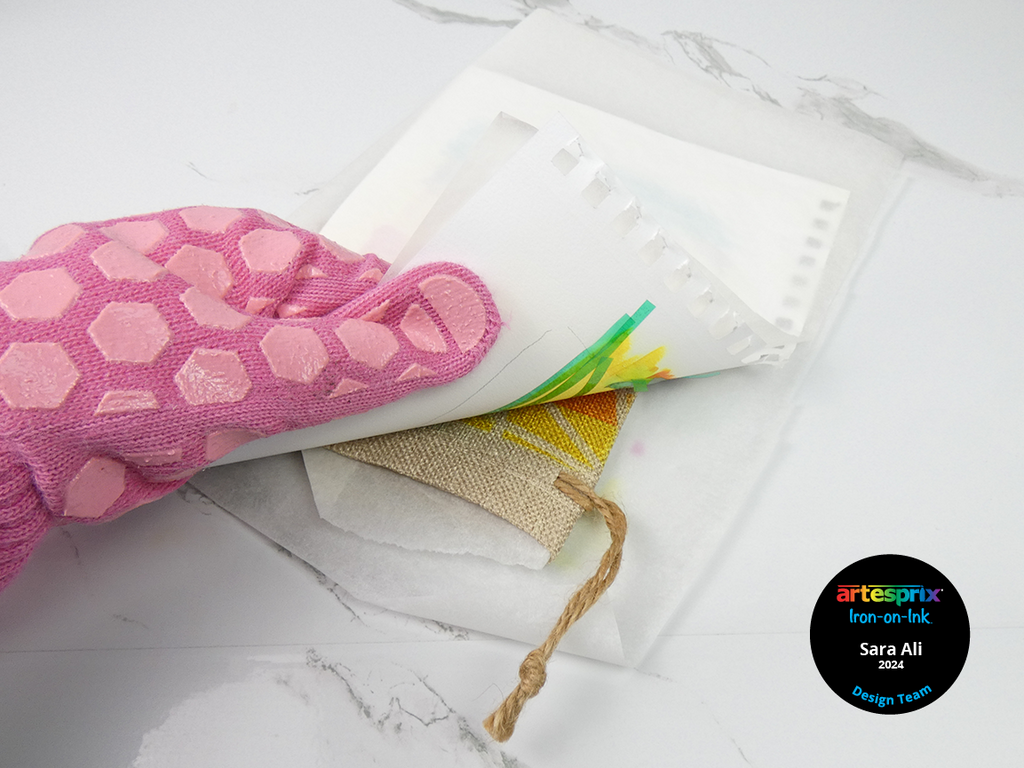
Step 7: After you press your design, peel one corner of your design to get a peek of how good the design transferred. You’ll most likely get a vibrant transfer, but if not, you can re-press your design!
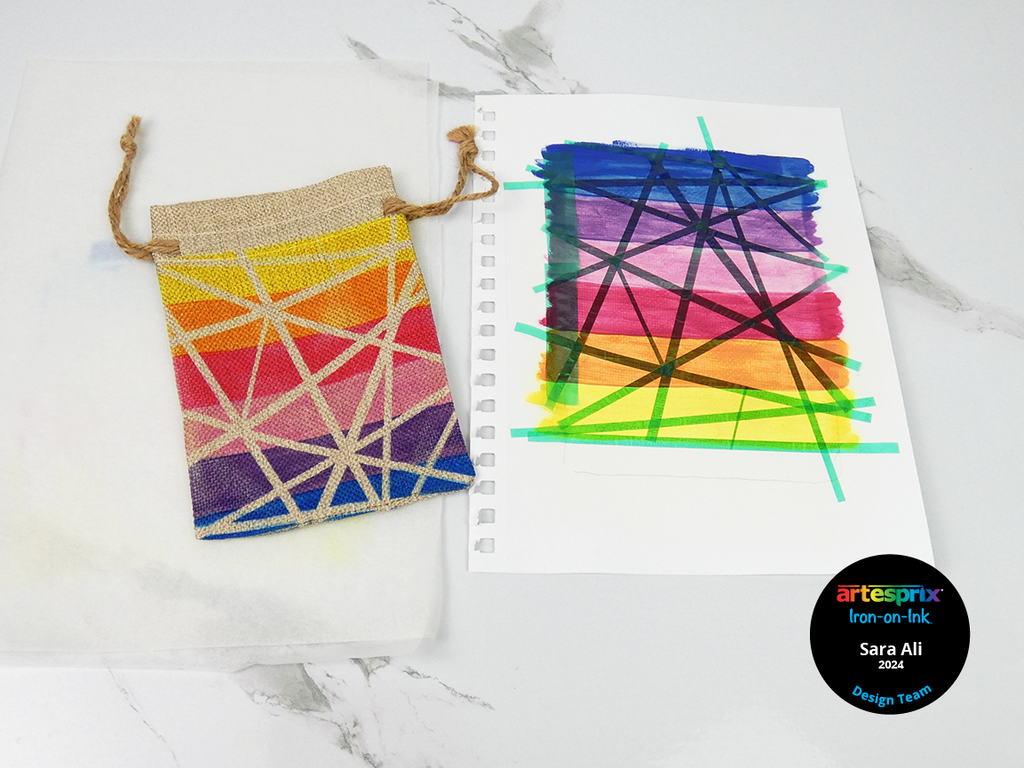
Step 8: Reveal your design! This drawstring bag turned out so vibrant! The new sublimation paints are really fun to work with, and the heat resistant transfer mask does a great job at blocking Iron-on-Ink designs! You can use the same technique and yield different results when you cut out different shapes from your heat resistant transfer mask!
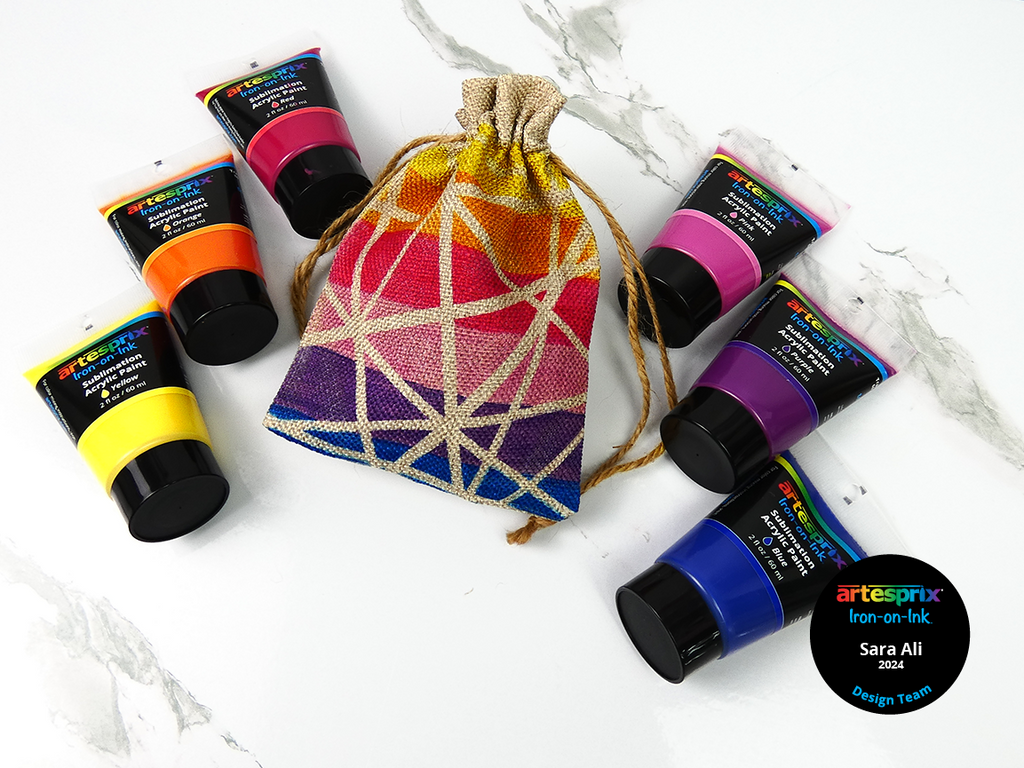
I hope this project inspired you to try these new sublimation acrylic paints! When you use Artesprix sublimation acrylic paints in your next sublimation project, please don’t forget to share your creations with us on Instagram or Facebook!
Thank you for reading! I am on Instagram, Facebook and TikTok, let’s keep in touch!
Keep on crafting!
Best,
Sara Ali
**This post may contain affiliate links. That means that I may receive compensation if you purchase through the links I have provided. The price you pay for the product or service is not higher, but I may get compensated.**