Cute Metal Key Chains with Sublimation Markers!
Artesprix Design TeamInk Pads, Key Chain, Markers
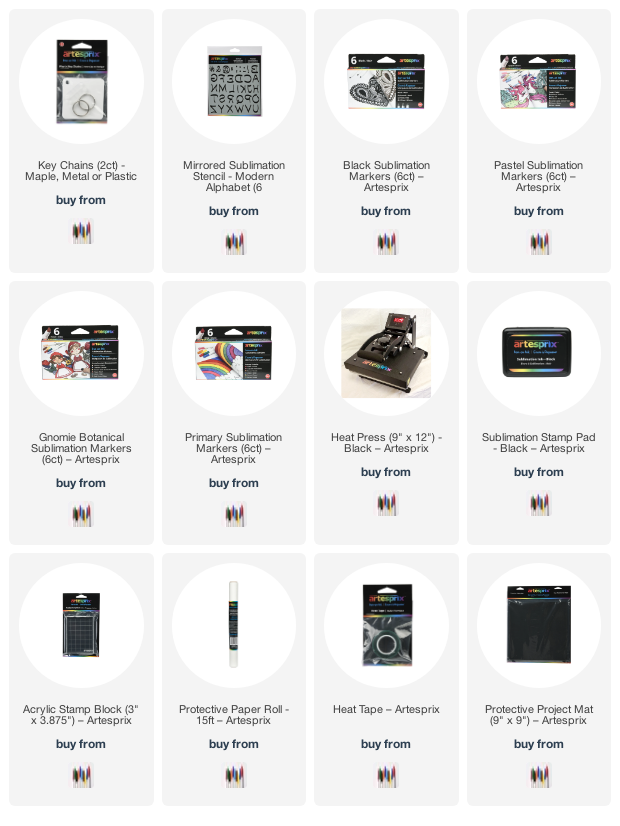
Products in this post


Create Artesprix Plastic Key Chains that last a lifetime
Sublimation Iron-on-Ink Key Chains using Artesprix Markers & Stamp Pad
Why blend in when you can stand out? Create some cute DIY Key Chains with Iron on Ink Sublimation markers!

Hello, my crafty friends! Maria Russell on the blog with you today and it’s my turn to share another fun project using Sublimation markers to create cute key chains.
Here’s what you’ll need to create the project.
Materials:
- Metal Key Chains
- Iron-On-Ink Sublimation Markers (Black, Original, Gnomie Botanical and Pastel markers)
- Sublimation Ink Pad – Black
- Stamp sets to use for your design
- Mirrored Sublimation Stencil 6×6
- Stamping Acrylic Block – or your MISTI
- Plain Copy Paper
- Pencil
- Heat Tape
- Protective Paper
- Project Mat
Tools:
- Heat Source: Artesprix Heat Press, Dry Iron or Home Iron (without steam)

Step-by-step Tutorial:
Step 1.
Place the metal key chain on a piece of plain copy paper and trace the outline using a pencil to determine the area that you have to work on.

Step 2.
Mount your stamp on an acrylic block (or stamping tool) and stamp the image on the copy paper using Artesprix Sublimation Ink Pad. Repeat this process for the rest of the images that you need to use for your key chain.

Step 3.
Next, color your stamp design using your Iron-on-Ink sublimation markers. I used the Artesprix Original, Gnomie Botanical, and Pastel Sublimation Markers to color my images. The colors may look a little muted at first.

Step 4.
Place the Mirrored Sublimation 6×6 Stencil on top of the design and trace the letter with the Medium-point Black Sublimation marker

Step 5.
Using Artesprix Heat Tape, tape your blank down to your design. If you are using the Artesprix Heat Press, you only need one on each side to hold it down. If you are using an iron, you will need more. Sometimes the iron will cause the image to slip and you will get a ghost image. [Only use Artesprix Heat Tape on the outer edge of the design (not over it).]
Step 6.
Now, it is time for a sublimation sandwich. Cut two pieces of Protective Paper to cover your project on the top and bottom. Make sure that your design is facing up. Place it inside the Heat Press and close the machine.

Step 7.
The Heat Press will beep indicating that your project is finished! While wearing protective gloves, lift the handle and take your project out. Place it on top of the project mat and wait for about 20 minutes to cool down.

Step 8.
Gently remove the paper to reveal the design.

Step 9.
Repeat the process mentioned above and create another design.

I absolutely LOVE how both Metal Key Chains turned out!

If you like this DIY key chain, consider checking out some of the design team’s DIY on the blog. Here is another cute key chain project by Ivy
You will find all the blanks and other supplies available for purchase on the Artespix website. I have also listed and linked them below. Thank you for stopping by and happy crafting!
—————-SUPPLIES————-
The post Cute Metal Key Chains with Sublimation Markers! appeared first on Artesprix.


