Fall Watercolor Thanksgiving Towel with Iron-on-Ink
Artesprix Design TeamCricut, Fall Projects, Heat Resistant Transfer Mask, Ink Pads, Kitchen Towel
Products in this post


Hi, it’s former Design Team Member Mandie from Mandie’s Scrappin’ and I am excited to be back as the October Guest Designer on the Artesprix Blog! I am always looking for a reason to use my Sublimation Arts & Craft Supplies from Artesprix. For my project today, I will be showing you how to personalize the Kitchen Towel from the Artesprix Shop. It is large, soft, and has a waffle style material which is a great fabric feature. I think this would make a great themed hand towel for a powder room at Thanksgiving this year!

**This post may contain affiliate links. That means that I may receive compensation if you purchase through the links I have provided. The price you pay for the product or service is not higher, but I may get compensated.**
What is Sublimation Iron-on-Ink?
Iron-on-Ink is an innovative craft sublimation medium to create unique designs that you can transfer to a endless selection of blanks. You can create some amazing one-of-a-kind gifts that will last a lifetime. When the finished sublimation design is combined with heat and pressure, the ink turns into a gas and binds to the polyester fabric or poly-coated blank leaving you with a permanent transfer. Between Artesprix's plethora of Iron-on-Ink products and the endless amount of compatible sublimation blanks, the possibilities are endless! Iron-on-Inks is fabulous because you don’t have to invest in an expensive sublimation printer to create some high quality projects right in your home! Plus, if you’re more “hands on” or “hands inky” like me, I feel you can get so much more creative with the Sublimation Inks, Paints and Markers that Artesprix offers!
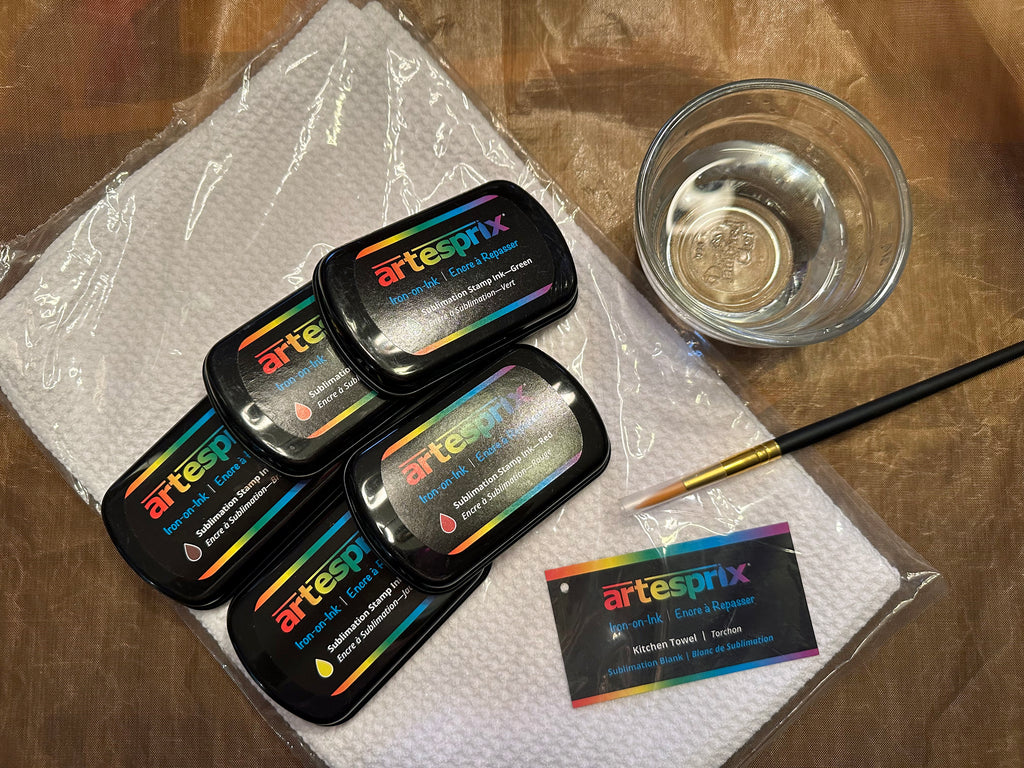
Supplies:
Copy paper
Cricut Machine (or preferred machine)
Heat Press
Paint Brush
Teflon Crafting Mat (or other non-porous surface)
Cup of Water
Step-by-Step Tutorial:
Step 1: Measure the area of the towel to determine the size of your designated ensure your copy paper is large enough.
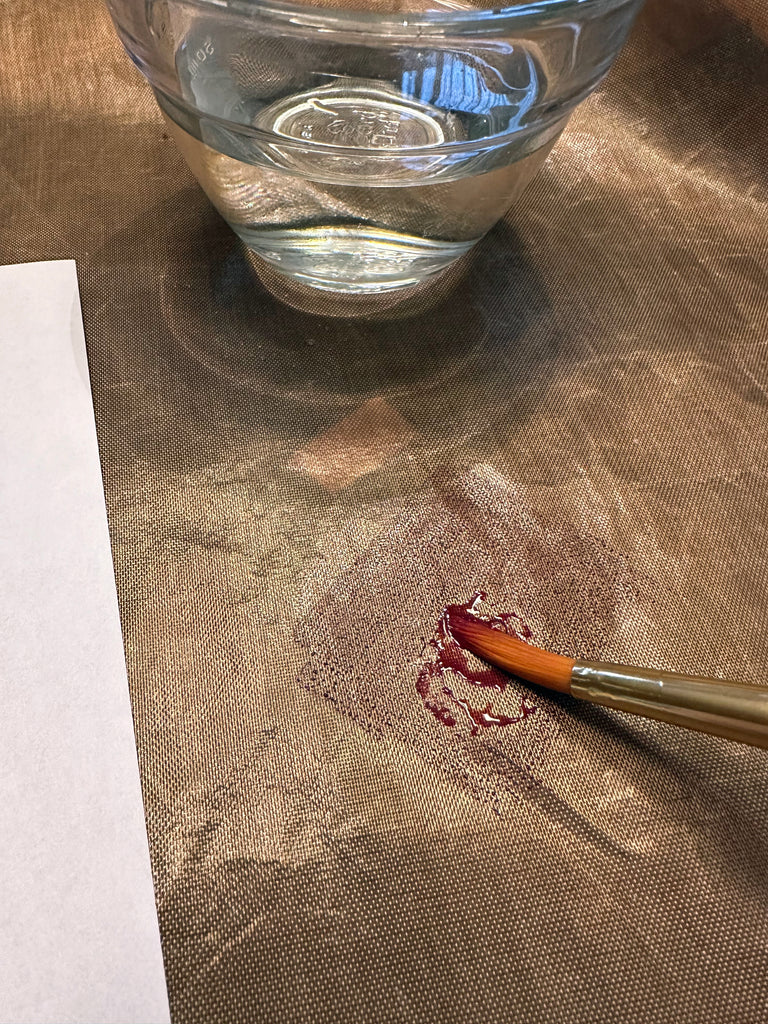
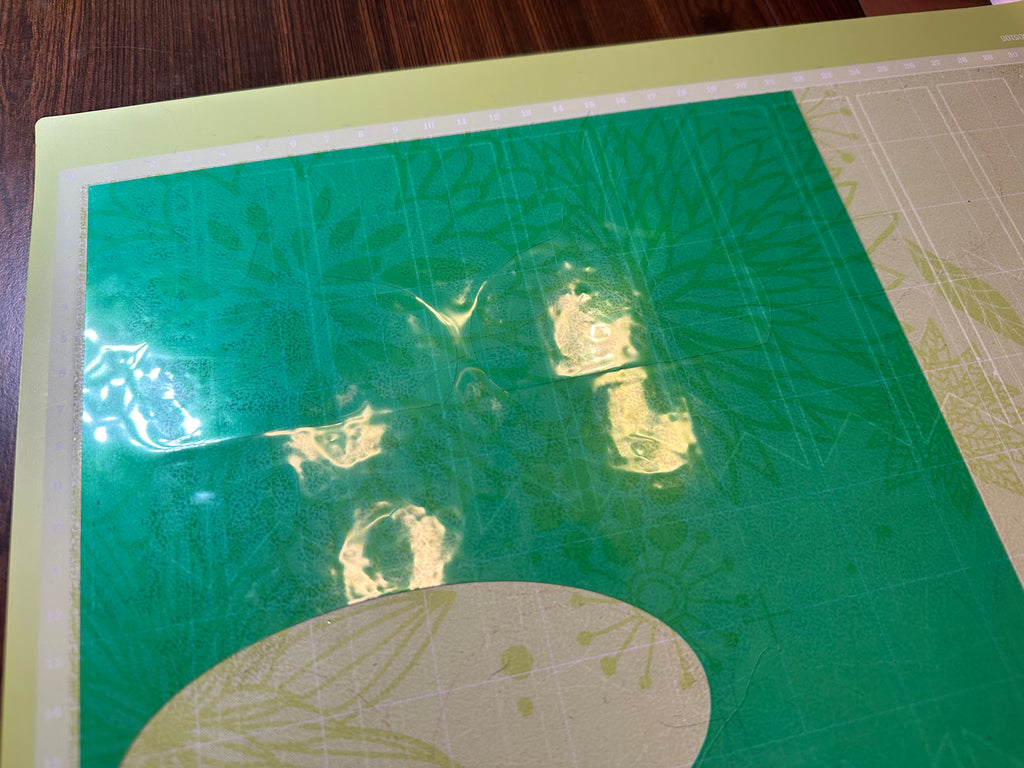
Step 2: Stamp the Yellow Sublimation Stamp Pad ink onto the Teflon mat. Using a paint brush and water apply the Yellow ink to random areas within the design template on plain paper.
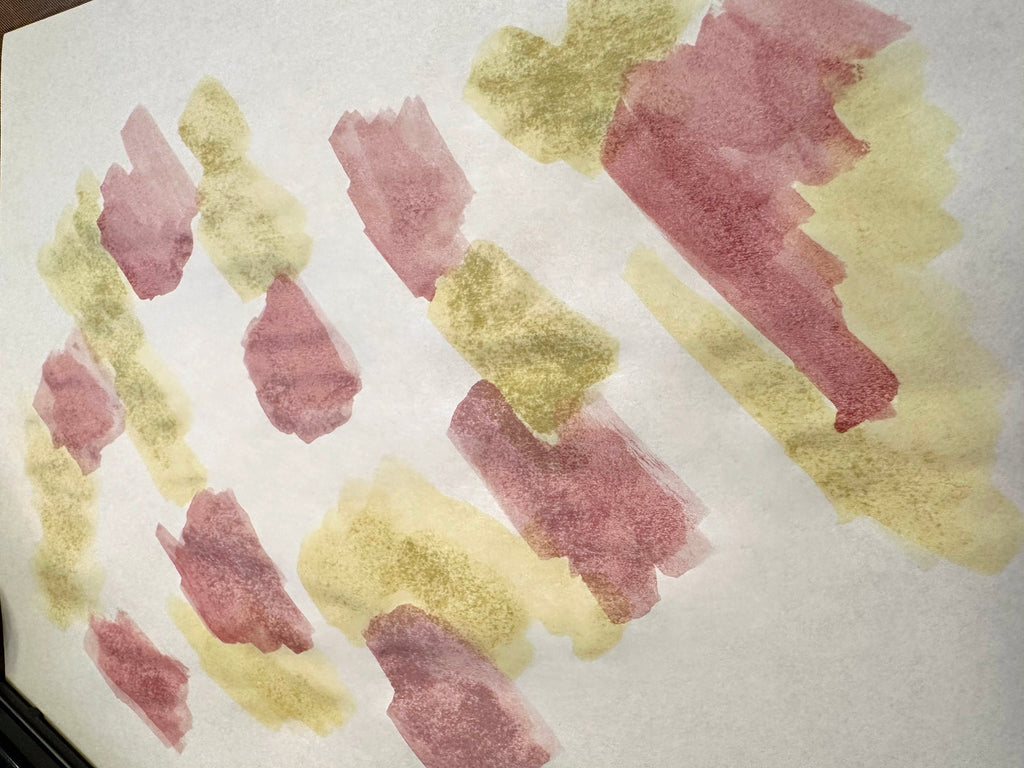
Step 3: Repeat this process with the Orange and Red Sublimation Stamp Pads. I mixed different shades of the Red, Orange and Yellow by combining them with each other or a bit of brown for some color variations.
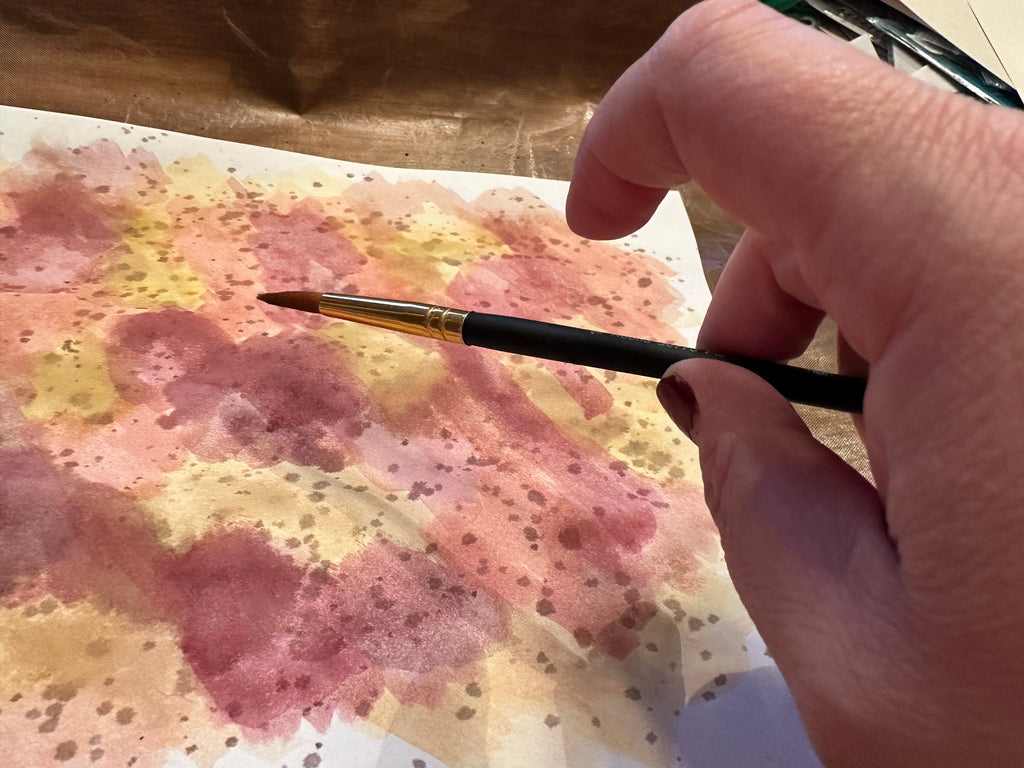
Step 4: Let your paper dry for a bit. Then pick up some brown ink mixed with water from the mat and use your finger to tap the brush and make splatters in brown over then paper.
Step 5: Next, use a Cricut, or other die cutting machine, to cut the word “Thankful” from the Heat Resistant Transfer Mask. We recommend using the "Premium Vinyl Setting" to cut this material.

Step 6: Pull the excess materials from around your word. Then position it on your towel where you would like to adhere the mask. Starting from the center where the peel-away liner is, slowly peel up the liner and adhere the mask to your towel.

Step 7: Place your completely dry water-colored creation face down on the towel, making sure that your mask is completely covered.
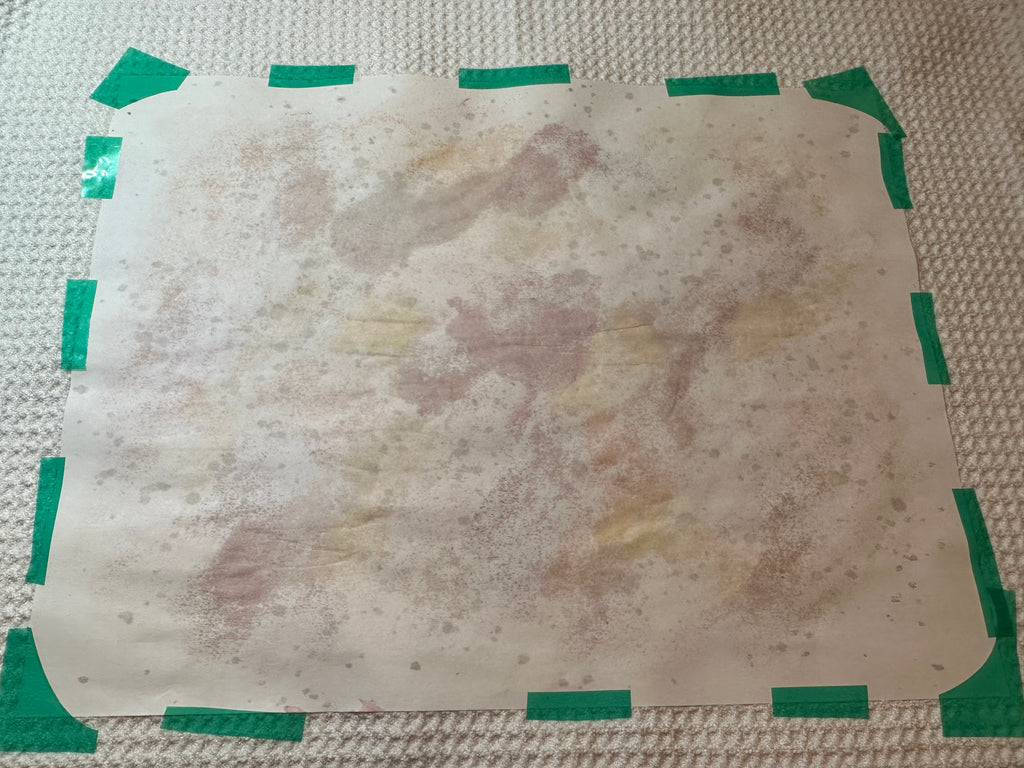
Step 8: Use the Heat Tape to adhere your design to your blank. You will want to make sure to use plenty of tape so you have good contact with the blank all the way around. Now you are ready to transfer!
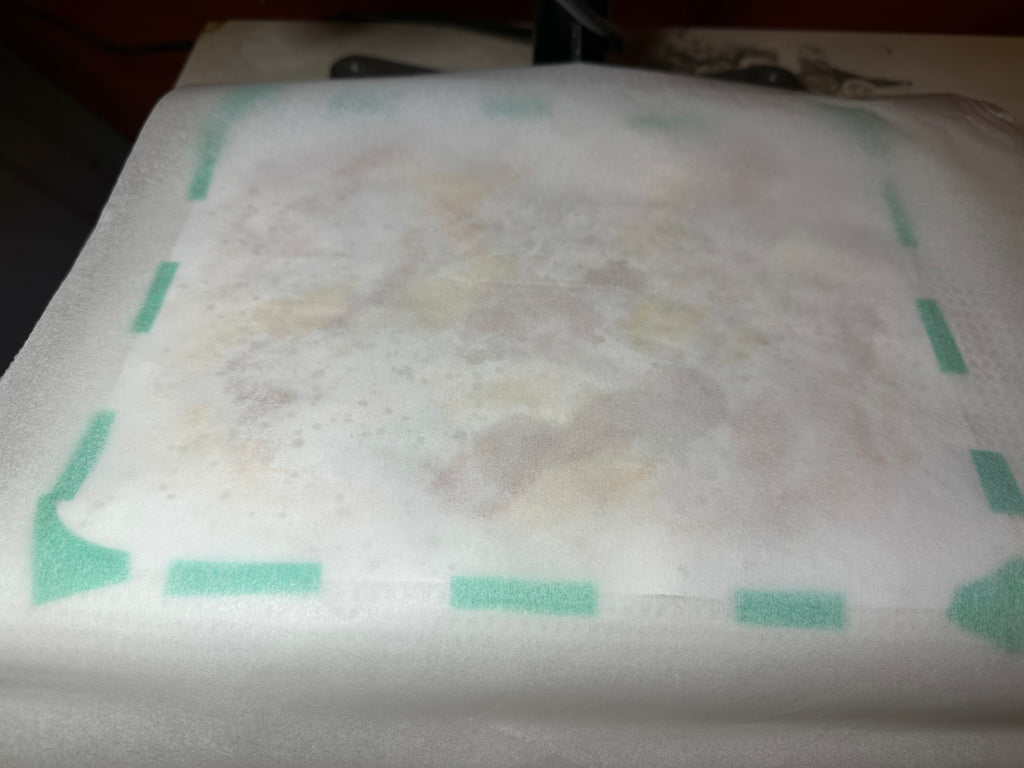
Step 9: You’re going to want to adjust your heat source to the recommended settings. For this blank it’s recommended 380℉ for 60 seconds. Next you will create your “Sublimation Sandwich” by laying down a piece of Protective Paper on your press, then your blank, facing up with the design attached, then another piece of Protective Paper on top to complete the sandwich.
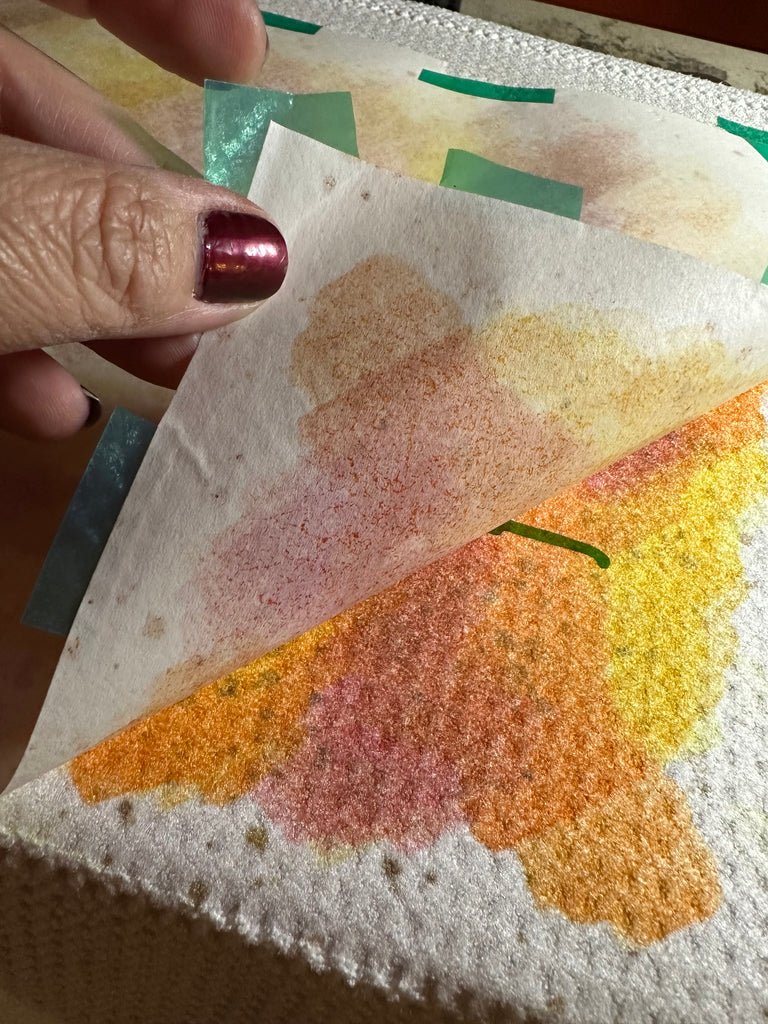
Step 10: Now for the most exciting part, the “peek test”! Peel up a corner of your design and check to make sure your design has transferred properly. If you think the transfer is not vibrant, you can re-press if needed because no tape was removed.
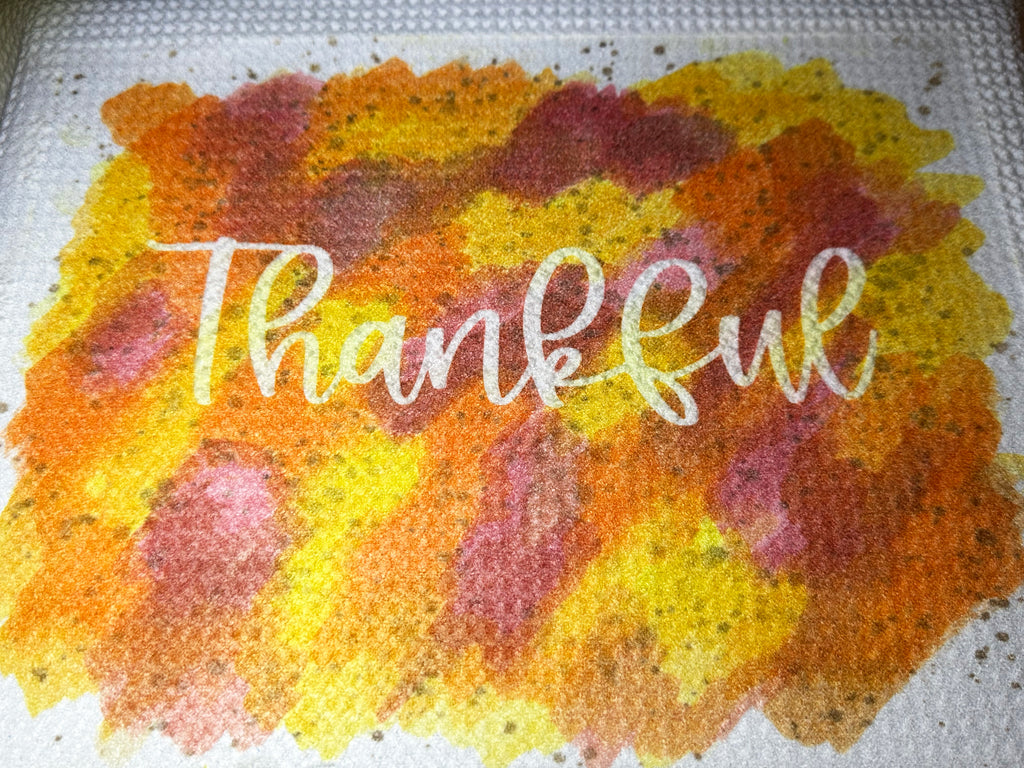
Step 11: My "peek test" was successful, the colors looked great, so I revealed my finished project and WOW! Look at the difference between the before and after it has been pressed. Everything is now much more vibrant, that is a part of the sublimation magic!
I am always amazed at how easy it is to create beautiful home décor with Artesprix, right at home, so fast, and with no special printers! If you want to see more projects like this, check out the other Kitchen Towel Blogs. I look forward to using my Artesprix supplies more as the holidays approach, and I hope you found inspiration today to do the same.
Stay Crafty,
Mandie Wade
**This post may contain affiliate links. That means that I may receive compensation if you purchase through the links I have provided. The price you pay for the product or service is not higher, but I may get compensated.**


