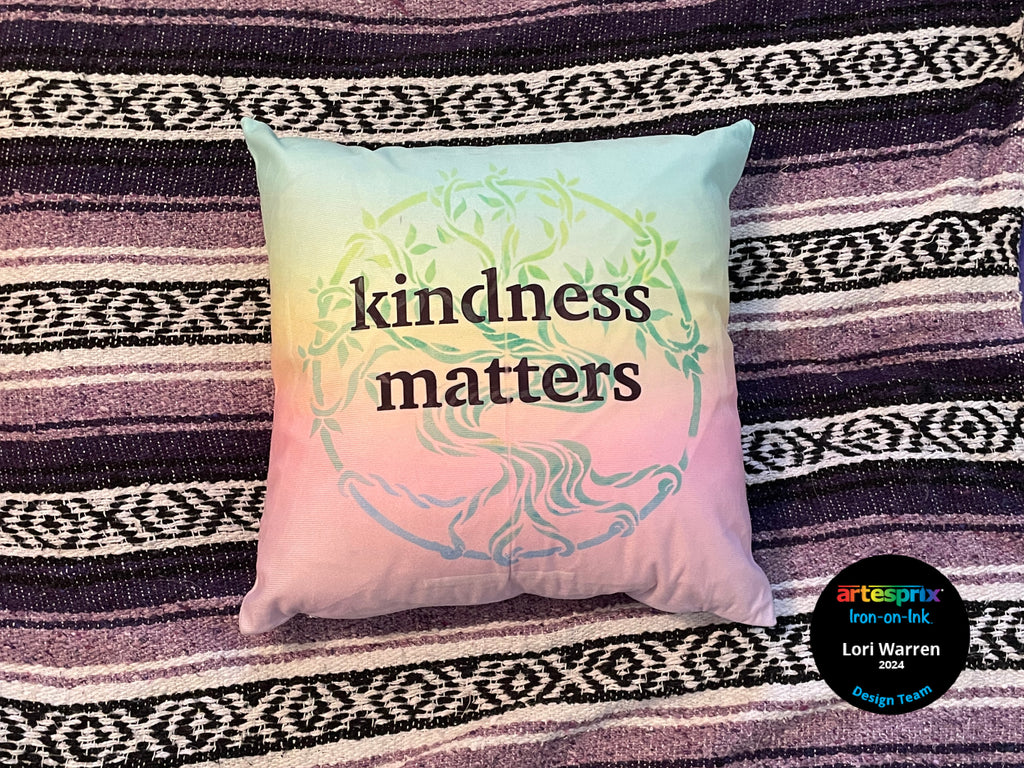
Kindness Matters Artesprix Ombre Pillow Case
Artesprix Design TeamBack-to-School Projects, Ink Pads, Inks, Pillow
Products in this post


Hello all, Lori here, with a new Blank of the Month Project featuring Artesprix Sublimation Stamp Ink, Markers, Acrylic Lighting Medium and Refill Sublimation Ink . This project builds on the theme of the Ombre PIllow Case, Blank of the Month, and focuses on a two layered stenciled technique featuring inked words over a painted design. The instructions below will walk you through the steps by steps which includes a helpful Pro Tip as well as an option for any "oops!".
**This post may contain affiliate links. That means that I may receive compensation if you purchase through the links I have provided. The price you pay for the product or service is not higher, but I may get compensated.**
What is Sublimation Iron-on-Ink?
It is an interesting and fun product that allows you to create a design on standard copy paper that can then be heat transferred onto surfaces (must have polyester in it or have a polyester coating). Once the project is transferred to the blank, it is lifetime permanent. Before Artesprix, you would need a fancy printer to experience this level of personalization, but not anymore!
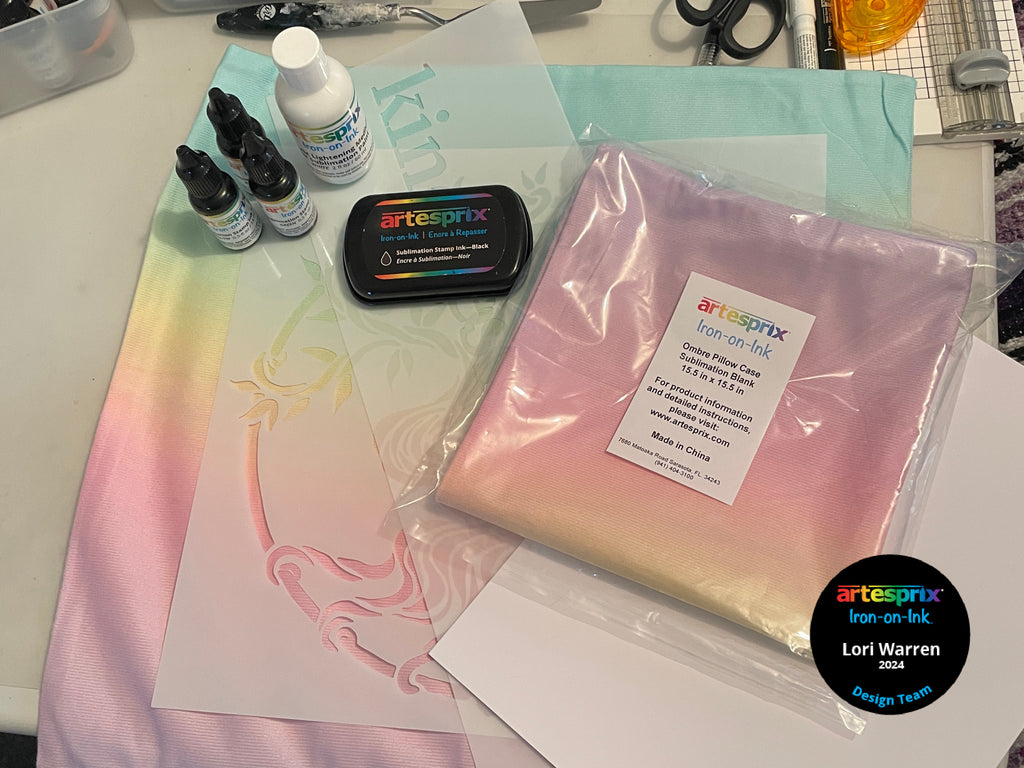
Supplies:
Sublimation Stamp Refill Ink – Blue, Green & Yellow
Sublimation Acrylic Lightening Medium
TCW Stencil, TCW2188 & TCW 814
Removable Tape
Computer Paper
Heat Press
Step-by-Step Tutorial:
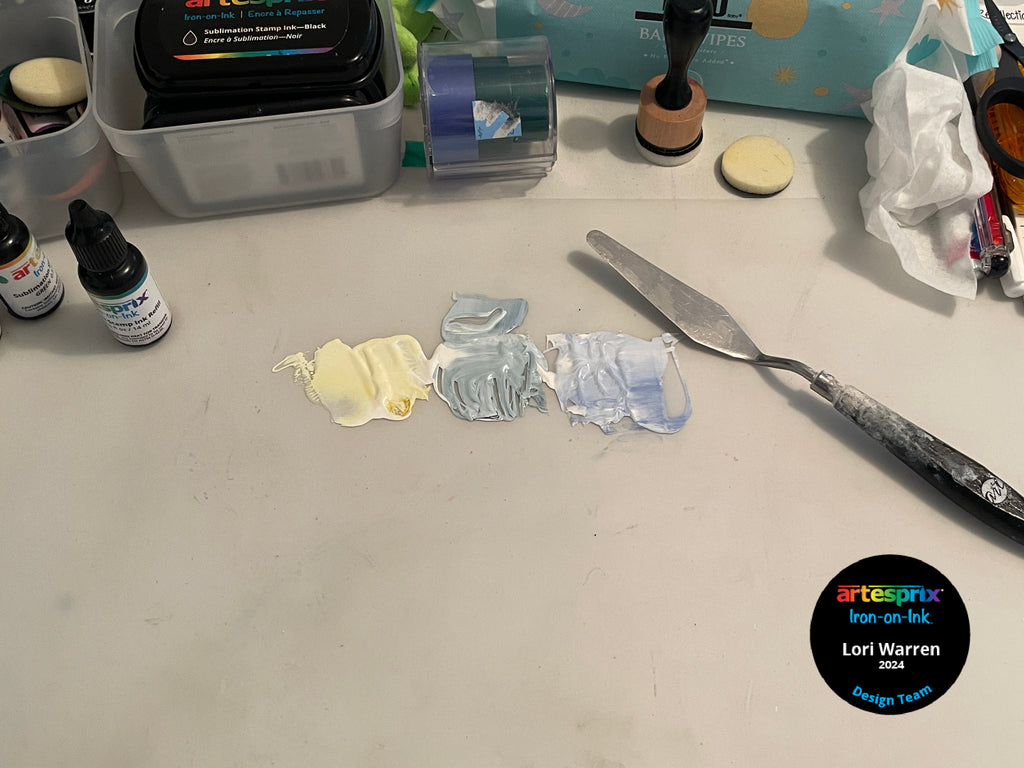
Step 1: Add drops of Blue, Green, and Yellow Sublimation Refill Ink onto a craft mat along with Acrylic Lighten Medium.

Step 2: Mix each color of refill ink with Acrylic Lightening Medium.
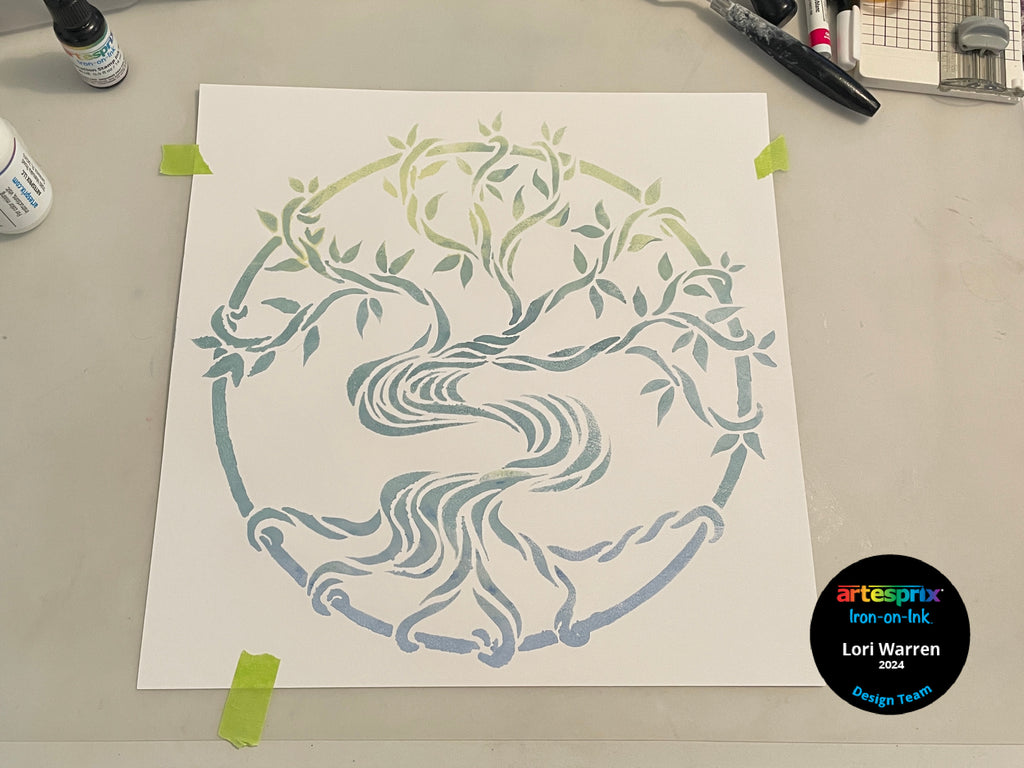
Step 3: Secure your stencil over paper with removable tape.

Step 4: Apply ink/lightening medium mixture to stencil with blending tool.

Step 5: Remove the stencil and allow ink/paint to dry completely.
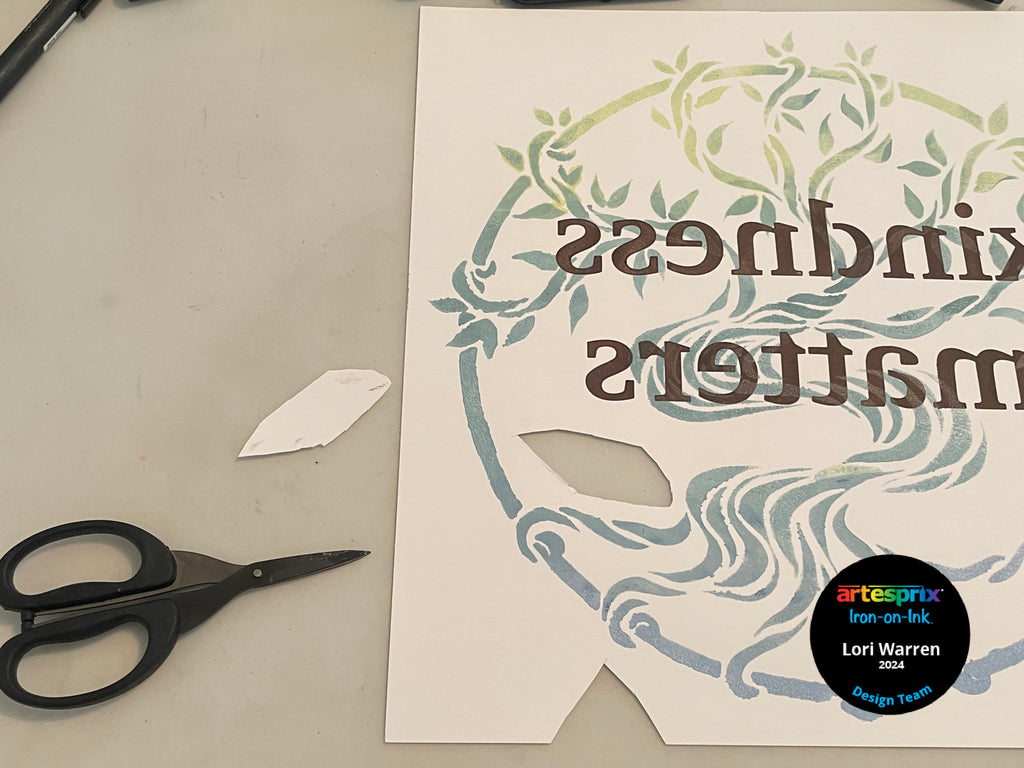
Step 6: Place a word stencil, backwards, onto the paper. Apply Sublimation Stamp Pad Ink with a blending tool.

Pro Tip: Repeat the last step with additional words, as needed. For crisp word edges, trace the letters in the stencil with a Fine Tip Sublimation Marker prior to adding stamp ink with a blending tool.

Pro Tip #2: If you have any ink smudges, cut out of white space prior to heat setting, or put a piece of Heat Tape/Heat Resistant Mask over it.
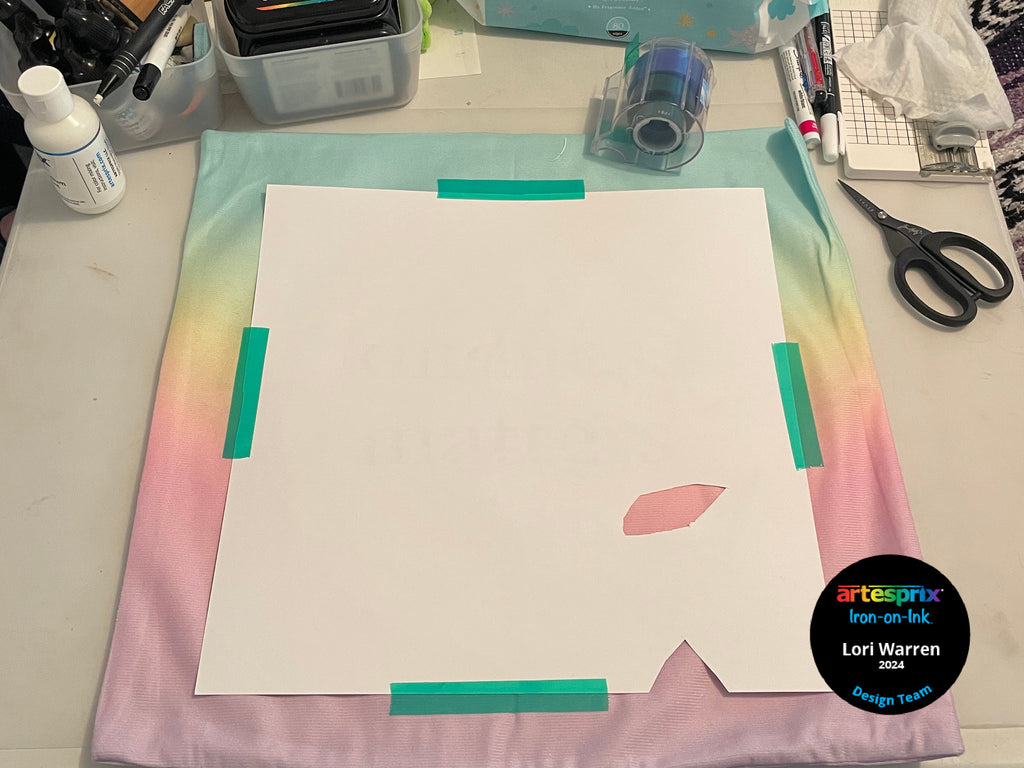
Step 7: Secure design face-down to the pillow case with heat tape.
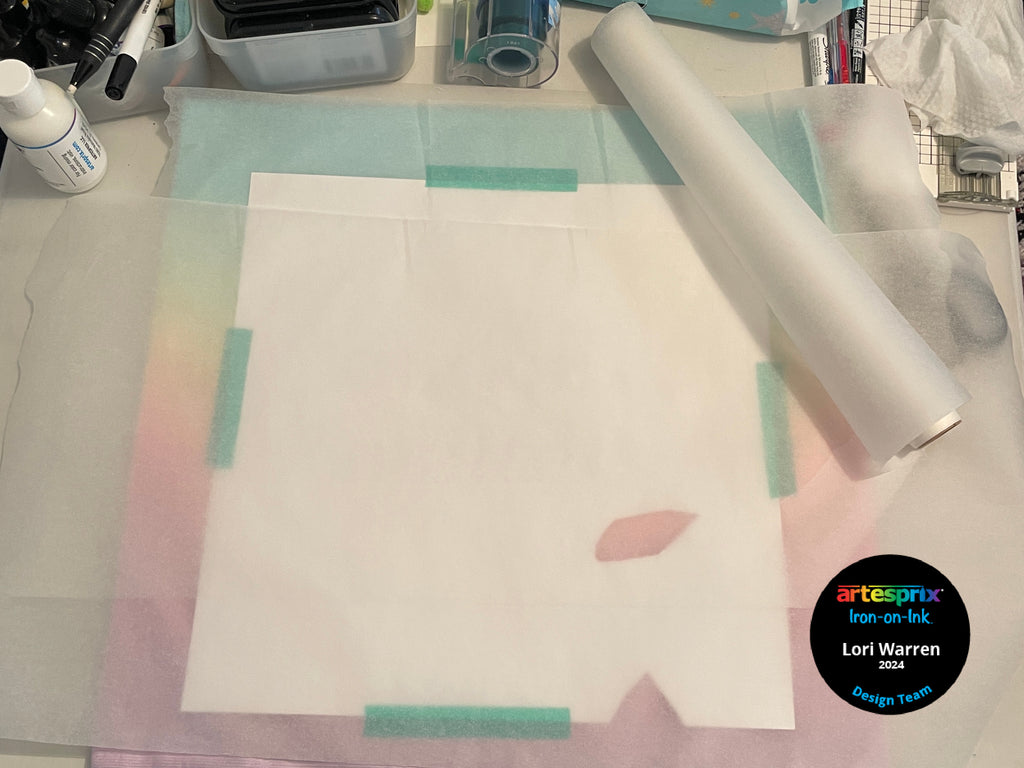
Step 8: Make a "Sublimation Sandwich" by placing the secured project Ombre between two pieces of protective paper. Add a third piece of protective paper inside the pillow case to prevent ink from transferring through to the other side.
Step 9: Heat set using appropriate settings for the blank. These Ombre Pillow Cases call for 385℉ for 45 seconds.

Step 10: After heat set, take-a-peek at the transfer to ensure it was successful. The key in this step is to not remove tape until transfer is confirmed, so you have the ability to re-heat if needed.
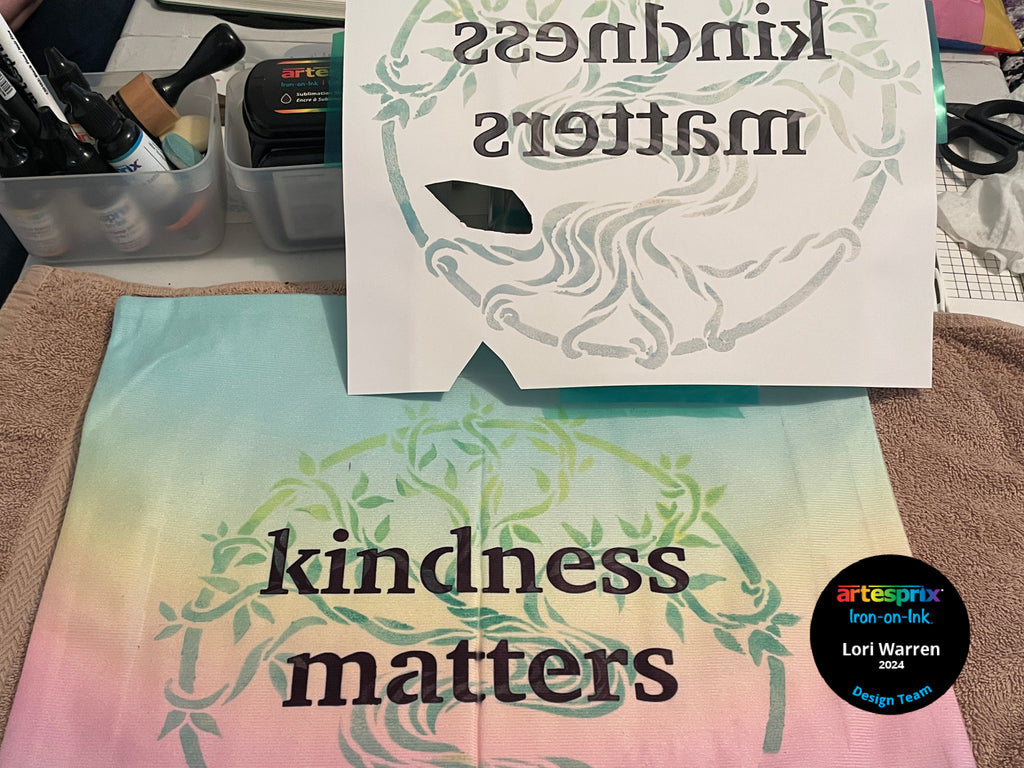
Step 11: After a successful step 10, remove paper to reveal the transferred design.
This blank is different than what we are usually creating with, I love the way my transfer turned out! This blank is only available for the month of March so if you think you might want to try this project be sure to grab one while you can! I hope you enjoyed this tutorial, along with the Pro Tips you will want to remember for later. If you decide to give Artesprix Sublimation products a try, post your project to the Artesprix Facebook Group where Makers are always sharing inspirational projects.
Happy Day!
Lori Warren
**This post may contain affiliate links. That means that I may receive compensation if you purchase through the links I have provided. The price you pay for the product or service is not higher, but I may get compensated.**


