Marble Kitchen Towel with Artesprix Paint
Artesprix Design TeamCricut, Kitchen Towel, Mother's Day Projects, Paints
Hello friends! It’s Sara on the blog today and I think it’s time for a little re-introduction since we are more than halfway through the Design Team Term. I’m a mom of two girls, crafting has been always my creative outlet and therapy. It all started with getting a Cricut and I’m deep into a lot of crafts now! I fell in love with sublimation almost a year ago and the rest is history! I love sharing my projects and ideas with you and I hope it inspires you to create. With that, let’s jump right in to today's project!

On this blog, we will be personalizing a dish towel with Artesprix’s sublimation paint with a marble themed design! This blank is only available for the month of August, so be sure to grab yours. The process is simple and cool, I did a little dance when it all worked out from the first try. Artesprix’s sublimation acrylic paint has been such a fun medium to play with. The whole idea is to customize both ends of the towel with a design of our own. Therefore, we will create two designs, one for each side of the towel.

What is Sublimation Iron-on Ink?
Iron-on-Ink is a specially formulated ink designed to infuse into poly-coated substrates when it is subjected to heat and pressure. All Artesprix’s markers, stamps, paint and inks are made with sublimation ink. Any design we create with Artesprix’s supplies can be transferred onto any sublimation blank once it is heat pressed. The ink turns to a gas so you will end up with a permanent design that is embedded into the substrate, it will not need any sealing and will not fade over time!

Materials:
Dish Towel
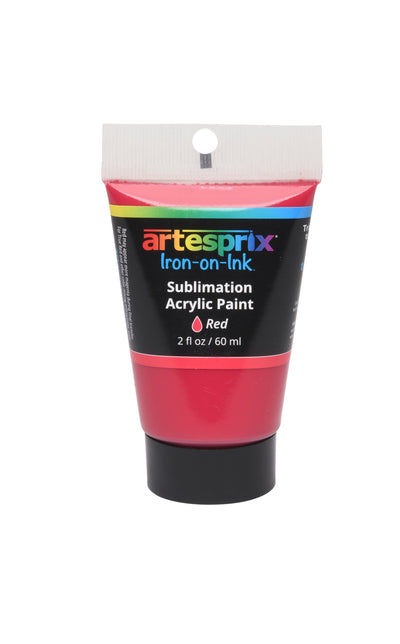
Sublimation Paint
Heat Resistant Tape
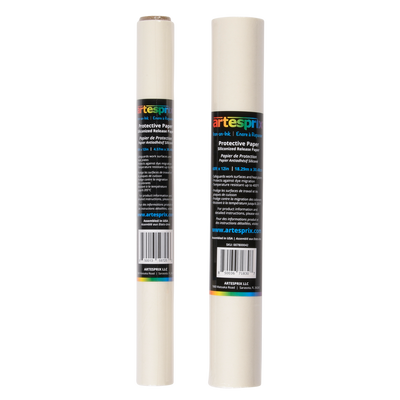
Protective Paper Roll
Watercolor Paper
Plastic cups
Craft sticks
Elmer’s Glue-All
Heat Press
Water
Plastic Bin
Step-by-Step Tutorial:
Step 1: Pick the colors you’d like for your design, I went with blue, red, yellow and white lightening medium straight from the bottle. I mixed each paint color with Elmer’s Glue-All in a 2:1 ratio. You will need to add 1 gram of glue for every 2 grams of paint. A food scale is a great tool to measure accurately if you have one handy. Then I used a craft stick to mix each color separately in a small plastic cup. For this technique, we will not be using a lot of paint, 2 grams of each paint will be more than enough!

Step 2: Fill a plastic bin halfway with water. We will be dropping our paint onto the surface of the water. Using your craft stick, scoop out a drop of mixed paint from the cup and let it touch the water surface. You will find that the paint creates these blobs of color on the surface of the water! The more your craft stick is touching the surface of the water, the more color will get passed on. I used my craft sticks to drop each paint in a scattered fashion across the surface of the water. This creates a marble look, and it gets more complex as you add more paint! Go slow and once you are satisfied with the design that’s on the surface of the water, feel free to stop.

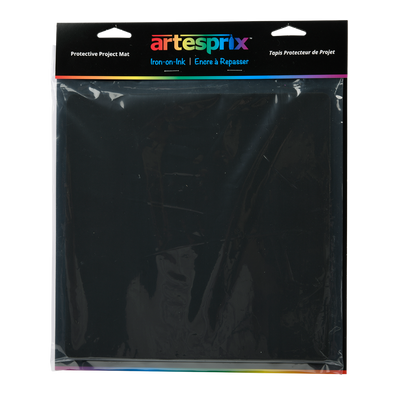
Step 3: Using a sheet of watercolor paper, place it slowly on the water surface. You want to place it from the center outwards, push it onto the water and lift it out. Place it on the Artesprix Project Mat, silicone mat, or a glass surface until it dries.
I knew this sheet would not be enough for the idea I have in mind, therefore, I went ahead and repeated step 2 and 3. After finishing, I turned on my heat press and for this dish towel. This blank has transfer specifications of 380°F and 60 seconds.

Step 4: After the designs have had time to completely dry, I cut shapes from each sheet to compose a 15x6" area of colored design. I pre-pressed my towel, went over it with a lint roller, and now it’s ready to be sublimated on!

Step 5: I taped the design to one end of the dish towel using heat resistant tape. The idea is to leave a white border around my design, so I made sure I have about the same amount of space on each side. I wanted to emphasize these two design areas on each end, I preferred to leave the straight edges and I think it worked great!

Step 6: Using your protective paper, let’s make a "sublimation sandwich"! Place the dish towel with the design secured in-between two sheets of protective paper.

Step 7: It is time to press! My heat press is 15x15" in size, so I pressed each towel end once, but be sure modify if your heat source is smaller. This blank has transfer specifications of 380°F and 60 seconds.

Step 8: After the first design was pressed, I performed the "peek test", it turned out amazing! The "peek test" is a very important step, make sure you take a peek at how the design transferred. I always get vibrant results with the recommended pressing settings, but a peak test is a great practice to have in place in case you didn’t get a good transfer!

Step 9: Repeat steps 4 & 5 and pressed the other end of the dish towel.

I absolutely love how these turned out! The yellow gives such a beautiful contrast with the blue and red! My vision to have two designs at each end of the towel worked great and I will certianly cherish this dish towel. The area in the center can be further customized with a quote or a name if you are inclined to do so.

This was such a fun project and I hope you try making it yourself! The dish towel blank is only available for the month of August, so make sure you grab one! This sublimation acrylic paint is a must for every crafter, and you will need to get a set of your own! I am truly fascinated by it, and I hope today’s post inspired you to try it for your next crafting project!

Don’t forget to share your creations with us on instagram or Facebook by tagging Artesprix and Iron-on-Ink! If you’d like to keep in touch, check out my instagram!
Keep on crafting! Best,
Sara Ali
**This post may contain affiliate links. That means that I may receive compensation if you purchase through the links I have provided. The price you pay for the product or service is not higher, but I may get compensated.**

Make your holidays more meaningful and more sustainable with Artesprix Iron-on-Ink! This season, turn your gift wrap into a creative moment all its own with custom sublimation tags that can...
Make your holidays more meaningful and more sustainable with Artesprix Iron-on-Ink! This season, turn your gift wrap into a creative moment all its own with custom sublimation tags that can...

Want gift wrap that gets people talking? In this tutorial we’ll show you how to create custom holiday gift tags using Artesprix Metal Bag Tags and Sublimation Markers, your cutting...
Want gift wrap that gets people talking? In this tutorial we’ll show you how to create custom holiday gift tags using Artesprix Metal Bag Tags and Sublimation Markers, your cutting...

Make your Thanksgiving table one to remember with Iron-on-Ink! From personalized coasters that double as place cards to one-of-a-kind favors guests can take home, there are endless ways to add...
Make your Thanksgiving table one to remember with Iron-on-Ink! From personalized coasters that double as place cards to one-of-a-kind favors guests can take home, there are endless ways to add...
Subscribe to be the first to know about new products, ideas, and special coupon codes at Artesprix!


