Marble Water Bottle with Stamp Iron-on-Ink
Artesprix Design TeamBack-to-School Projects, Inks, Water Bottle
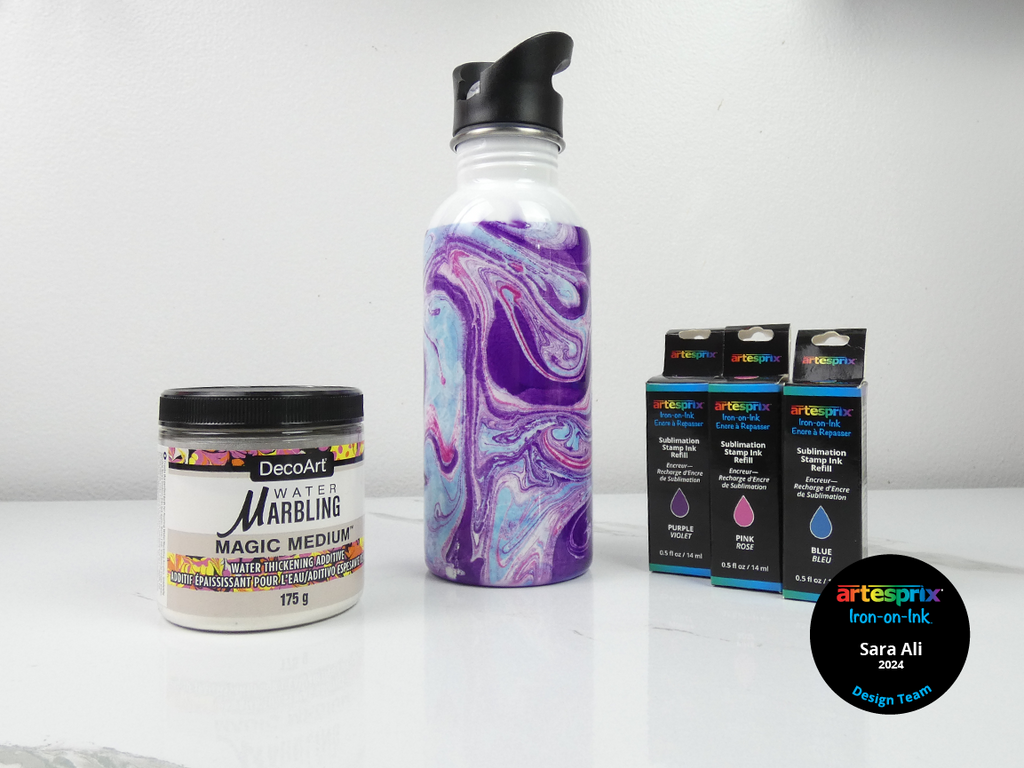
Products in this post


Hello friends! Design Team Member, Sara Ali on the blog today and it is my last blog post for the term! So, I wanted to make today’s project fun and unique. Today, we are customizing a water bottle with Artesprix Iron-on-Ink, and another secret ingredient to create a marbling affect. You can use this technique to create designs for any sublimation blank you may have handy.

**This post may contain affiliate links. That means that I may receive compensation if you purchase through the links I have provided. The price you pay for the product or service is not higher, but I may get compensated.**
What is Sublimation Iron-on-Ink?
Iron-on-Ink is a specially formulated ink that gets infused into poly-coated substrates when it is subjected to heat. All Artesprix markers, stamps, paint and inks are made with Iron-on-Ink. So, any design we create with Artesprix supplies can be transferred onto any sublimation blank once it is heat pressed. When it is pressed, the ink turns to a gas, and you’ll end up with a permanent design that is embedded into the substrate. Your design will not need any sealing and will not fade!
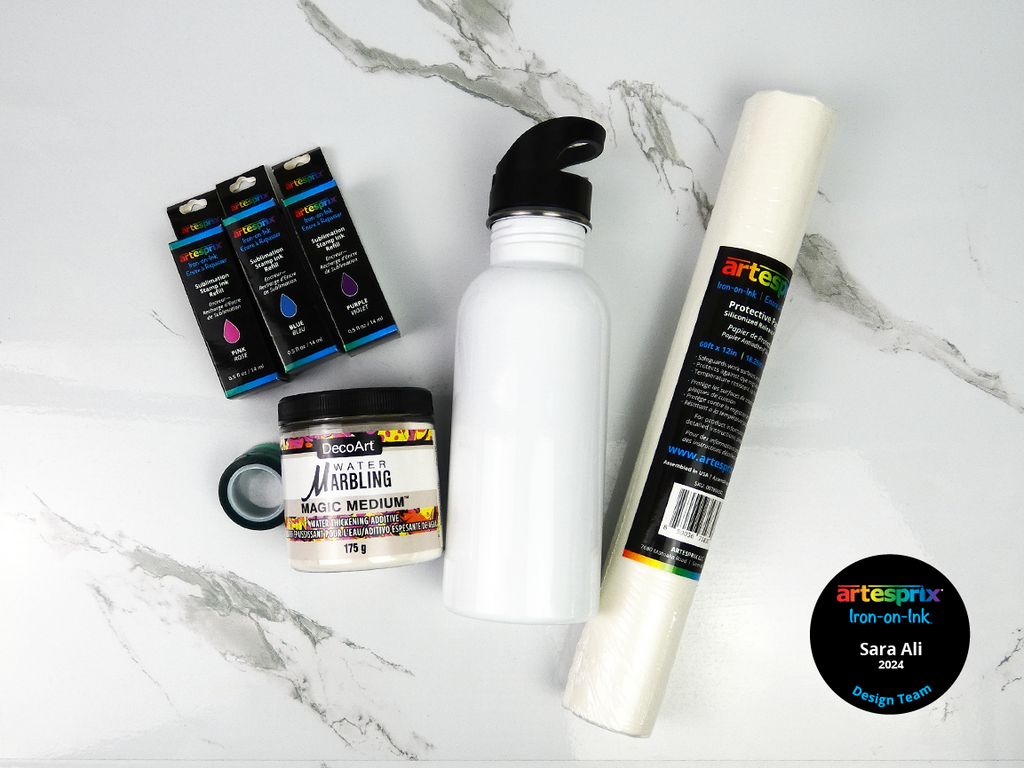
Supplies:
Shrink Wrap (if using an designated craft oven)
Heat Gun (optional)
Convection Oven or Cylinder Press (Mug or Tumbler)
Step-by-Step Tutorial:
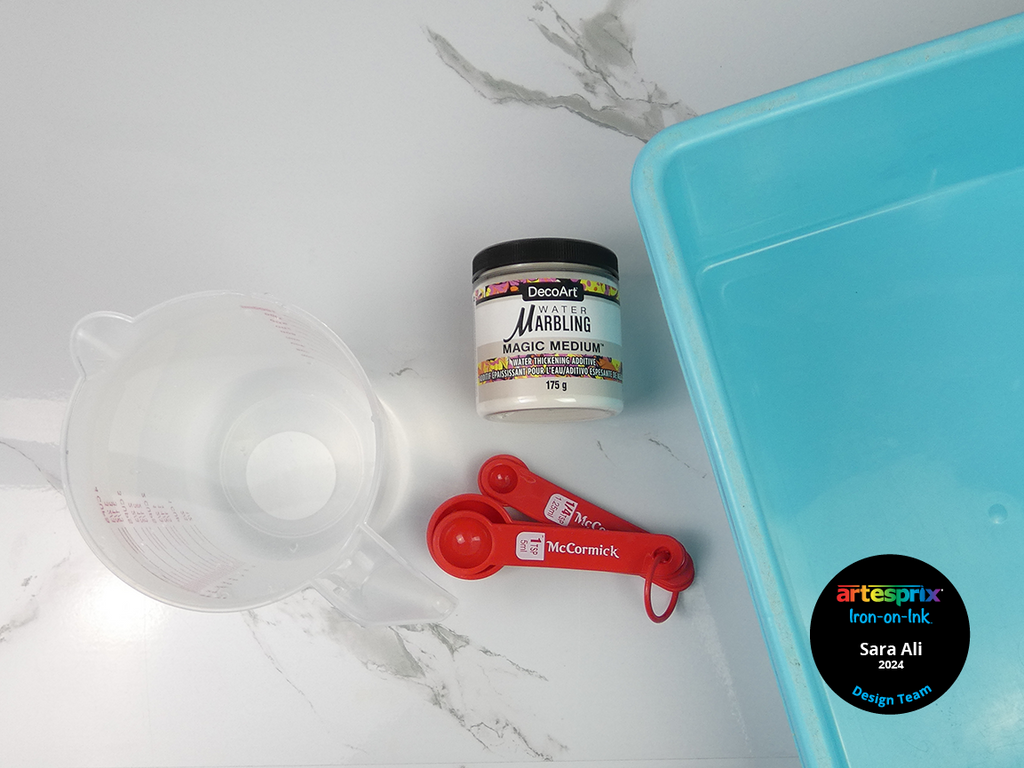
Step 1: Start with the secret ingredient, DecoArt water marbling magic medium! Use a big mixing cup and hot water to mix 6 cups of water with 3 tsp. of the marbling medium. Mix well until it’s all dissolved and pour it in your plastic bin once room temperature.
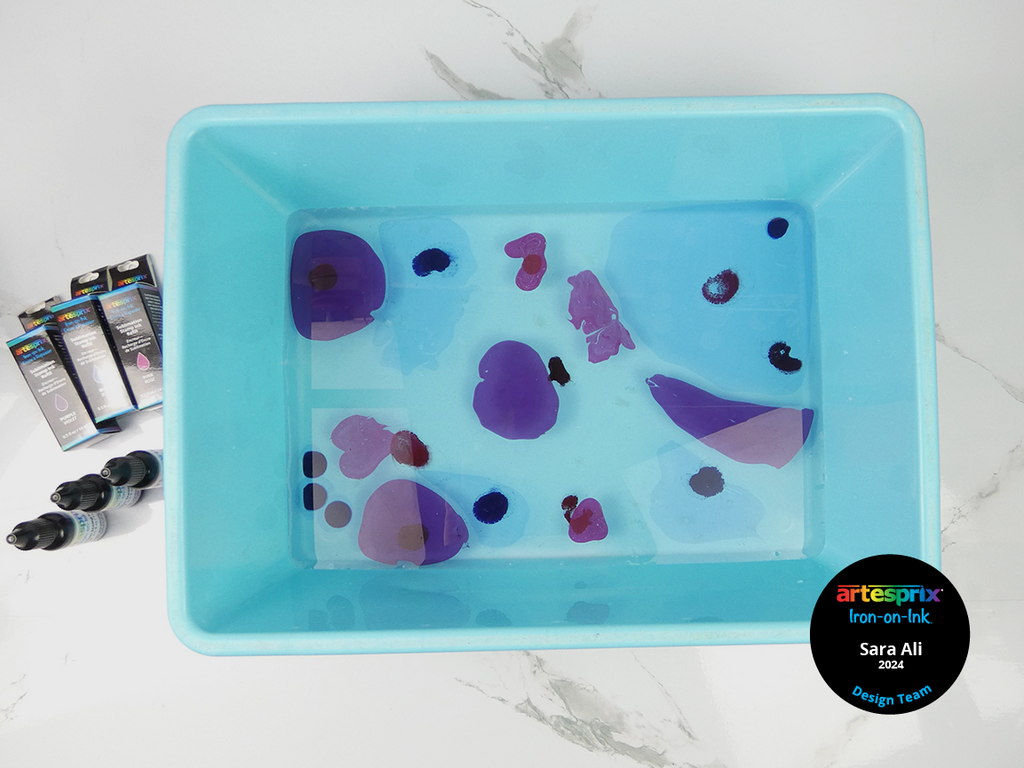
Step 2: Select your color palette. For this design, I used my blue, pink, and purple Sublimation Stamp Ink Refills. Drop inks onto the surface of the water. Feel free to alternate between the different colors.
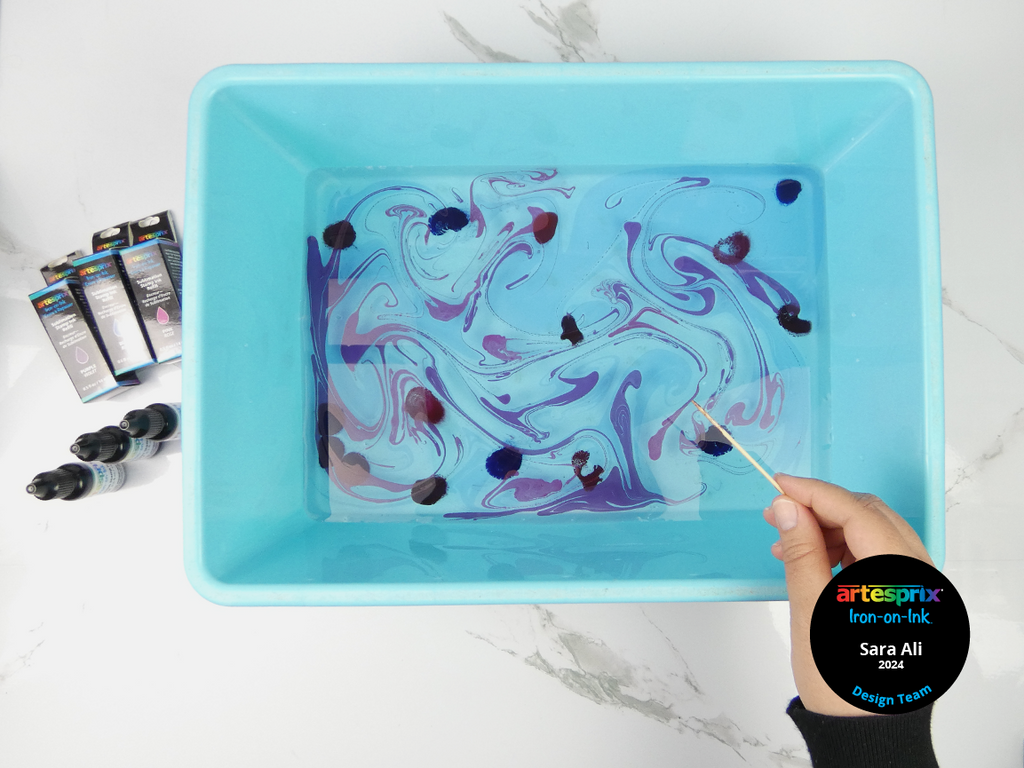
Once you feel that you laid out enough color, use a toothpick to create a marbling pattern.
Step 3: Use mixed media paper to pick up the marbling pattern that has formulated on the surface of the water.
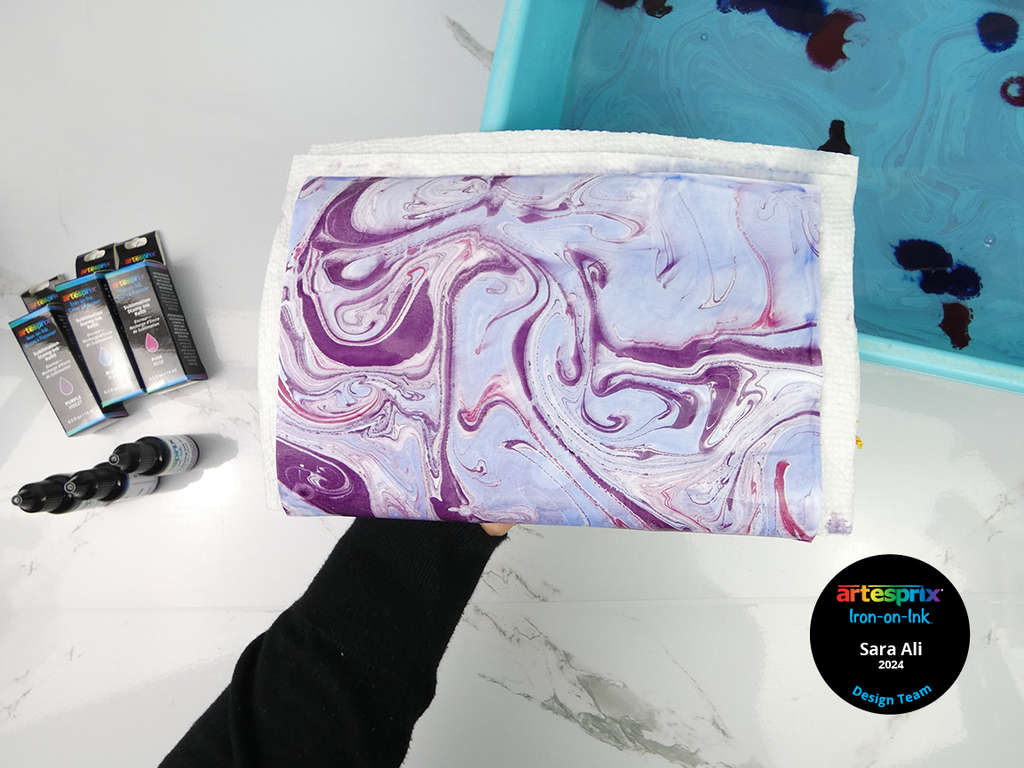
Pro Tip: If you do not like the first pull, feel free to go back in with a few drops of Iron-on-Ink and repeat the previous step. I chose to add more drops of ink, and I liked the second pull more!
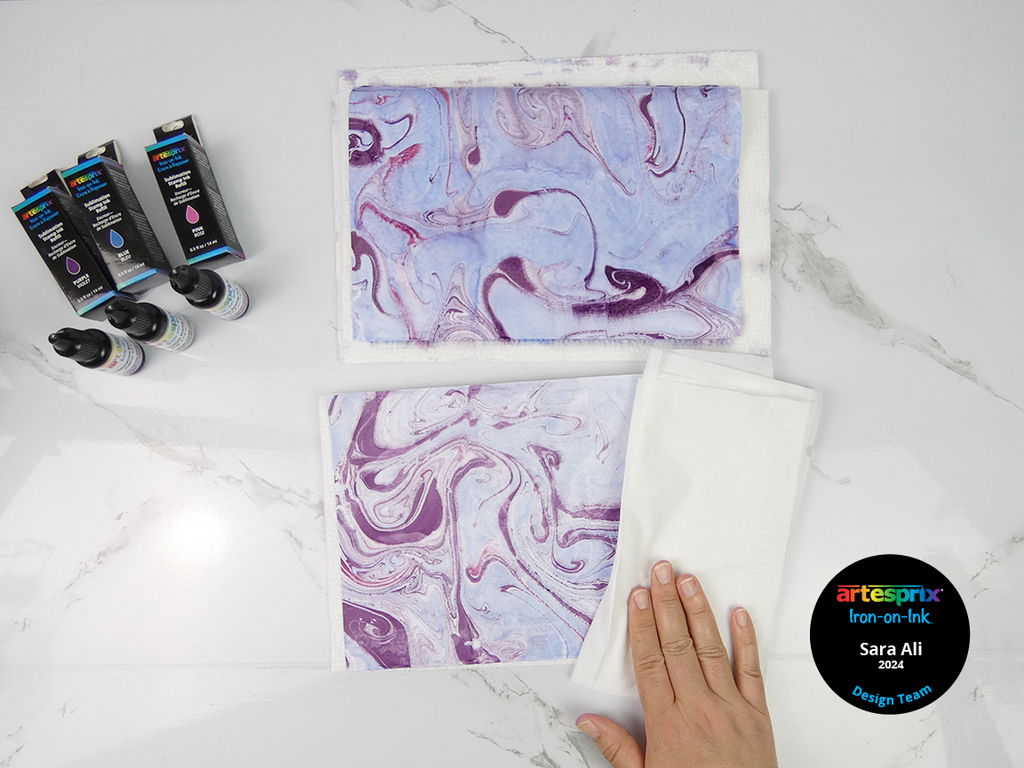
Step 4: Lay down your marbled designs on paper towel and use tissue to dab it dry. I recommend using tissue because it will not imprint its design unlike a textured paper towel. When you dab the design to dry, you’ll create a slight texture which adds depth to the finished transfer.
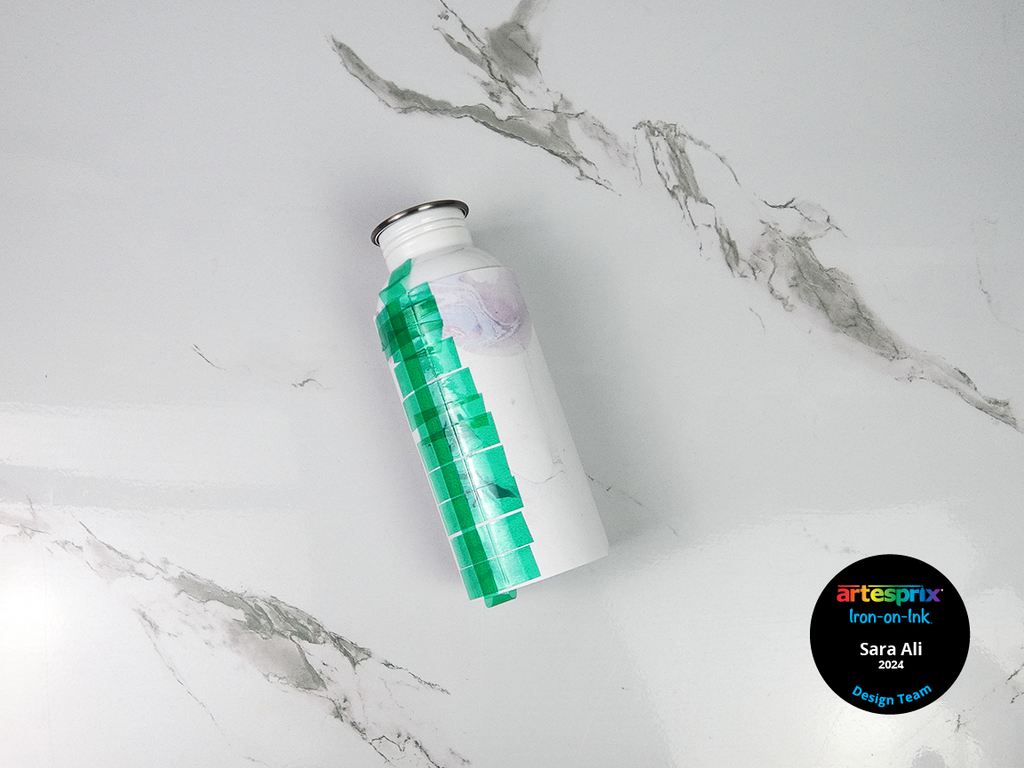
Step 5: Measure the height and circumference of our water bottle. It is approximately 9.1” in width and 5.5” in height. Then, it is time to cut our design to size!
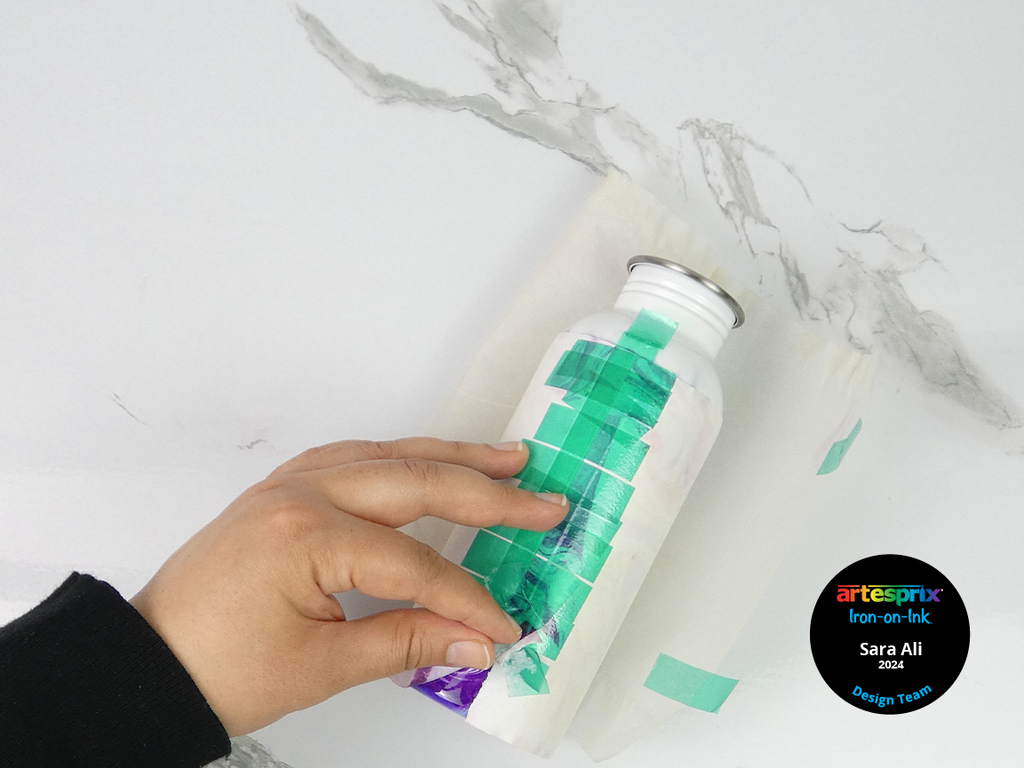
Step 6: Wrap the finished, dry design around the bottle and secured it with heat resistant tape.
Step 7: Use protective paper around the secured design. Since I am using my tumbler press, it was time to warm up my tumbler press to 400°F.
If you are using an oven see the detailed directions here.
Step 7: It is time to transfer. If using a tumbler press, set it to 400°F for 60 seconds. After 60 seconds, rotate the bottle, and press again.
Step 8: It is time to do a "peek test"! Slowly peel one corner of your design and check the vibrancy of your design. If not, you can press again.
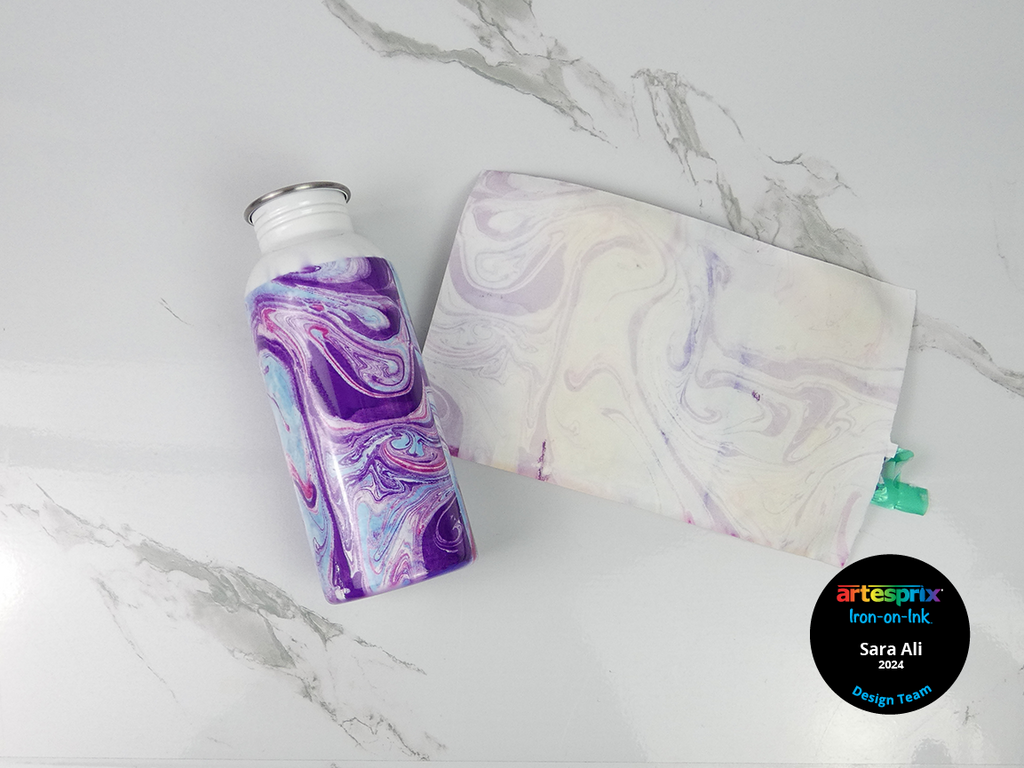
Step 9: If you find that you’ve got a great transfer, reveal your design. I love our vibrant marble design – it turned out amazing!
Iron-on-Ink refills are beginner friendly, and you can create endless marbling patterns with this technique!
Thank you for reading, I hope this inspired you to get creative! Make sure you grab some ink refills for your next project! You can also get started with the sublimation starter kit – it has everything you need to make your first project with Artesprix!
As always, we love to see your creations with Artesprix. So, don’t forget to share your projects with us on Instagram or Facebook!
Stay creative and let’s keep in touch!
Best,
Sara Ali
**This post may contain affiliate links. That means that I may receive compensation if you purchase through the links I have provided. The price you pay for the product or service is not higher, but I may get compensated.**


