Paint Pouring with Artesprix Sublimation Paint
Artesprix Design TeamPaints, Tote Bag
Products in this post
Hi friends! It’s Sara today on the blog and I hope you’re ready for a fun, cool project! I’m so excited for today’s project because we’ll be using our sublimation acrylic paint in a new way! You might be familiar with acrylic pouring and that’s what we will be doing with the Artesprix Sublimation Paint. If you’re not familiar with acrylic pouring, I got you covered, and I’ll explain the process in full detail, so follow along.

Acrylic paint pouring is a form of abstract art that is achieved by pouring fluid acrylic paint with different techniques. In order to make the acrylic paint more fluid, it needs to be mixed with a pouring medium. There are many options of pouring mediums in the market, but for today’s project we will be using one of the simplest pouring mediums; Elmer’s Glue-All. We will mix our sublimation acrylic paint with Elmer’s glue. Then, we will layer the paints in one cup and flip that cup on a watercolor paper. I’ll walk you through all the steps so that you see how easy it is! Let’s get started!
What is Sublimation Iron-on-Ink?
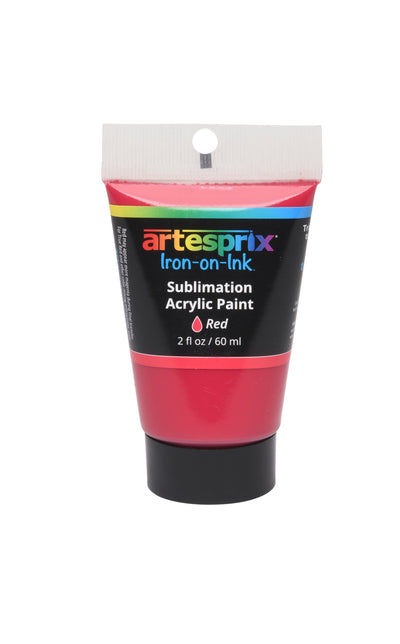
Artesprix’s Iron-on-Ink is the active agent in the sublimation acrylic paint and all Artesprix’s sublimation inks. The sublimation ink gets embedded into poly-coated materials or polyester fabrics, once it is subjected to heat and pressure. These sublimation paints are formulated specifically for sublimation and any designs we create with them could be transferred permanently once they are heat pressed on any sublimation blank!

Materials:
Tote Bag
Sublimation Paint
Heat Resistant Tape
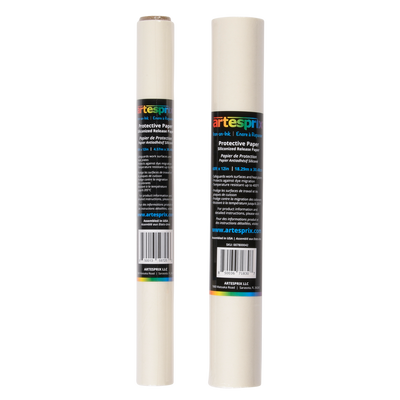
Protective Paper Roll
Watercolor Paper
Plastic cups
Craft sticks
Elmer’s Glue-All
Heat Press
Water
Popsicle Sticks
Step-by-Step Tutorial:
Step 1: We usually start by tracing our blank, but since we’re customizing a larger tote bag blank today, my 9x12" watercolor paper will be the perfect template.

Step 2: Let’s mix our sublimation acrylic paints to yield a fluid consistency of the paint colors we’re using. Today, I’m using the blue, red, yellow and white. I used a food scale to measure my paint to glue ratio. For this, I used a 2:1 paint to glue ratio and I added a few drops of water afterwards to achieve the desired consistency. You want your mixed paint to be thinned out enough that it’s in a fluid state and can be poured, but not too watery or too thick. Similar to the consistency of warm honey.
I added each paint color in a 2oz plastic cup followed by the glue and water and I mixed each with a craft stick. For 8 grams of paint, I added 4 grams of glue, a couple drops of water, and I mixed them well. My aim is to cover most of my 9x12" paper and for that we will need about 4oz of mixed paint. Consider mixing colors as you prefer more of some colors over others.

Step 3: Now that we have each paint color mixed, we will use a new, empty cup to layer our paints.
Pro Tip: I like to pour each paint color at a different corner of the cup, this way they don’t get muddied. It is also good to think about the color wheel and what colors could be generated from the paint colors we’re using. I know that the blue and red will give me a purple shade when they’re mixed. Also, the yellow and blue will yield green. So, it is a good practice to keep that in mind when you’re pouring/layering all the paints in one cup.

Step 4: Since acrylic pouring is usually done on stretched canvas, warping is never a problem. However, warping is a problem in our case because we’re pouring on paper. Therefore, we need to prepare it prior to pouring. Simply dip your watercolor paper into a tub of water, pull it out and secure it to a hard surface. I have a glass surface from a picture frame that was useful, I secured my watercolor paper on it once I pulled it out of the water.

Step 5: Acrylic pouring has many techniques, today we’ll use a technique called “flip cup pour”. This technique involves flipping the cup of paint onto your surface quickly. We’ll do that by placing the paper on top of the layered paint cup and we will flip it all at once. After it is flipped, slowly remove the cup and watch your paint flows!

Pro Tip #2: You want to manipulate the poured paint by slowly moving it across the face of the paper. Ideally this will give the paint the freedom to move gently as the paper is covered. Allow your paint glide across the paper gently and leave your painting to dry once you’re satisfied.

Step 6: It is important to let your design completely dry. To prep your blank, use a a lint roller to ensure there is nothing on my tote bag. Then, tape our the dry paint pour design face-down to the tote bag using our heat resistant tape.
Pro Tip #3: To avoid harsh edges, tear the paper all around like I did.

Step 7: Let’s make a "sublimation sandwich" using our protective paper! We will need to cut 3 pieces of protective paper for our transfer. I’m placing a sheet of protective paper inside the tote bag, on top of the secured design, and underneath. Using protective paper inside the tote bag is essential because it will prevent the ink from getting to the flip side, the top piece will protect my heat press, and the bottom piece will keep the other side of the tote bag clean.

Step 8: Time to transfer. Your heat press should be ready to go at 400°F and we will to transfer for 45 seconds. With paint poured sublimation designs, you will want to use heavy pressure.

Step 9: Once you’re done pressing your design, it is time for the "peek test"! The peek test is such a helpful technique to check if you’ve got vibrant results. Gently peel one corner of your design to confirm the design transferred. If your design looks vibrant, then remove the tape and reveal! In the slightest chance you did not get a good transfer, feel free to go ahead and re-press your design. Mine turned out amazing so I went ahead and removed the entire piece of paper from the tote bag.

I had too much fun making this tote bag and I love how it turned out! There are some things that I’ll improve as I practice, but I’m blown away by the power of the artesprix sublimation acrylic paint!! It is such a game changer, grab a set if you have not already from the Artesprix Shop. This tote bag will be my bag for all the trips to my favorite craft stores!
If you try this technique please don’t forget to share with us your creations on instagram or Facebook!
Until next time! Keep on crafting! Best,
Sara Ali
**This post may contain affiliate links. That means that I may receive compensation if you purchase through the links I have provided. The price you pay for the product or service is not higher, but I may get compensated.**


1 comment
Apreciei bastante a sua explicação e gostava de começar a trabalhar com estes produtos de sublimação. Porém vivo em Portugal e não os encontro à venda na Europa. Pode me ajudar nesse sentido ? Obrigada