Rainbow Artesprix Iron-on-Ink Hero Arts Headband
Artesprix Design TeamGel Press, Headband, Ink Pads, Inks
Products in this post
Hello! I’m Alison Heikkila and my latest project for Artesprix is the headband. This Blank allows you to create your own wearable art! Using the Artesprix Sublimation Stamp Ink Refills on a Gel Press Plate is a quick way to create bold designs, so that’s what I did. This is a one size fits all sublimation blank, perfect for yourself to theme for an upcoming event, or to gift to a friend! Let me show you how simple it can be.
**This post may contain affiliate links. That means that I may receive compensation if you purchase through the links I have provided. The price you pay for the product or service is not higher, but I may get compensated.**

What is Artesprix Iron-on-Ink?
Artesprix Sublimation Markers, Ink, and Paint are specially formulated to allow you to use basic copy paper to: color, stamp, stencil, and monoprint anything you wish and turn it into a heat-transferable design. These designs are then applied to a polyester or polyester coated substrate with heat and pressure. You can use a heat press or a home iron! These designs, through this process of sublimation, will become permanent on your substrates.

Supplies:
Artesprix:
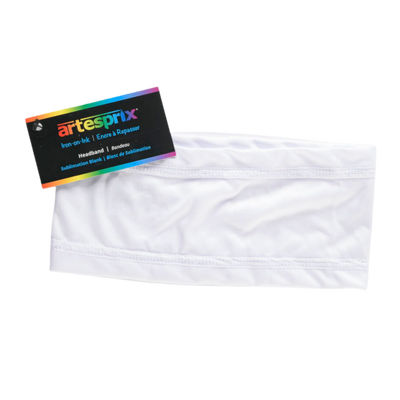
Headband
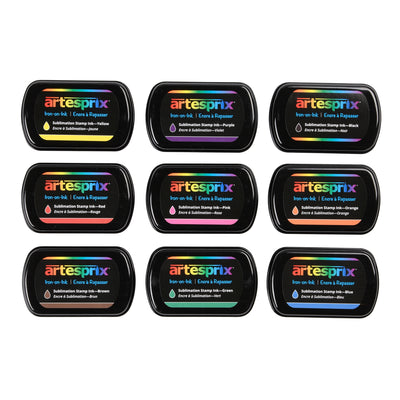
Sublimation Stamp Ink Refill in Red, Yellow, and Blue
Acrylic Block
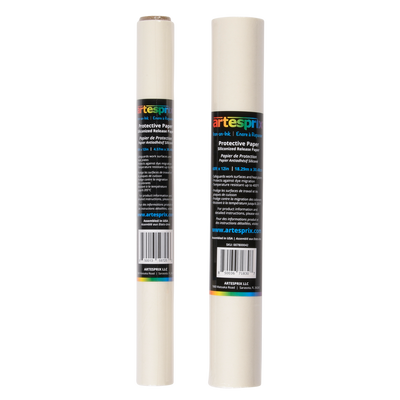
Protective Paper
Heat Tape
Gel Press: 8” x 10” Plate
A Colorful Life Designs: Organic Doodles Stencil
Hero Arts: Tiling Textures Stamp
Speedball: Brayer
Canson Mixed Media Paper
Blending Brush
Pencil
Step-by-Step Tutorial:
Step 1: Lay the Gel Press onto your work surface horizontally. Then, apply lines of Sublimation Stamp Ink Refills down the Plate. I started with red, then yellow, then blue, and repeated the pattern. Allow some space in between the colors so that you can make orange, green, and purple as you blend the colors.

Step 2: Using a brayer, blend the inks together, and cover the entire plate with color. I also spritzed it with water to help the colors blend a bit more.

Step 3: Lay the Canson Mixed Media Paper on top of the Plate and rub with your hands to transfer the color. Pull the print from the Plate. I made 2 prints using this technique so that I could sublimate the entire headband.

Step 4: Choose the area of each print that you would like to sublimate onto the headband. I didn’t want to do the upper left of this print, because of the large splotch in the corner, for example. Trace the outline of the headband with a pencil, or create the template based on measurements. Pencil will not transfer.

Step 5: Temporarily adhere the stencil to the traced area with Washi Tape. I started the stencil at the top of my outline. Notice that it doesn’t reach the bottom of the outline. Plus, this particular stencil doesn’t have a continuous design, so we need something to fill in that area. We will get to that soon. Be sure to add Washi tape across the bottom of the stencil so you don’t accidentally add ink there.

Step 6: With an ink blending brush, apply the Black Sublimation Ink over the entire stencil.
Pro Tip: After you remove the stencil, you’re left with that extra space at the bottom. Using stamps that can be tiled or repeated is perfect for this area. We will be sublimating the part with the seam here. I opted to use the stamp in the bottom right corner.

Step 7: Using your acrylic block, stamp the design across the bottom of the outline with the Black Sublimation Ink. If you miss any spots or have holes, you can use the Black Sublimation Marker to fill them in.
Step 8: Repeat steps on 2nd monoprint. This is what my completed designs look like. I trimmed off some of the excess paper, which I can save for another Blank. This headband is going to look fabulous!

Step 9: Use Heat Tape to attach the headband to the first monoprint, using your pencil lines as a guide.

Step 10: Add a layer of siliconized paper to the top and bottom of your Sublimation Sandwich. Make sure your Protective Paper is cut bigger than your art and the headband. Your sandwich will be: Protective Paper-Blank-Colored Image-Protective Paper. The Protective Paper prevents any images accidentally transferring to either side of your Heat Press.

Step 11: Your heat press should be heated up to 400℉. Transfer for 45 seconds.

Step 12: It’s time for the peek test! Carefully pull back a corner of the paper to ensure that your design transferred properly to the headband. If it didn’t you can re-sublimate, as long as you haven’t moved the design. Mine looks good, so we can now sublimate the other side with our 2nd monoprint!

Step 13: Once your headband has cooled, repeat steps 9-12. If there is no ink on your Artesprix Siliconized Protective Paper, you can reuse it. But with a full design like this one, you will need protective paper.

This is what my first side looks like. Those colors are fabulous and I love how rich the black is. And you can see which is the back, because it has the seam. The pattern looks great! It’s a fun way to work around a pattern that isn’t continuous.

Here is my daughter wearing the newly-sublimated headband. It came out so cool! Even though there’s a lot of area that you can cover on this headband, using a Gel Press and a large stencil is an easy way to fill the space, and it’s pretty fast. I am so happy with the results. How would you like to get more ideas on how to use Sublimation Markers? There’s a Facebook Group that’s just for fans of Artesprix! You can click HERE to join. Also, don’t forget to visit the Artesprix store to see all of the available blanks and bundles, so you can get started with sublimation.
Thanks so much for stopping by. Have an inspiring day!
Alison Heikkila
**This post may contain affiliate links. That means that I may receive compensation if you purchase through the links I have provided. The price you pay for the product or service is not higher, but I may get compensated.**


1 comment
I am so fascinated by this! I love how you used the stencil with the gel press to create such a vibrant design.