Sublimation Monogrammed Charms with Artesprix Inks
Artesprix Design TeamInks, Mother's Day Projects
Products in this post


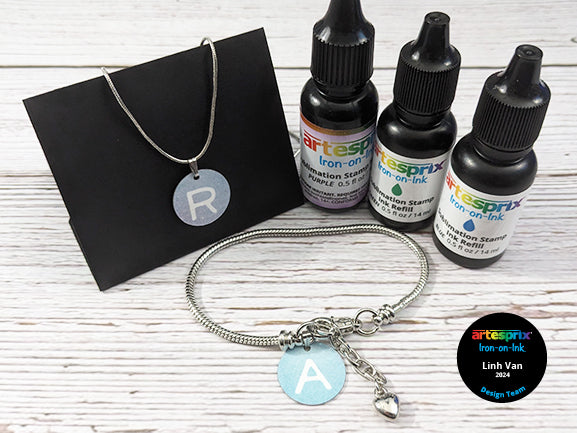
Hello and welcome! My name is Linh from LVHandcrafted and I’m excited to be joining the Artesprix Design Team for the next 6 months. Today I am sharing my Blank of the Month project!I’ve monogrammed these charms with the initials of my mother-in-law and sister-in-law. These metal charms are coated on one side to accept the sublimation design and have a lovely brushed metal finish on the back. They make perfect charms for a bracelet or even a pendant on a necklace. The included metal clasp makes it easy to add onto your jewelry of choice.
**This post may contain affiliate links. That means that I may receive compensation if you purchase through the links I have provided. The price you pay for the product or service is not higher, but I may get compensated.**
What are Sublimation Arts & Crafts Supplies?
The word "sublimation" is a chemistry term that describes the process of a substance (like Iron-on-Ink) going from a solid state to a gaseous phase and skipping over the liquid phase. In the world of designing custom goods, sublimation offers a permanent way to transfer a design to a polyester surface. The result is vibrant, custom designed product that is long-lasting and durable. If you’ve always wanted to try sublimation but thought you needed an expensive, specialty printer, you’re in luck because Artesprix makes it possible to sublimate without a sublimation printer!

Supplies:
Charm 4ct
Sublimation Stamp Ink Refills
Heat Source/Mini heat press
Copy Paper
Pencil
Scissors
Step-by-Step Tutorial:
Step 1: Use an Airbrush to spray Sublimation Stamp Ink Refill mixed with some distilled water on copy paper. This creates a lovely soft background.
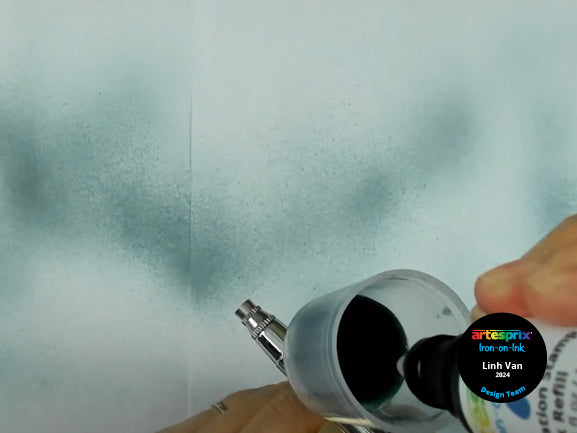
Pro Tip: Save extra sheets of sublimation airbrushed designs to use on other various projects. The can be transferred at anytime, years later even!
Step 2: Once dry, trace around your blank with a pencil. Pencil will not transfer or affect your design.

Step 3: Die cut the letter you want to monogram onto your charm. Die cut from the back of the design so that the letter is mirrored and when transferred to your blank will read correctly.
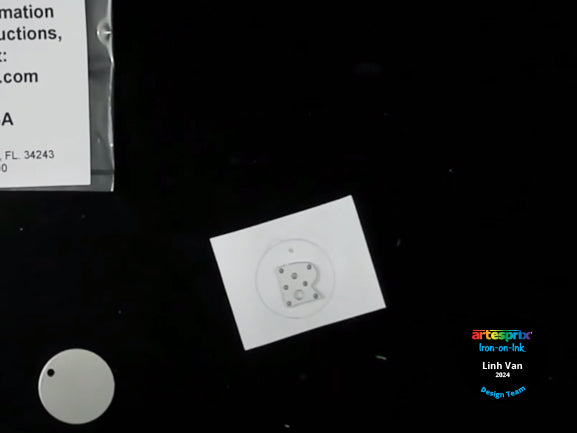
Pro Tip #2: Darker colors will add more contrast and make the monogram more legible.
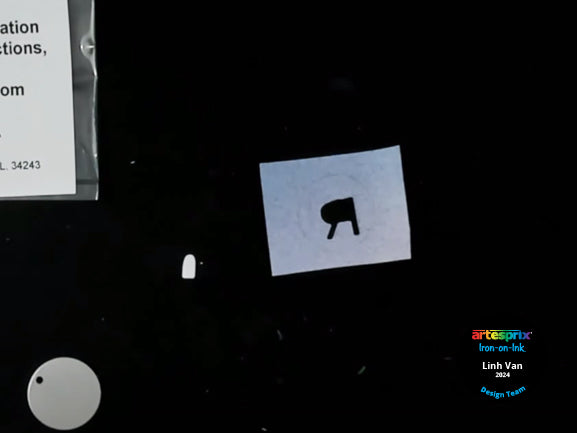
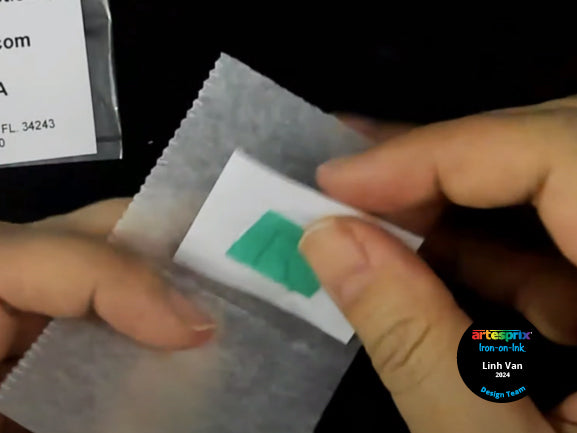
Step 4: Use Heat Tape to secure your blank to your design.
I added heat tape on the front as well. I burnished the tape onto the blank where the letter was cut out. Normally, you do not want to place heat tape over your design because it can alter how the ink transfers.
However, I made the exception in this case because it allows me to add back to the design any portion of the letter that is cut away completely (like the inside of the top part of the R). Also, I want to ensure that there are no air gaps where I’ve cut through my design. This could lead to ghosting where the ink vapors cause a fuzzy edge. I want to make sure the monogram is sharp.

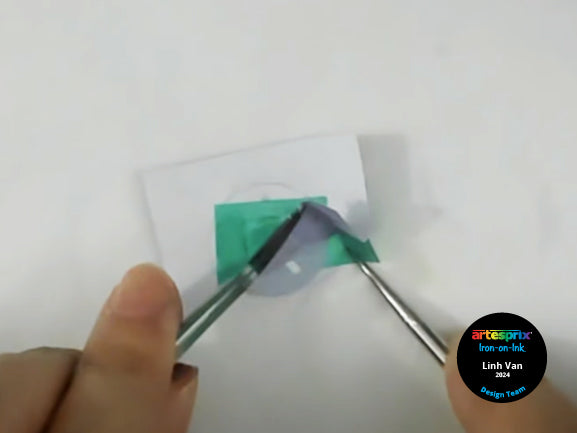
Step 5: Create a "Sublimation Sandwich" or in my case, a "taco". Place Protective Paper above and below your project to prevent ink from transferring to your work surface and heat source.
Step 6: Transfer in accordance with the specifications for the blank. I used a handheld Mini heat press with my Protective Project Mat because these blanks are so small. I set it to the highest heat setting and made sure it came up to temperature. If you are using a Heat Press, set to 400℉ for 45 seconds.
Step 7: Time for the "peek test". Lift a corner of your design to see if your design has transferred to the blank. If the transfer doesn’t look as you intended, you can transfer again. This step is only possible if you do not move anything out of place.
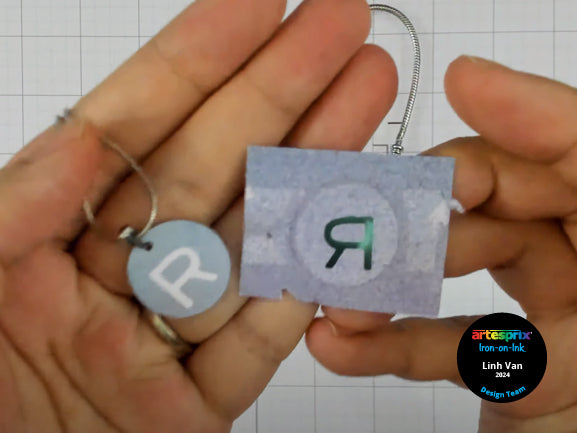
Step 8: Our "peek test" was successful so we can reveal our finished personalized charm.
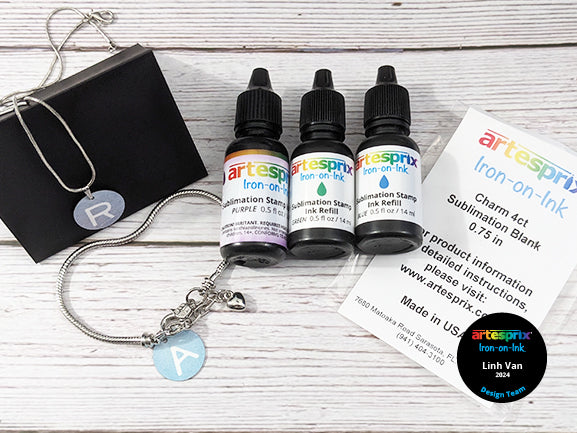
Step 9: Included in the set of Charms are four bails for easy use once your Charm is cool to the touch. I opted to turn mine into a necklace.
I hope you’ve enjoyed my first project on the Artesprix Blog! If you make this project, please share it in the Artesprix Iron-on-Ink Inspirational Group on Facebook, we would love to see. Be sure to use the tags #Artesprix and #IrononInk so we don't miss it. And don't forget these Charms are only available in the Artesprix Shop for a limited time so if you feel inspired, don't wait. If you want to learn more about me and see more projects click here: @LVHandcrafted.
Thanks so much for checking out my project. Have a fabulous day!
Linh
**This post may contain affiliate links. That means that I may receive compensation if you purchase through the links I have provided. The price you pay for the product or service is not higher, but I may get compensated.**


