A-Maize-ing Artesprix Star Ornament with Heffy Doodle Stamps
Artesprix Design TeamGraduation Projects, Ink Pads, Markers, Mirror Stamp Plate, Ornament
Products in this post


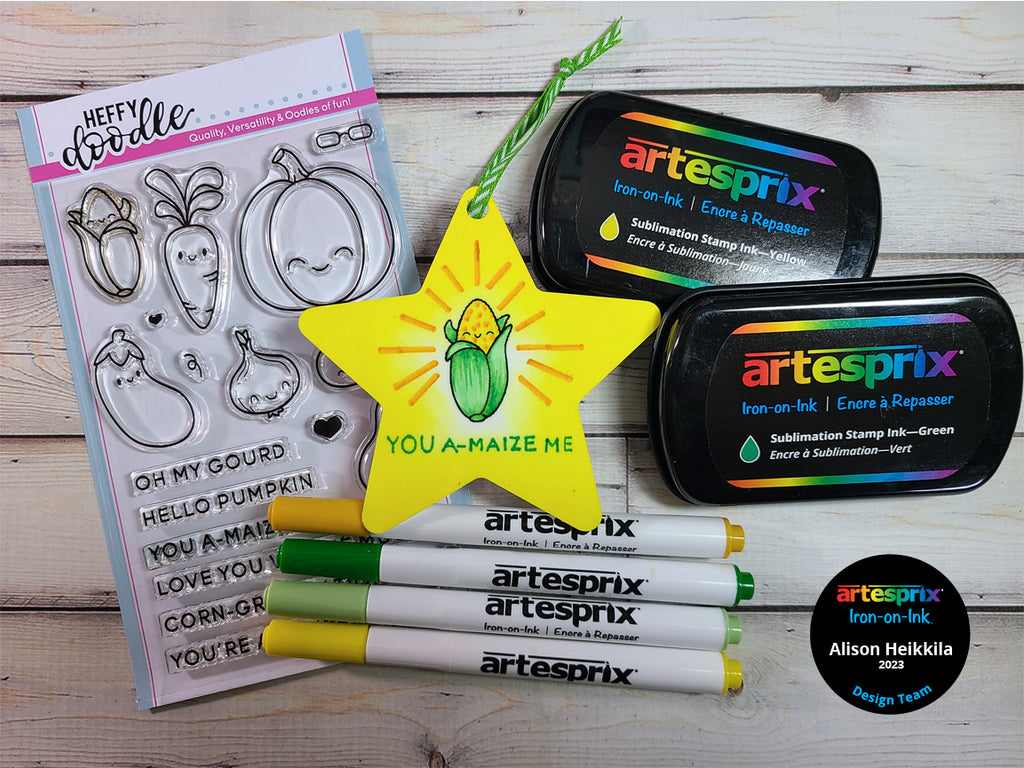
Hello! Thanks you for visiting the Artesprix Blog today. I’m Design Team Member Alison Heikkila back for another term. You may have seen THIS video, where I unboxed some new-to-me Heffy Doodle products for this term's Design Team collaboration. I am so excited to share the first of several projects I've made, combining both of these wonderful companies. Plus, I can share the November Blank of the Month! It's a Star Ornament that's made of metal and can be sublimated on both sides. But don't think of this as only something for Christmas...my project would be perfect all year round for parents, teachers, therapists, neighbors, etc.
**This post may contain affiliate links. That means that I may receive compensation if you purchase through the links I have provided. The price you pay for the product or service is not higher, but I may get compensated.**
What is Artesprix Iron-on-Ink?
Artesprix Sublimation Markers, Ink, and Paint are specially formulated to allow you to use basic copy paper to: color, stamp, stencil, and monoprint anything you wish and turn it into a heat-transferable design. These designs are then applied to a polyester or polyester coated substrate with heat and pressure. You can use a heat press or a home iron! These designs, through this process of sublimation, will become permanent on your substrates.
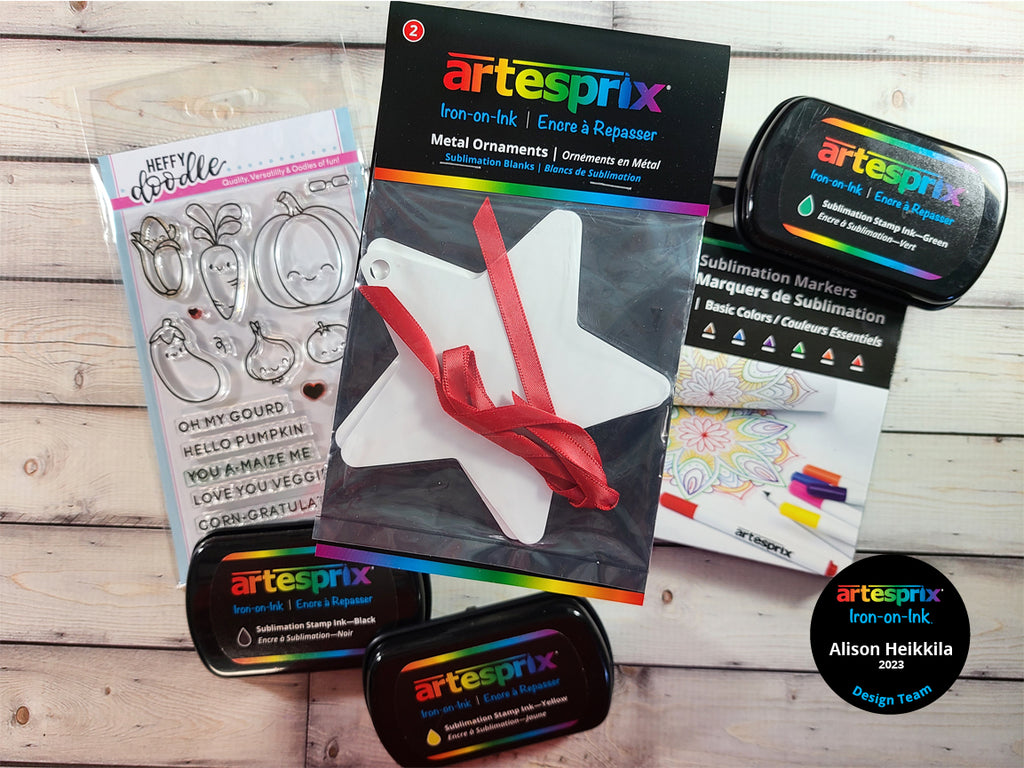
Supplies:
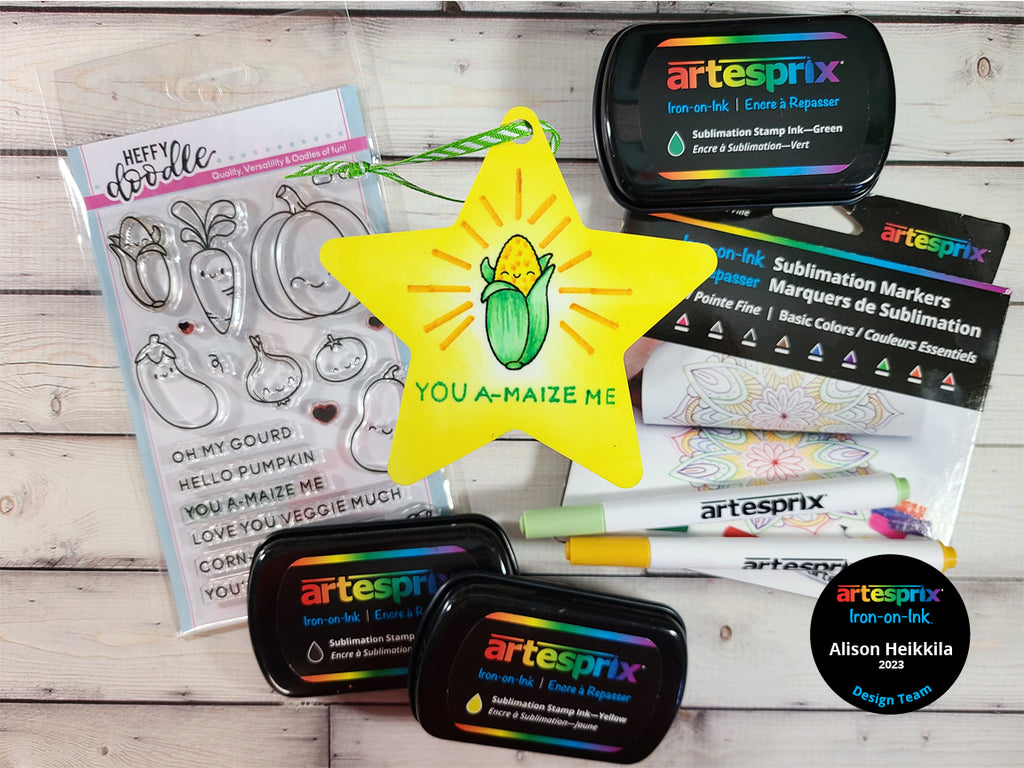
Star Ornament 2ct
Sublimation Ink Pads in Yellow, Green, and Black
Sublimation Markers- Basic Fine: Green and Yellow
Sublimation Markers- Bold Chisel: Marigold
Sublimation Markers- Pastel Chisel: Mint
Heffy Doodle: Veggie Patch Stamp Set
Blending Brush
Coordinating Ribbon
Copy Paper
Step-by-Step Tutorial:
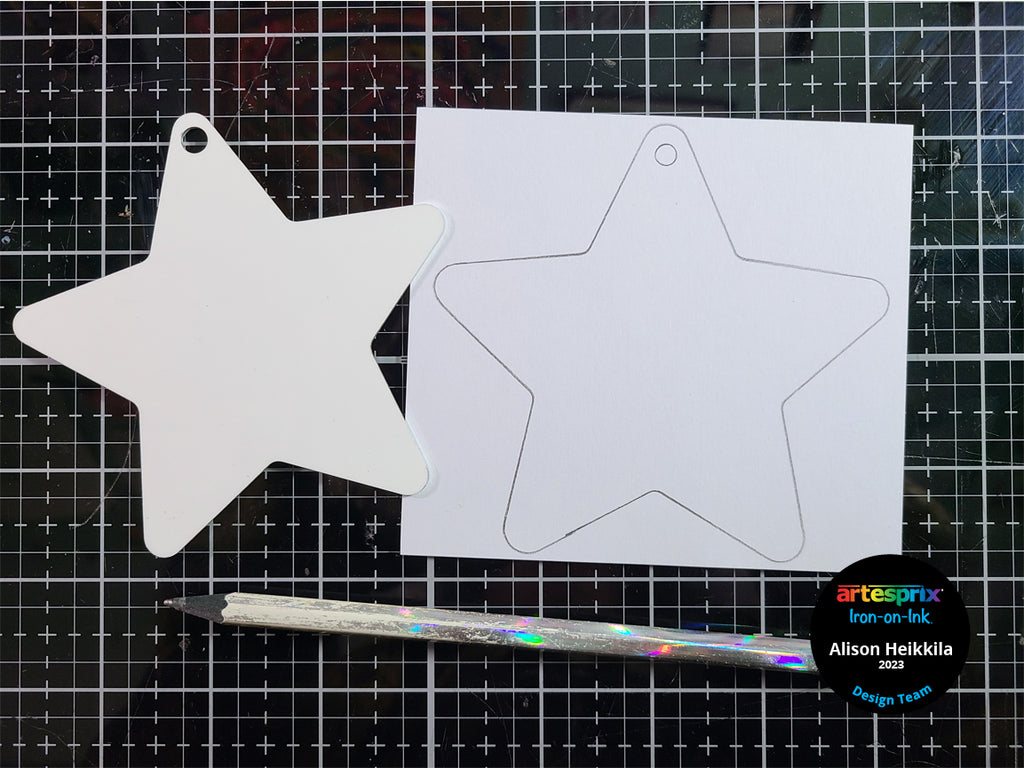
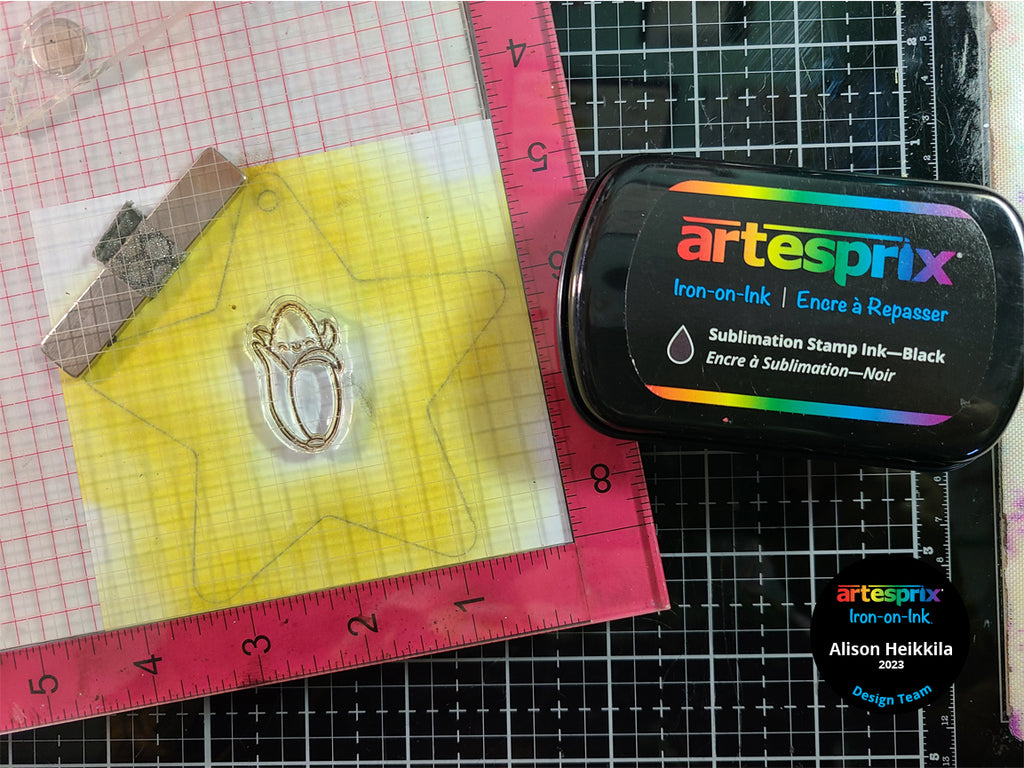
Step 1: Trace around the ornament with pencil on a piece of copy paper.
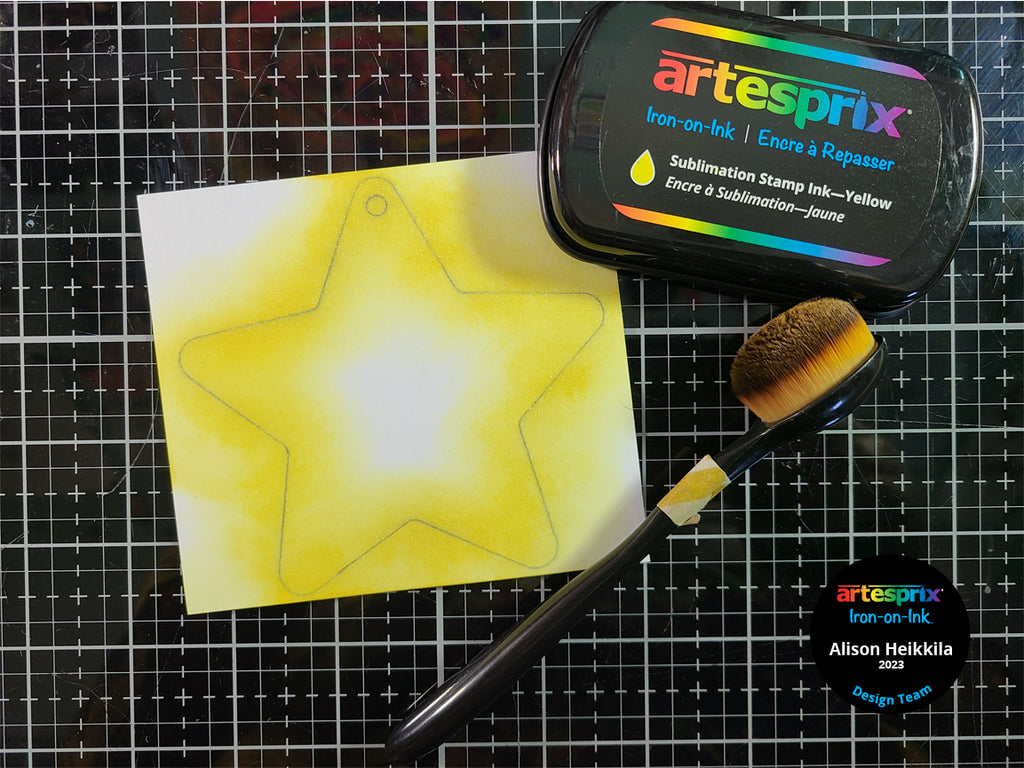
Step 2: Using a Blending Brush, apply Yellow Sublimation Ink to the edges of the outline. Be sure to go past the edge to ensure solid color when sublimating. Leave the center white.
Step 3: Using an acrylic block or stamping platform, stamp the ear of corn in the middle of the star with the Black Sublimation Stamp Pad.
Step 4: We need to stamp our sentiment in reverse so that when we sublimate, it will be facing the correct direction. Attach your sentiment to an acrylic block. Ink it with Green Sublimation Ink. Then, stamp it onto the Artesprix Mirror Stamp Plate. Flip the Plate over and stamp it onto your design, as seen in the photo above.
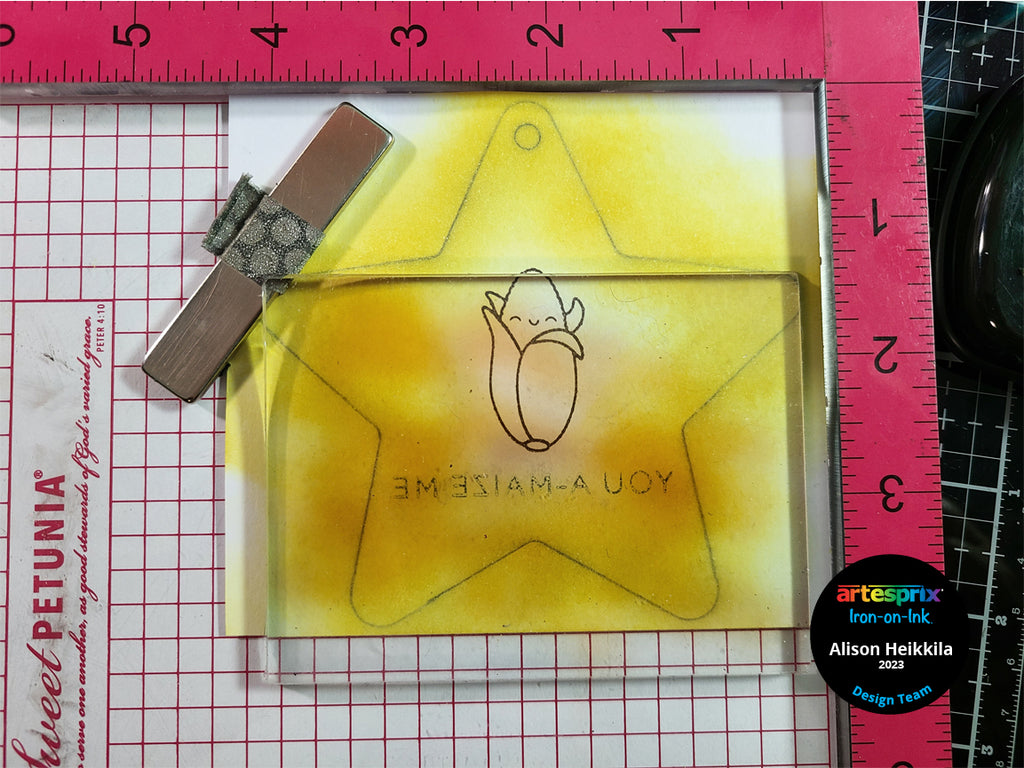
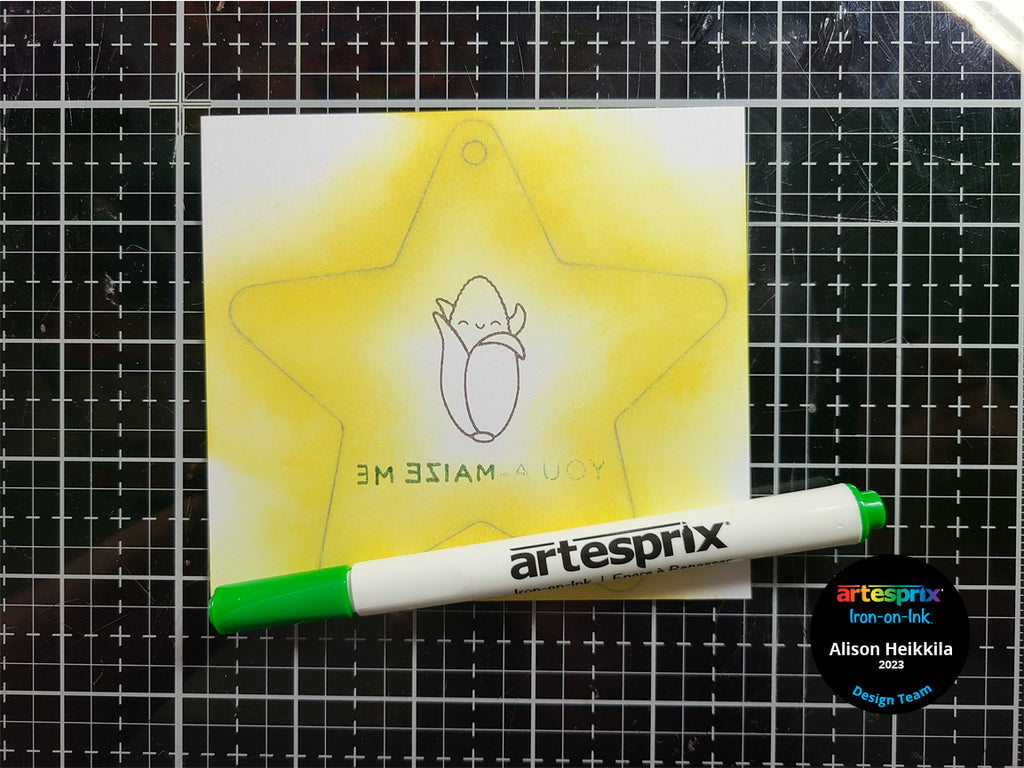
Pro Tip: If your sentiment didn’t stamp perfectly, you can use the Green Fine Point Sublimation Marker to fill in any gaps. I should have conditioned my new stamp a little better, as I would have gotten a better impression. But using the marker worked just fine.
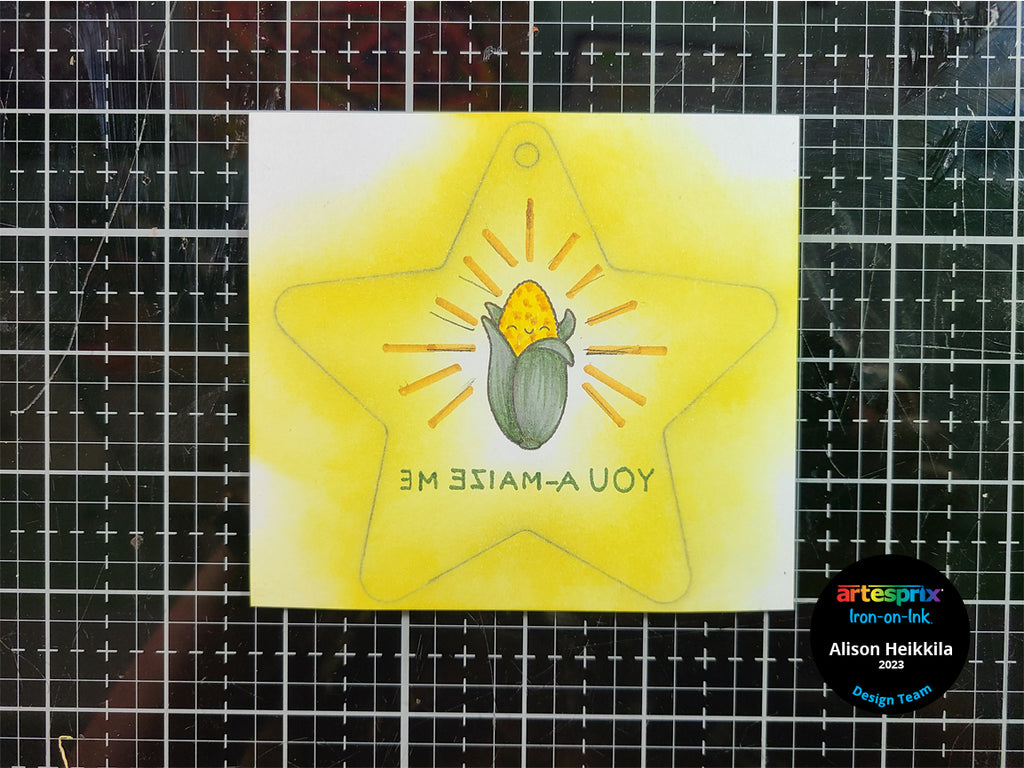
Step 5: Color in the corn using Marigold, Mint, Yellow, and Green Sublimation Markers. In addition, I used the Marigold to draw lines around the corn. This is my finished design.
Step 6: Secure the Star Ornament to the completed design using Heat Tape.

Step 7: Flip the taped Star Ornament over so that the design is on top. Then, add a piece of Protective Paper to the top and bottom, to create the "Sublimation Sandwich". This will ensure good heat transfer, as well as not allowing any ink to escape onto surfaces other than the ornament.
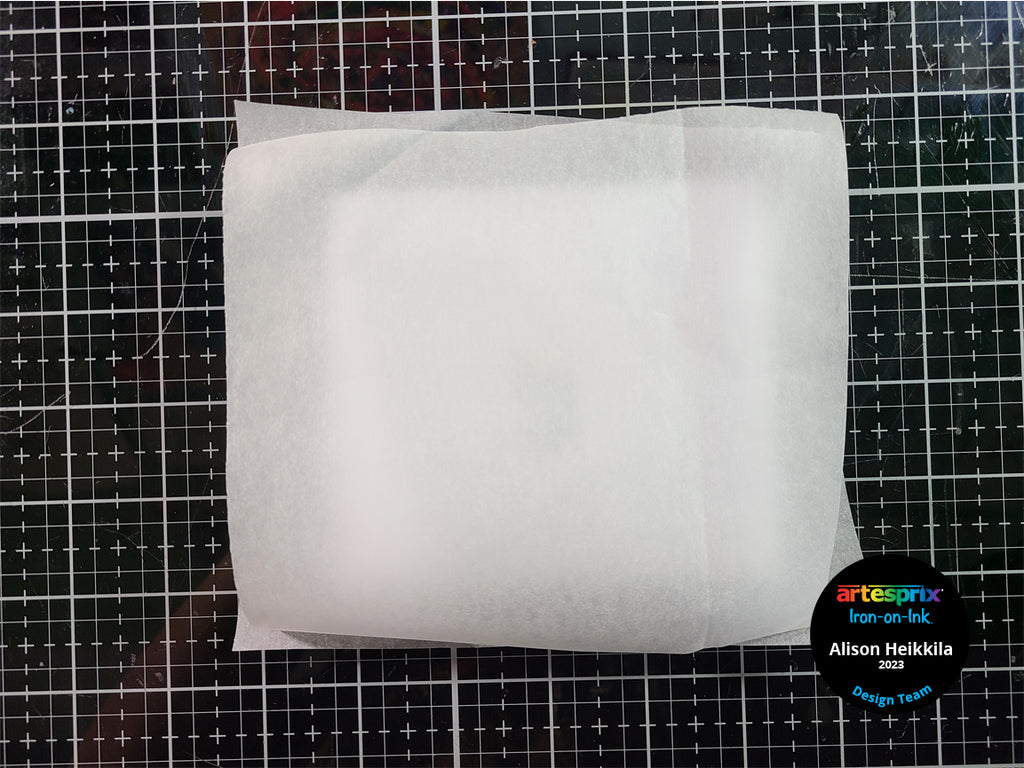
Step 8: Let’s sublimate! Press the Star Ornament for 75 seconds at 400℉.
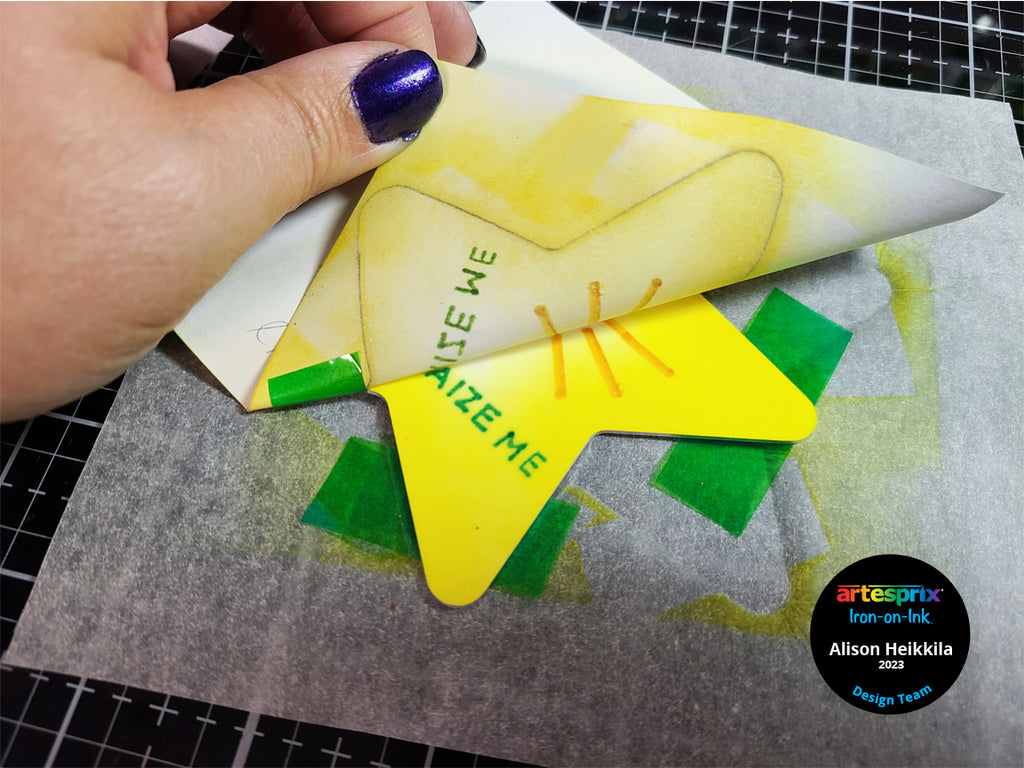
Step 9: Now we get to do the "Peek Test". Remember, this ornament is made of metal so it will be VERY hot! Please use caution when handling it. Carefully peel back part of the design to ensure the sublimation process went well. This looks fab, so I can remove the design completely.
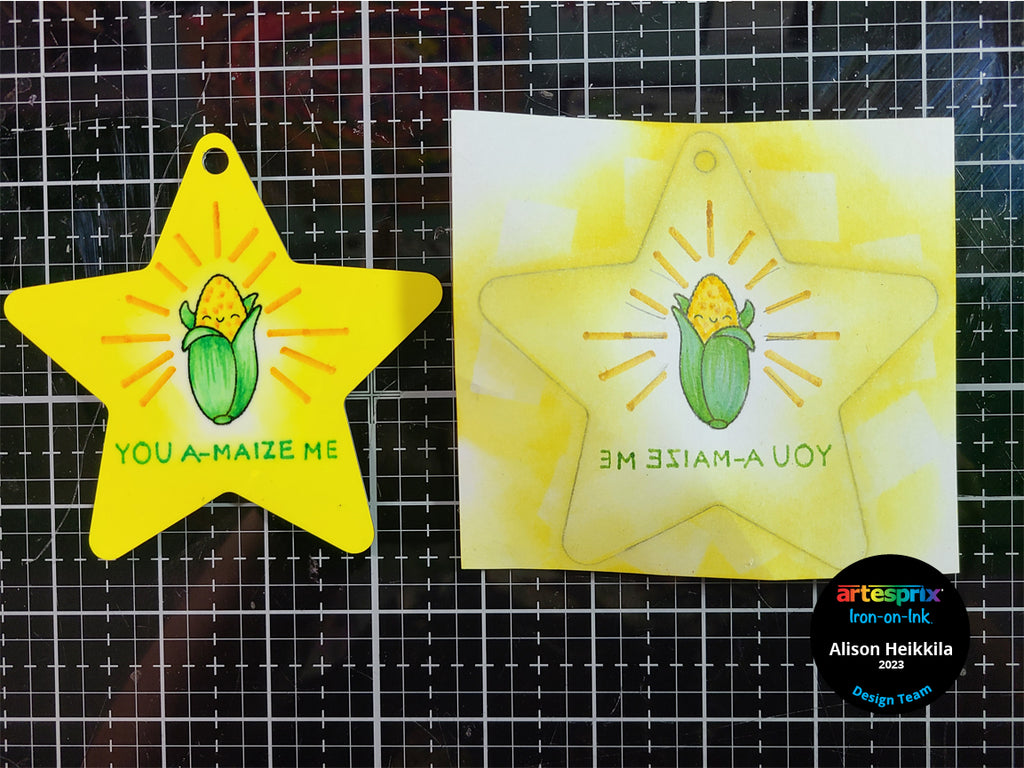
Here is my sublimated Star Ornament with the original art. I love how those greens just pop!
Step 10: Allow to cool before repeating the steps above to personalize the other side. Add some ribbon to the ornament for hanging. The Star Ornament comes with red ribbon, but I opted to use a different one from my stash.
Wouldn’t this little ornament be perfect to pass around a classroom when someone does something fabulous? Or perhaps, your child is kind to a stranger, and you think that deserves more than a pat on the back. No matter what your reasons are, this Star Ornament is a great way to give out some positivity to those around you. And with Artesprix’s Sublimation Markers, you know your designs are permanent. How would you like to get more ideas on using Artesprix’s Sublimation Ink Pads, Markers, and Paint? There’s a Facebook Group that’s just for fans of Artesprix! You can click HERE to join. Also, don’t forget to visit the Artesprix store to see all of the available blanks and bundles, so you can get started with sublimation.
Thanks so much for stopping by. Have an inspiring day!
Alison Heikkila
**This post may contain affiliate links. That means that I may receive compensation if you purchase through the links I have provided. The price you pay for the product or service is not higher, but I may get compensated.**


