Artesprix Springtime Foliage Potholder
Artesprix Design TeamMarkers, Potholder
Products in this post


Hello! I’m Design Team Member Alison Heikkila, and today’s project is perfect for anyone who loves Artesprix’s sublimation products. Often crafters see foliage stamps and immediately think they’re for Autumn. But, I love seeing leaves in the springtime too! There’s so many beautiful shades of green, and Artesprix has several green sublimation markers. We will be creating an all-over print with leaf stamps that will be applied to a Potholder. This is a great Blank because it is small enough to use with most handheld heat sources.

**This post may contain affiliate links. That means that I may receive compensation if you purchase through the links I have provided. The price you pay for the product or service is not higher, but I may get compensated.**
What is Artesprix Iron-on-Ink?
Artesprix Sublimation Markers, Ink, and Paint are specially formulated to allow you to use basic copy paper to: color, stamp, stencil, and monoprint anything you wish and turn it into a heat-transferable design. These designs are then applied to a polyester or polyester coated substrate with heat and pressure. You can use a heat press or a home iron! These designs, through this process of sublimation, will become permanent on your substrates.
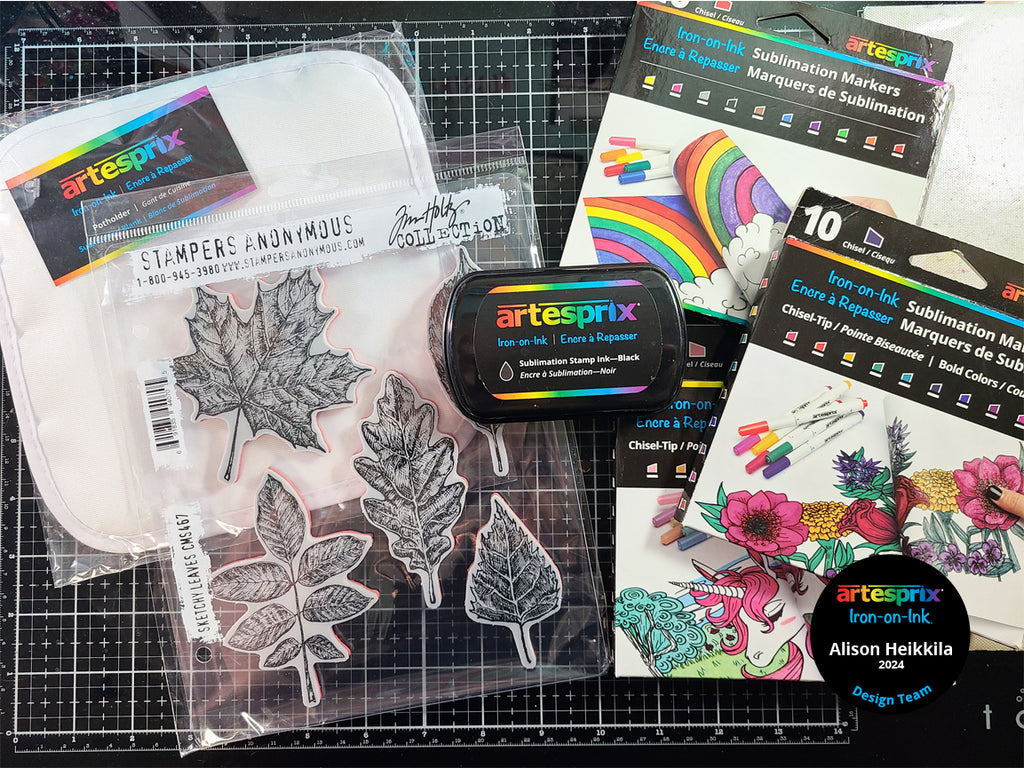
Supplies:
Potholder
Sublimation Markers- Basic Chisel (Green)
Sublimation Markers- Bold Chisel (Pine)
Sublimation Markers- Pastel Chisel (Mint)
Sublimation Stamp Pad-Black
Sublimation Stamp Ink Refill-Black
Protective Paper
Heat Tape
Multi Purpose Cleaner
Stampers Anonymous/Tim Holtz: Sketchy Leaves CMS467
Stamping Platform or Acrylic Block
Copy Paper
Paint Brush
Step-by-Step Tutorial:
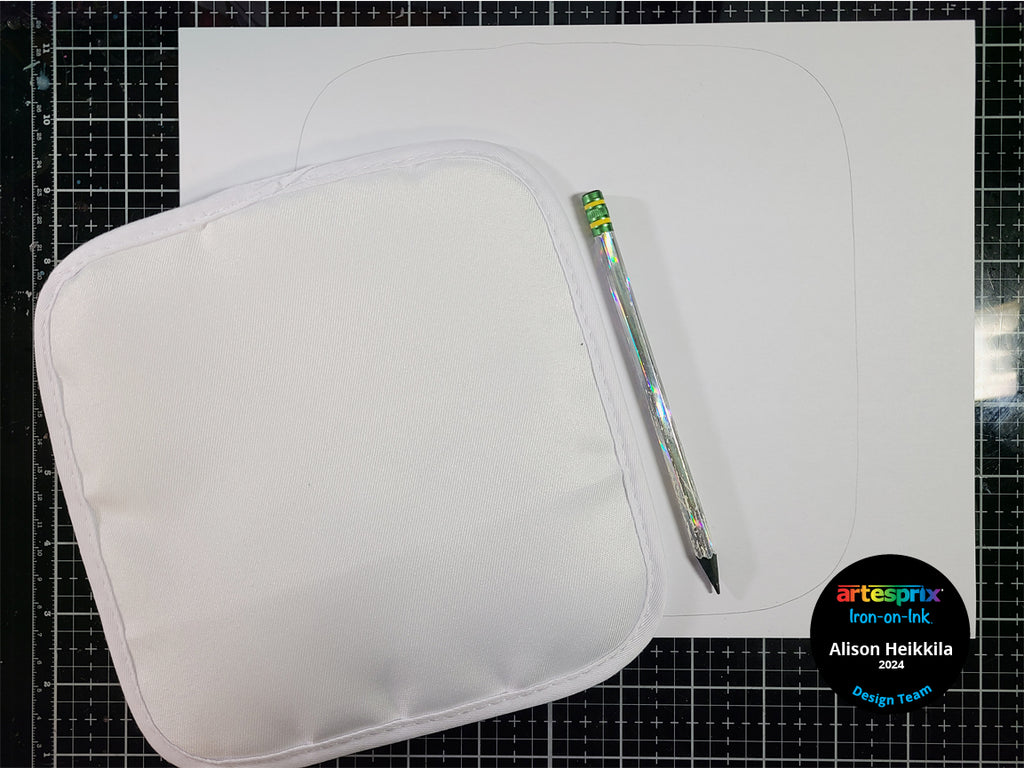
Step 1: Trace the outline of the Potholder onto a piece of copy paper.
Step 2: Place the leaves of your choice on the copy paper. Position them past your template so that you have a natural, continuous pattern. I decided to use the maple, oak, and aspen leaves. Close the door on your stamp platform or pick the stamps up with your acrylic block.

Step 3: Ink up the stamps with the Black Sublimation Stamp Pad and apply them to your paper.
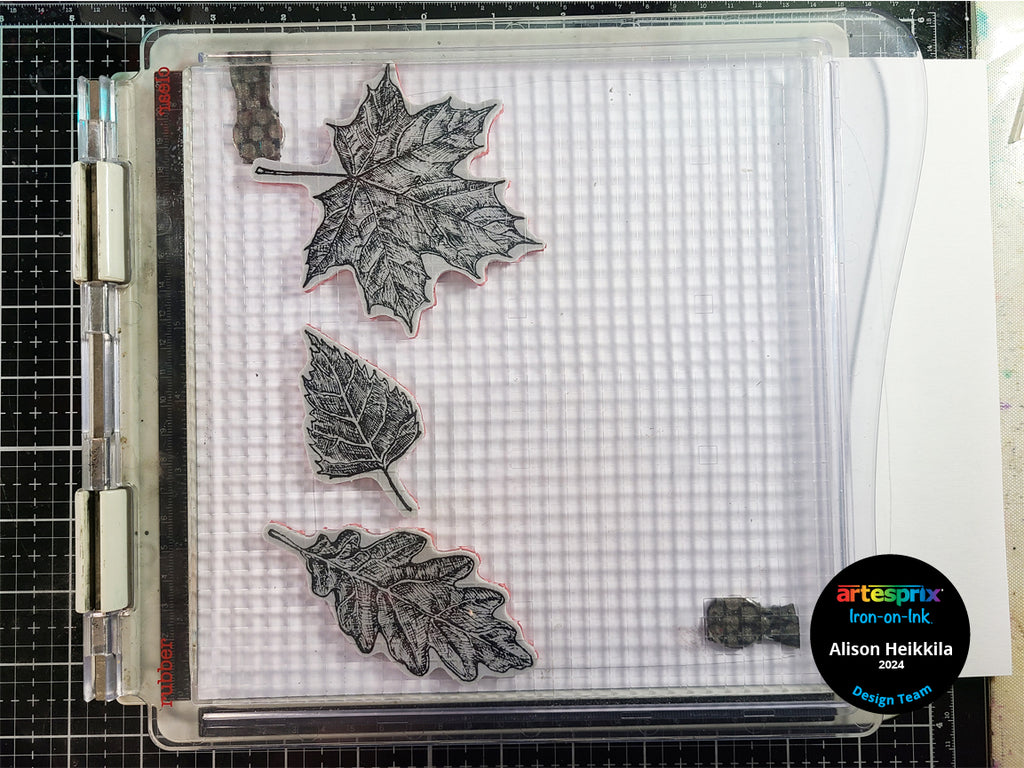
Pro Tip: Because I used a stamping platform, I stamped twice to ensure my images were nice and dark.
Step 4: Continue to stamp the leaves all over your paper until it is full. You may want to rotate your paper as you work.
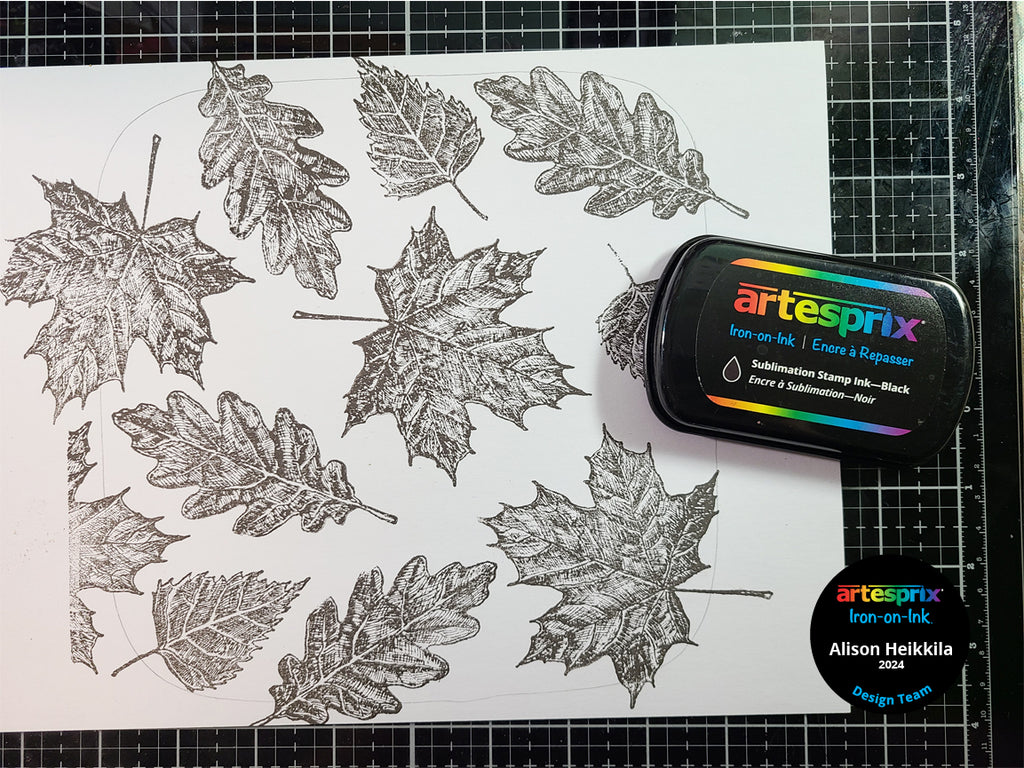
Pro Tip #2: Clean off the stamps every time you’re about to move them to prevent getting ink where you don’t want it. Artesprix’s Multi Purpose Cleaner cleans red rubber beautifully.

Step 5: Color in your leaves with different green Artesprix Sublimation Markers. I used Mint for the aspen, Pine for the oak, and Green for the maple. The way these leaves are drawn, they automatically have shading, so you can just lay the color down quickly and still get an amazing result!
Step 6: Let’s add some splatter to make the background a bit more interesting! Add a drop or two of the Black Sublimation Stamp Ink Refill to your work surface. Add a few drops of water to it and mix with a brush to thin it out.

Step 7: Using your brush, carefully tap it with your finger to create splatter (you may want to do this on a piece of scrap paper first!). Go around the entire design to add splatter to the negative space.
Step 8: Attach the Potholder face down to your completed design. Don't be shy with the Heat Tape, we want to ensure it stays secure.

Step 9: Flip the Potholder and design over to make the Sublimation Sandwich. Add a layer of siliconized paper to the top and bottom of your Blank. The Protective Paper protects your heat source and work surfaces from unwanted ink.
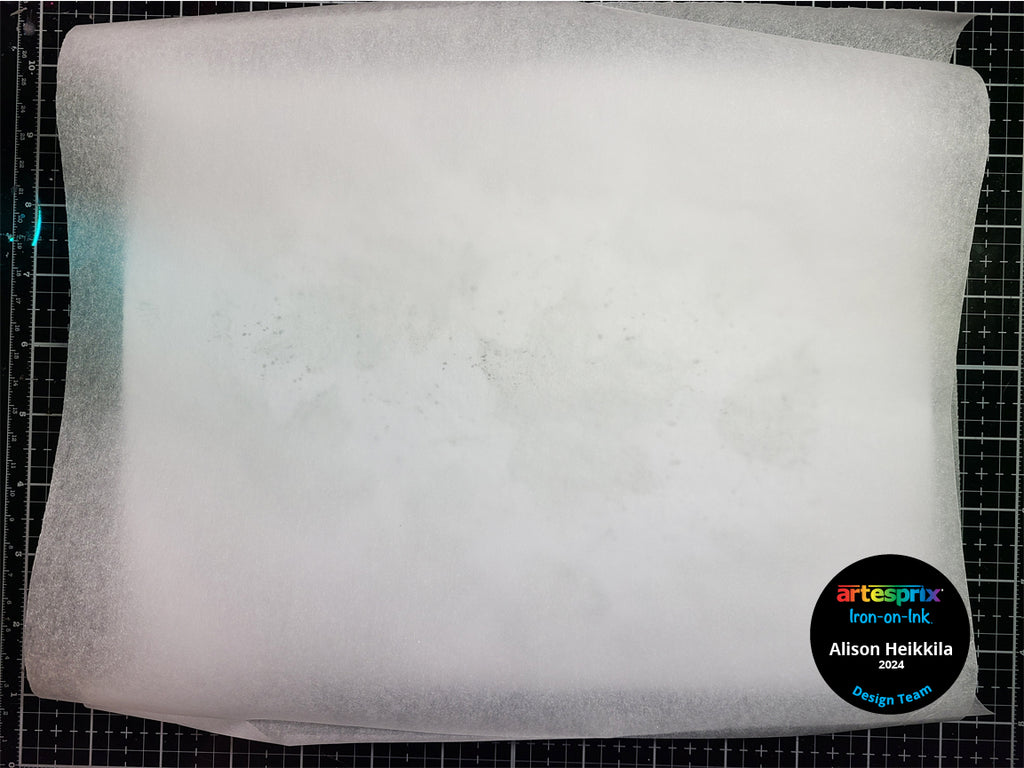
Step 10: It’s time to sublimate! Press the Potholder with medium pressure at 400℉ degrees for 60 seconds.

Step 11: Now we can do the "Peek Test". This is when we lift a corner of the paper off of our design to make sure it sublimated correctly. This looks perfect, so we can remove the paper completely.
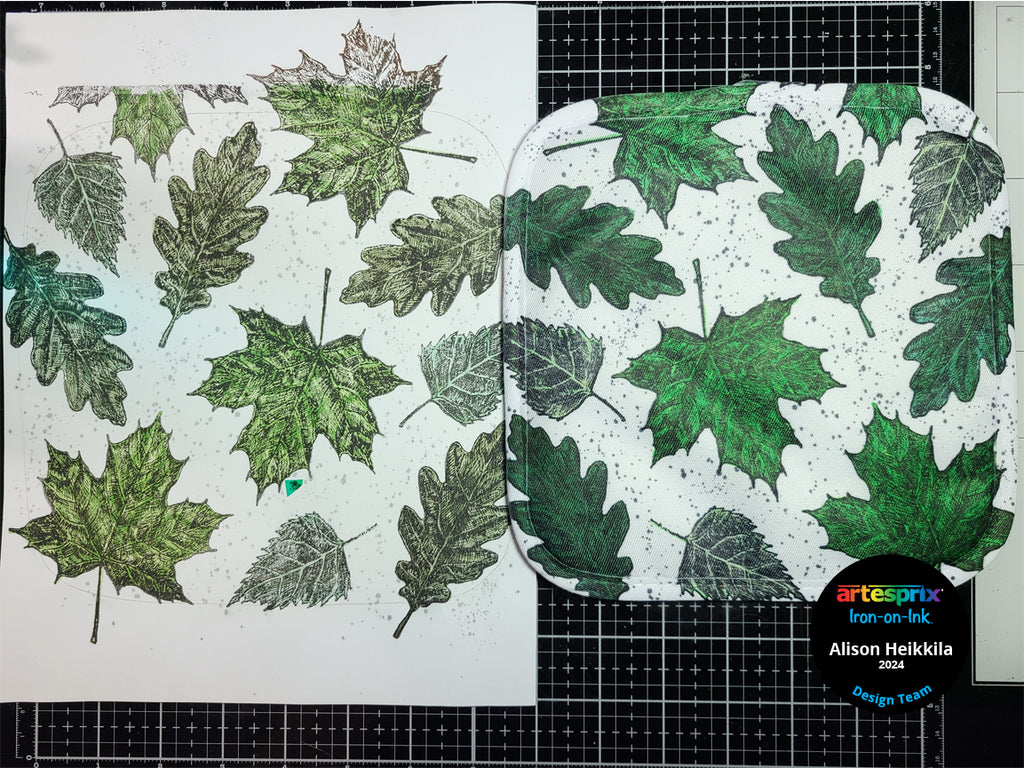
And here is a side-by-side look at the original design and the sublimated Potholder. Look at how amazing those different shades of green look! This just screams springtime to me.
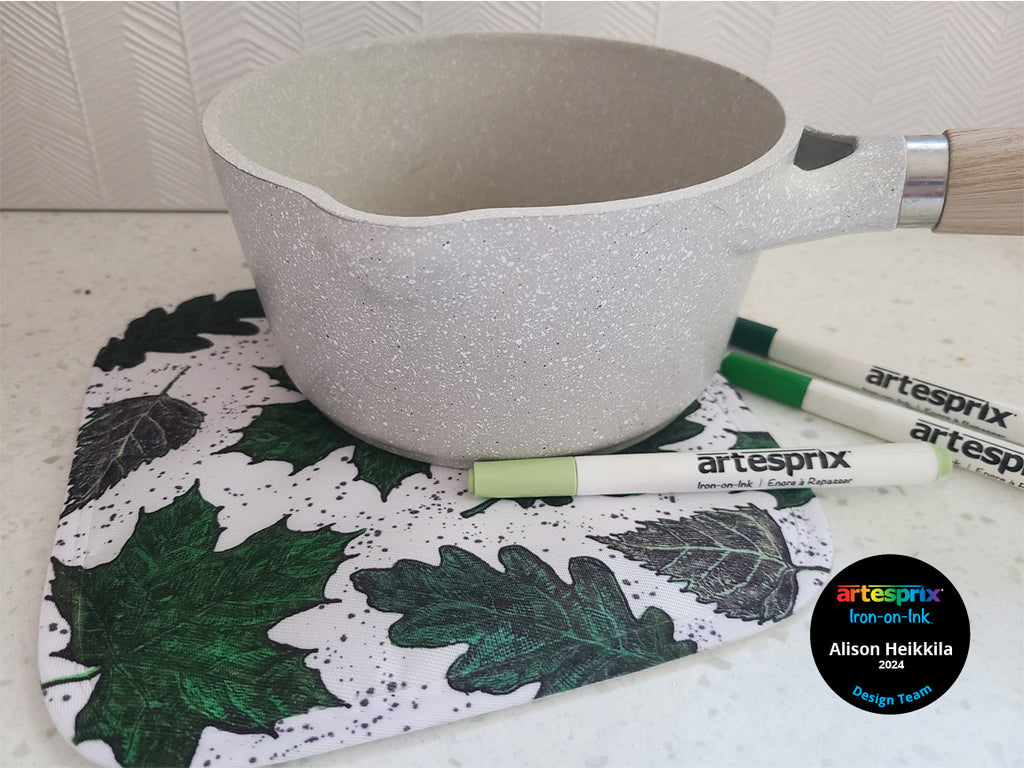
I really love the finished look of this Potholder. And I am so happy I got to use these leaves for something beyond just an Autumn project. But…wouldn’t it be fun to make a second version of this Potholder for the fall? There are plenty of Artesprix Sublimation Markers to choose from to get the colors you want!
How would you like to get more ideas on using Artesprix’s Sublimation Ink Pads, Markers, and Paint? There’s a Facebook Group that’s just for fans of Artesprix! You can click HERE to join. Also, don’t forget to visit the Artesprix store to see all of the available blanks and bundles, so you can get started with sublimation.
Thanks so much for stopping by. Have an inspiring day!
Alison Heikkila
**This post may contain affiliate links. That means that I may receive compensation if you purchase through the links I have provided. The price you pay for the product or service is not higher, but I may get compensated.**


