Artesprix Iron-on-Ink "Spidey" Bookmark for Halloween
Artesprix Design TeamBookmark, Halloween Projects, Ink Pads, Markers
Products in this post


Hi Iron-on-Inkers! Ivy here again, with an easy and fun Halloween themed Artesprix Iron-on-Ink Bookmark Project. Not to mention it may get your littles excited to open their next book. I’m also going to show you how to make an easy background idea using a finger dauber sponge. Let's jump right in!
Supplies:
- Sublimation Iron-on-Ink stamp pad
- Sublimation Markers
- Copy paper
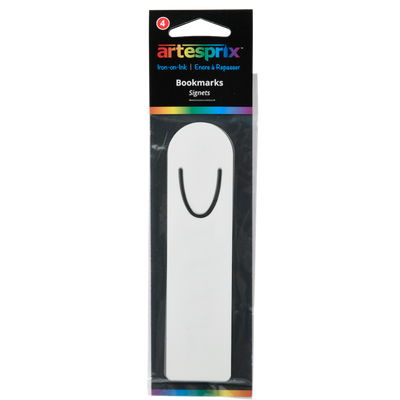
- Blank Bookmark
- Heat Tape
- Protective Paper
- Stamp
- Spray Bottle with water
- Pencil
- Heat Press, dry iron, or home iron
- Finger daubers

Step-by-Step Tutorial:
Step 1. Use a pencil to trace the Artesprix Bookmark on plain copy paper. This will give you an idea of the space where to add the background color.

Step 2. The Artesprix Protective Paper is made out of 100% silicone. It is a non-porous surface. So if you add color using the marker on the sheet you are able to pick up the color.
You can use this technique using any non-porous surface. Take the Artesprix marker and draw any shape. Try to concentrate the color in one spot. Once you have all the colors down on the protective sheet gently spray a small amount of water.

Step 3. The finger dauber is like a little sponge that you can put your finger in and its used for blending inks. Today we are going to use it kind of like a stamp for the Artesprix Iron-on-Ink "Spidey" Bookmark for Halloween design. It soaks up ink well because it has a spongy tip. All you need to do is dab it in the ink with the water.

Step 4. Now just dab is on to the paper and place it around where you want it to be on your bookmark.

Step 5. Once you have your background covered, if it's too light you can go back and add more color. Artesprix markers blend well and the colors layer nicely. Put it to the side and let it dry completely.
To prep for your next step, turn on your heat press to 400 degrees Fahrenheit.

Step 6. Once your piece is dry take the stamps and ink it up using the Artesprix stamp pad. The Artesprix Stamp Pad is juicy so just tap the ink with a gentle hand. Then, stamp it on the paper. Repeat this step with other colors until you are satisfied with design. I always like to full my entire design with colors.


Step 7. Take the Artesprix Heat Tape and tape your bookmark polyester side down to your design. The tape is an important step because it prevents the piece from moving during the sublimation process so your design transfers perfectly.

Step 8. Place the bookmark in a protective paper sandwich with the image facing up towards the heat plate. Press the heat press down for 45 seconds at 400 degrees Fahrenheit.

When the timer goes off, remove your blank from the Heat Press and place it on your Artesprix Protective Mat. This is a great tool for a cool down area, especially working with metals blanks. Metal blanks tend to hold their heat after the sublimation process takes place.
Look how vibrant those colors come out on your Artesprix Iron-on-Ink "Spidey" Bookmark for Halloween! Amazing right?


Here’s the finished bookmark! I hope you enjoyed this project!
Be sure to share your Artesprix Iron-on-Ink "Spidey" Bookmark for Halloween project with us on Facebook if you try this technique. We would love to see what you create.
Until next time!


2 comments
Awesome technique!!
So cute!