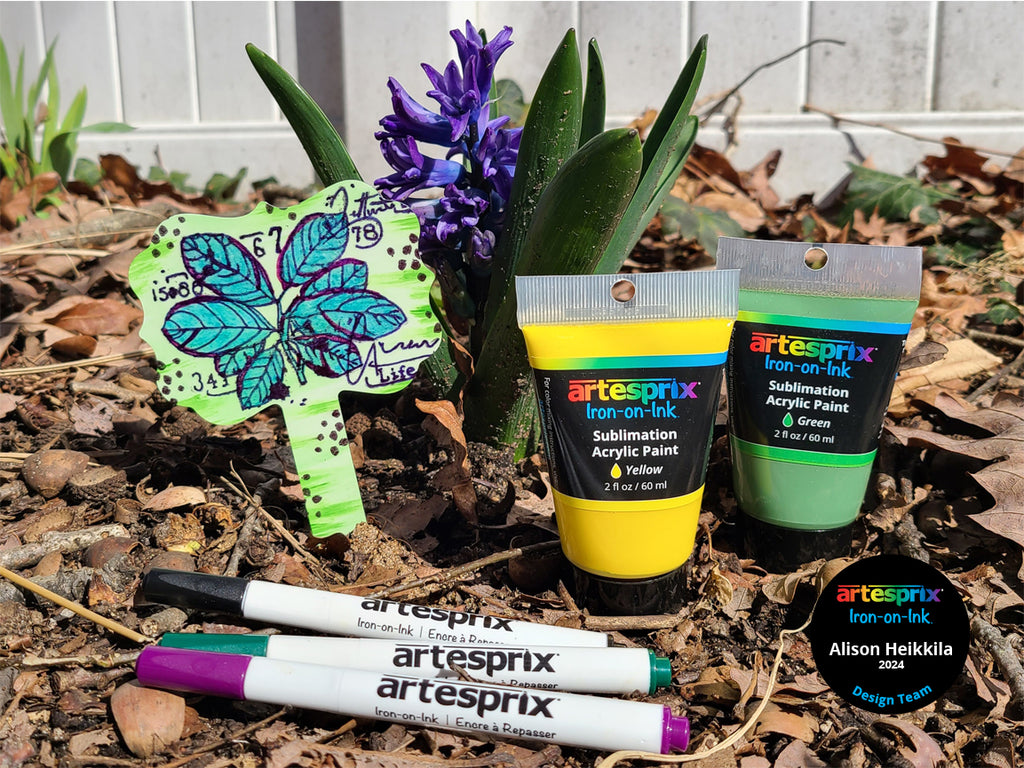
DIY Lettuce Garden Stake with Artesprix Acrylic Paints
Artesprix Design TeamInk Pads, Markers, Mirror Stamp Plate, Paints
Products in this post


Artesprix Heat Tape
$8.49


Hello! I’m Alison Heikkila and I am excited to share Artesprix’s April Blank of Month with you. It’s a set of two Garden Stakes! These were available last June, and I am so glad that they’re back. In fact, HERE you can see the tutorial I did last year with them. I’ll be using the same stamp set from AALL & Create as I did then, but we will be creating our design differently, plus we will use some of the new Sublimation Acrylic Paints!
**This post may contain affiliate links. That means that I may receive compensation if you purchase through the links I have provided. The price you pay for the product or service is not higher, but I may get compensated.**
What is Artesprix Iron-on-Ink?
Artesprix Sublimation Markers, Ink, and Paint are specially formulated to allow you to use basic copy paper to: color, stamp, stencil, and monoprint anything you wish and turn it into a heat-transferable design. These designs are then applied to a polyester or polyester coated substrate with heat and pressure. You can use a heat press or a home iron! These designs, through this process of sublimation, will become permanent on your substrates.
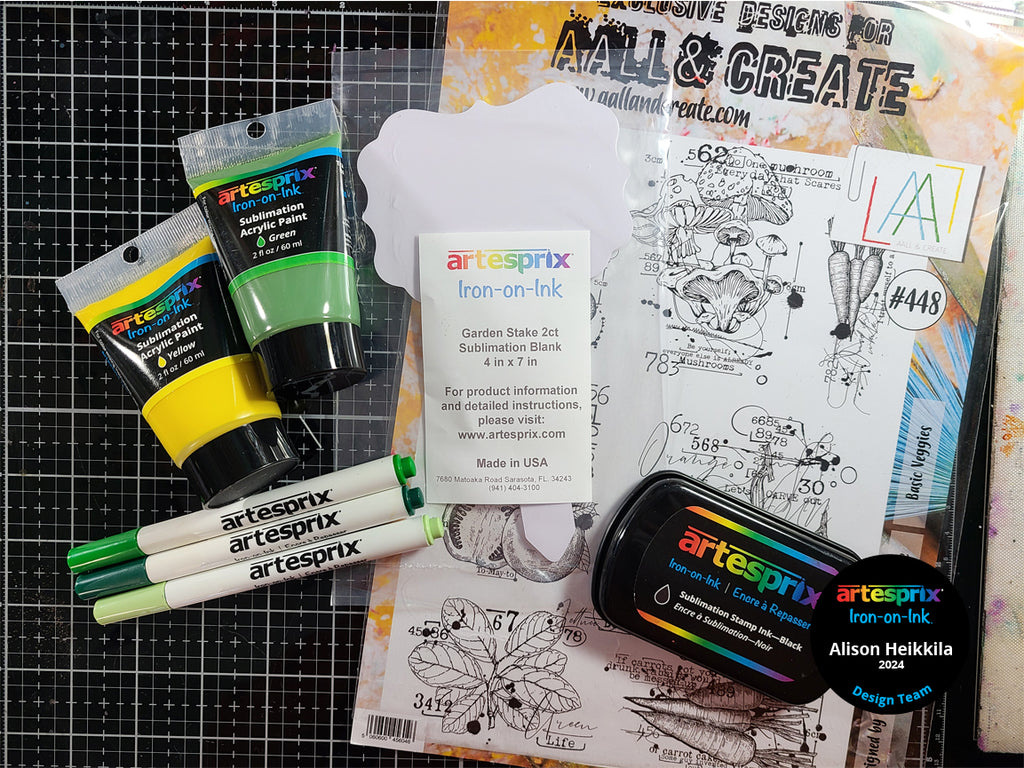
Supplies:
Garden Stakes
Black Sublimation Ink Pad
Sublimation Acrylic Paint: Green, Yellow, White Acrylic Lightening Medium
Sublimation Markers- Bold Chisel: Pine and Plum
Sublimation Markers- Basic Fine: Black
Acrylic Stamp Block
Mirror Stamp Plate
Protective Paper
Heat Tape
AALL & Create: Basic Veggies
Ellen Hutson: Abstract Nature (Discontinued. Use any small, fun simple shape stamp you like.)
Heat Press or home iron
Paint Brush
Copy Paper
Step-by-Step Tutorial:
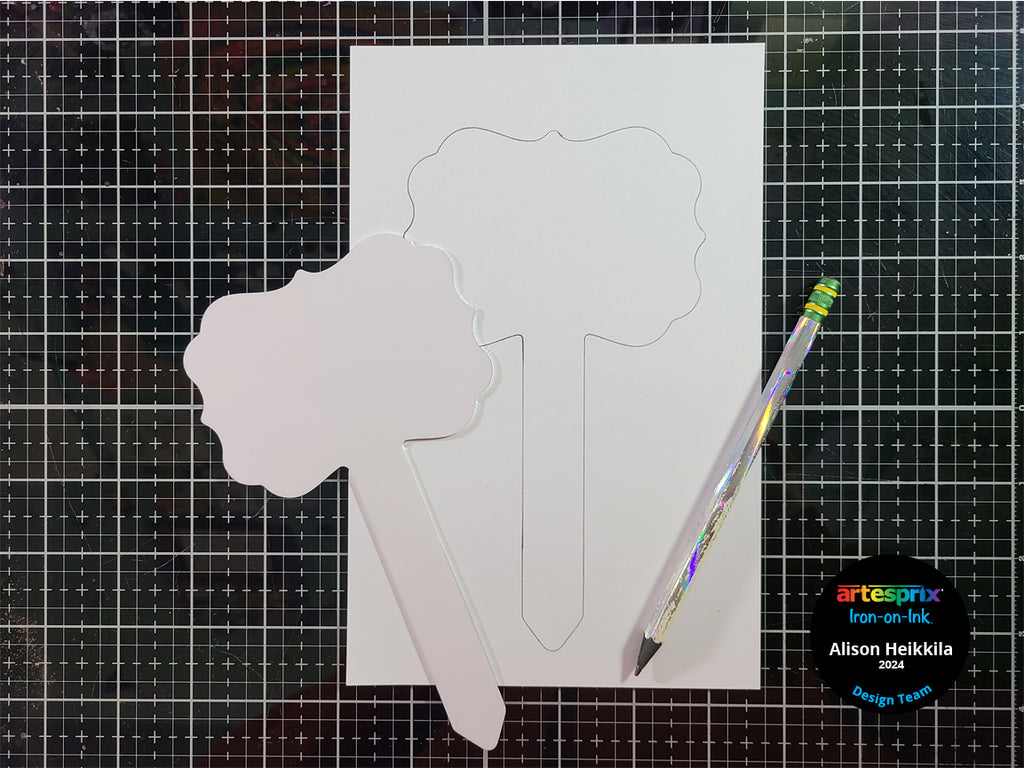
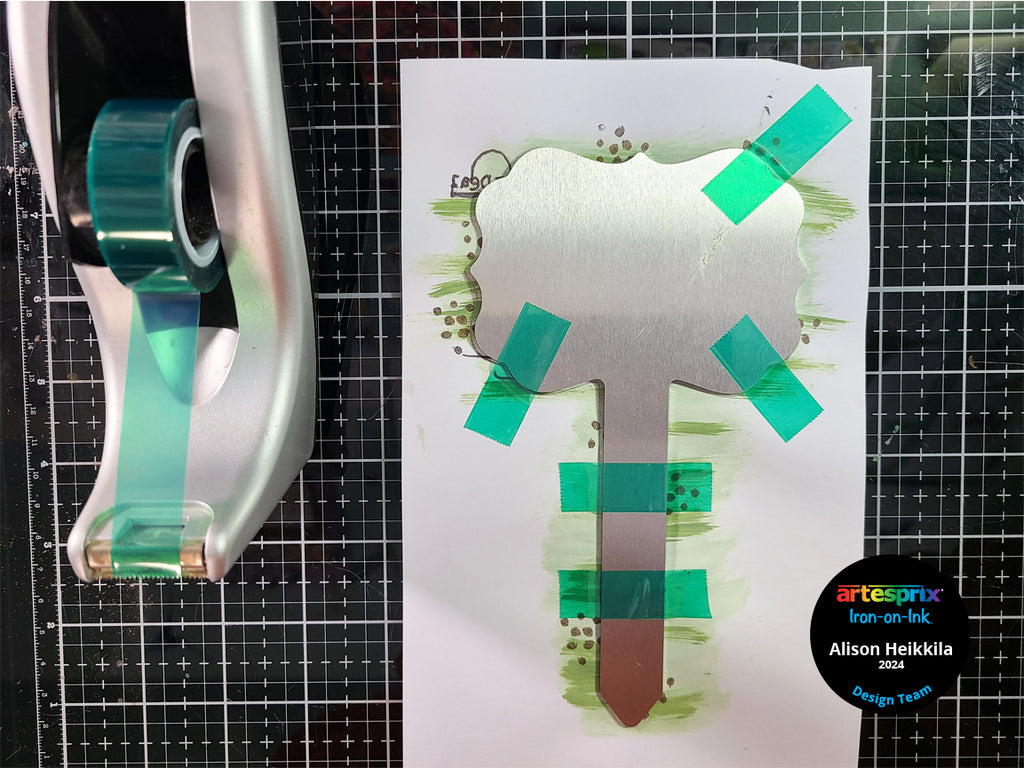
Step 1: Trace the Garden Stake onto a piece of copy paper.
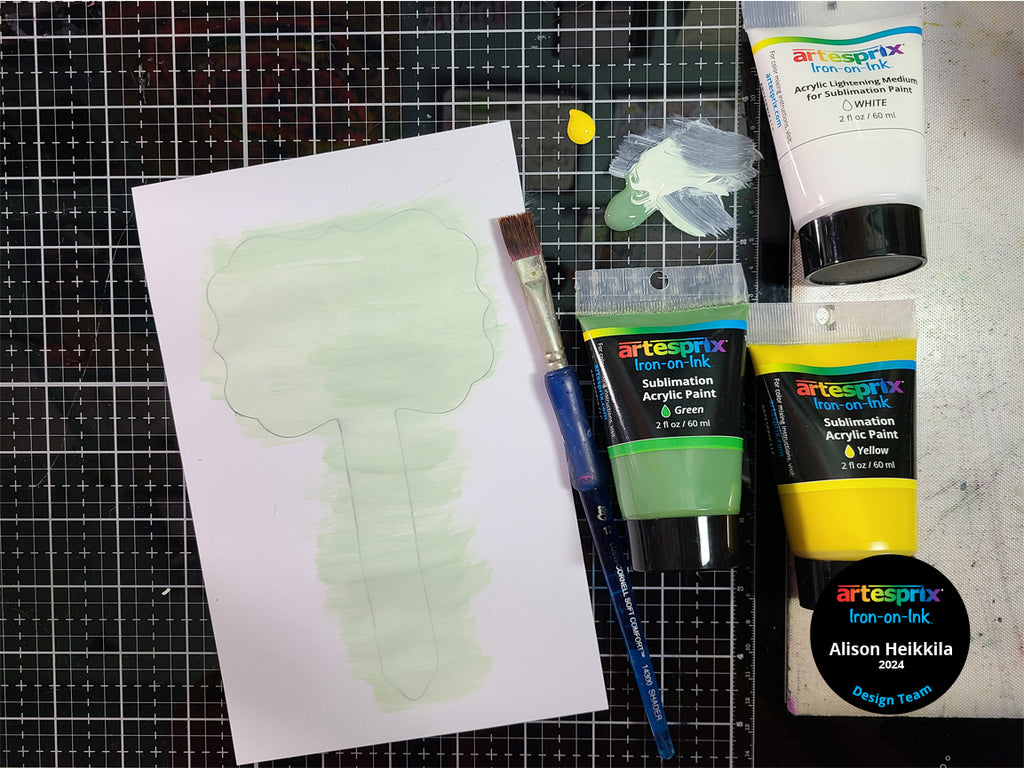
Step 2: Mix the Green Sublimation Acrylic Paint with the White Lightening Medium to make a pale green, and paint over the entire outlined area. Be sure to go past your pencil line in case things don’t get lined up perfectly later. Let dry.
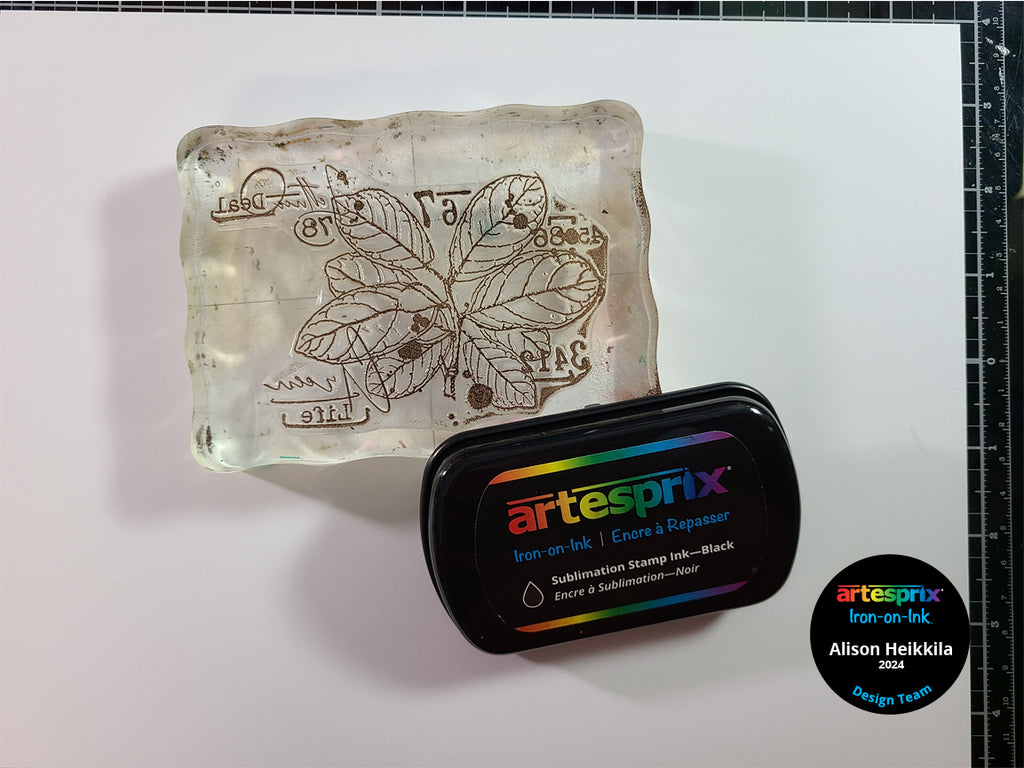
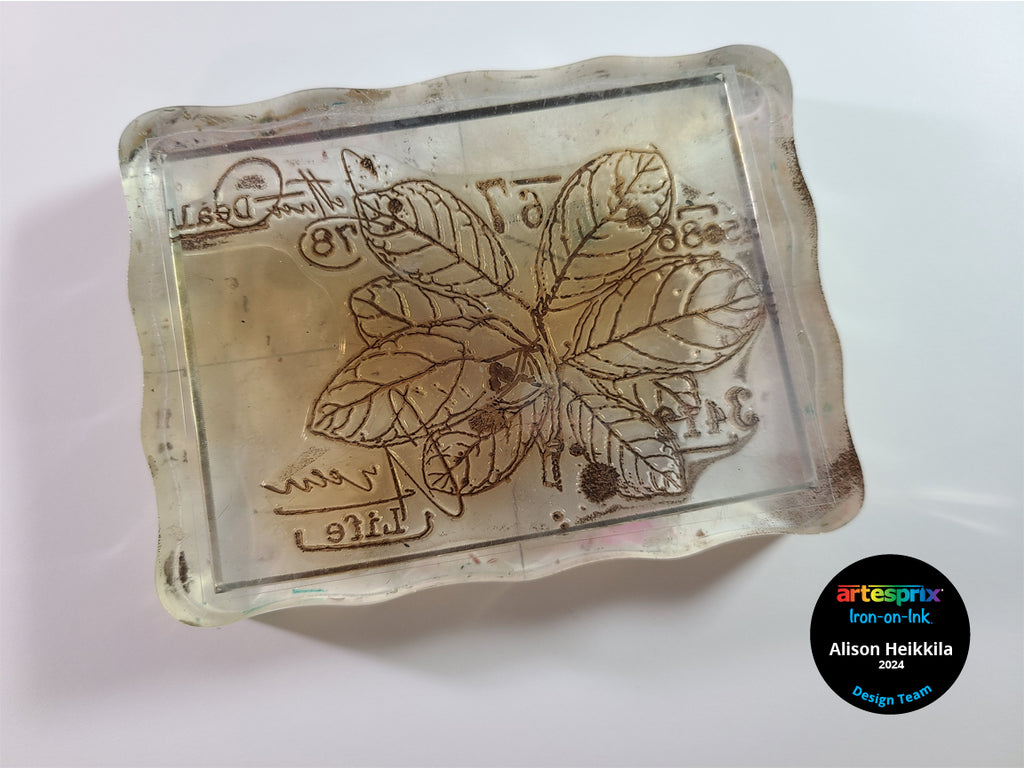
Step 3: With the lettuce stamp stuck to an acrylic block, ink the image with the Black Sublimation Stamp Pad.
Step 4: To use traditional text stamps for sublimation we will need our Mirror Stamping Plate. Carefully place the Mirror Stamp Plate on top of the stamp and press carefully Be sure to not shift the Plate at all, and to press the entire image into it.
Pro Tip: If you only remove one side of the plastic from the Mirror Stamp Plate it makes Step 4 a breeze.
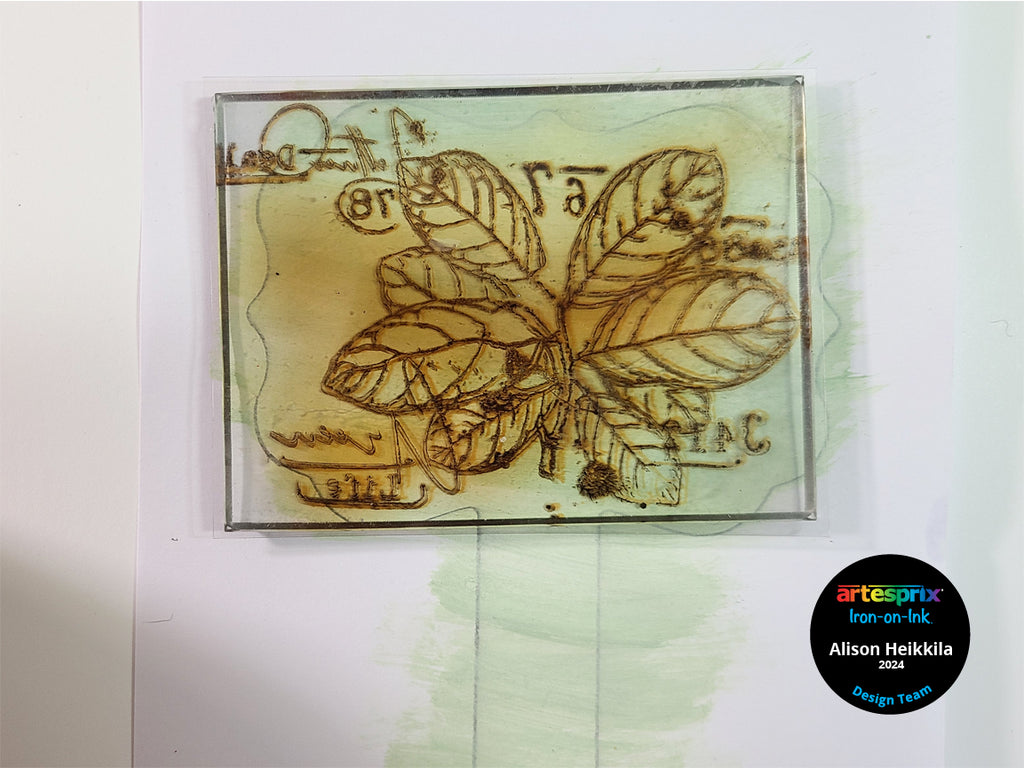
Step 5: Carefully place the Mirror Stamp Plate on top of the painted area of your design. The dry paint will make the surface a little slick, so be sure to not slide the Plate. Press straight down to get the best impression.
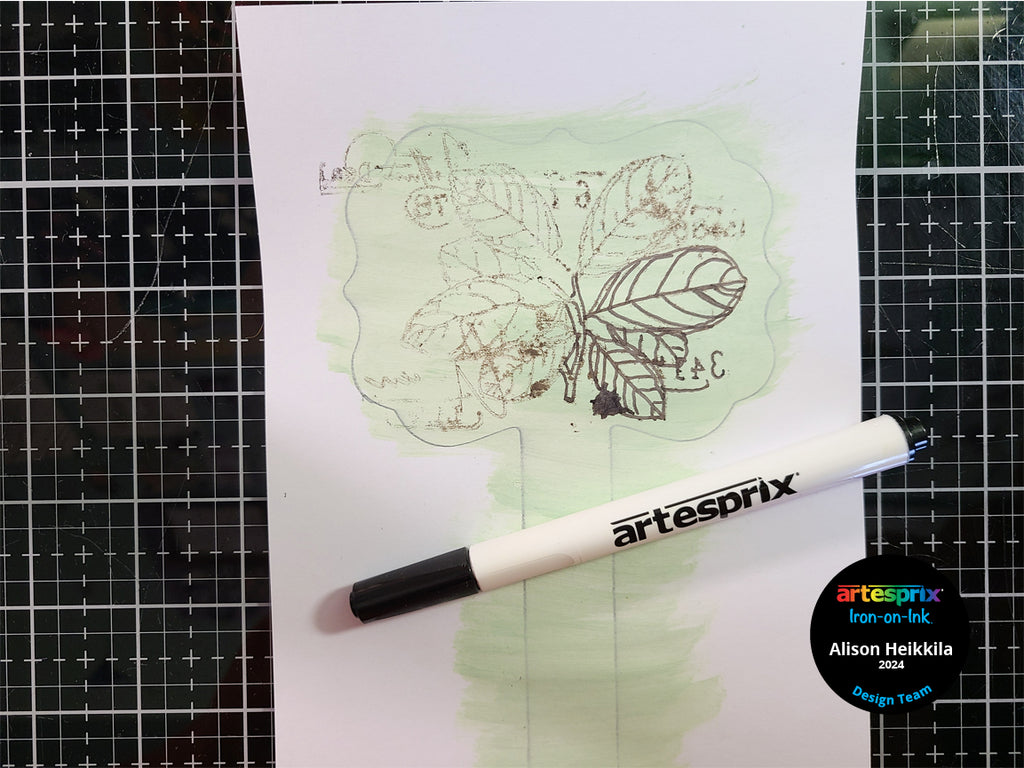
Pro Tip #2: Because we painted the paper first, the impression is a little lighter than I would have liked. So I am going over everything with the Black Fine Tip Sublimation Marker. This doesn’t take very long, and will make a big difference in the end.

Step 6: Color in the lettuce with the Pine and Plum Sublimation Markers from the Bold Chisel Tip Set.
Step 7: Mix some Green and Yellow Sublimation Acrylic Paint with a bit of White Lightening Medium. Use a dry brush to add some of the color to the edges of your design. Let dry.
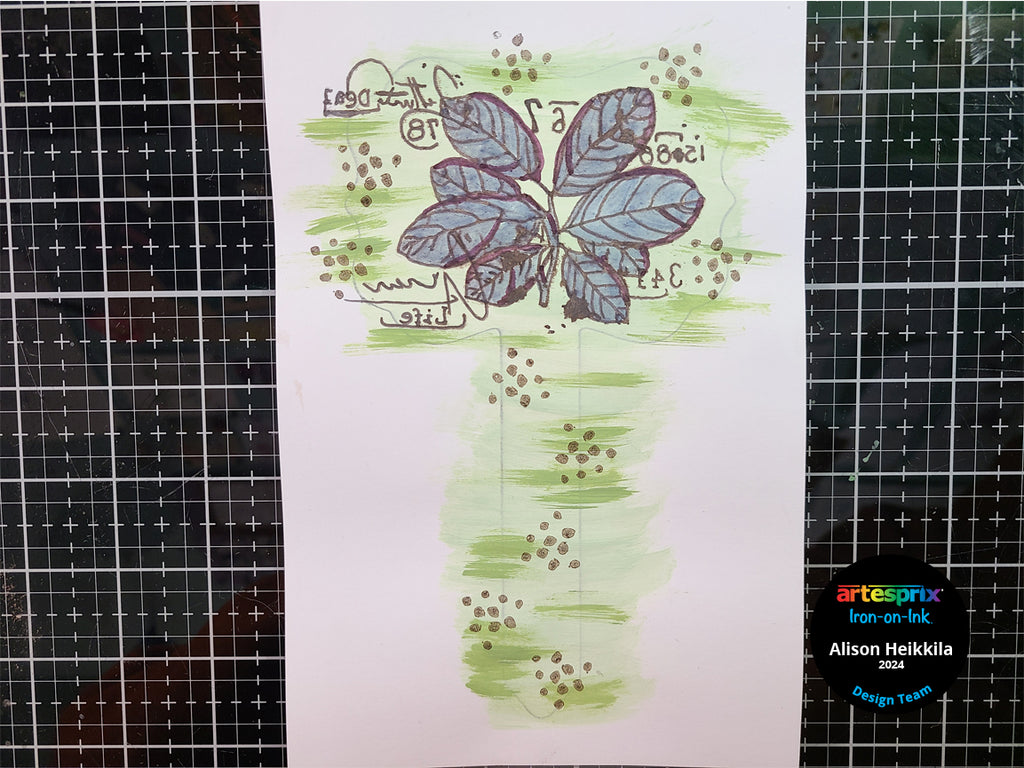
Step 8: Use some kind of mark-making stamp (dots, lines, splatter, etc.) to add some additional interest to the design with the Black Sublimation Stamp Pad. Be sure to go down the spike. Here is our finished design! I love that we can combine 3 different Artesprix mediums onto one project.
Step 10: Secure the Garden Stake with the white side facing the design with Heat Tape.
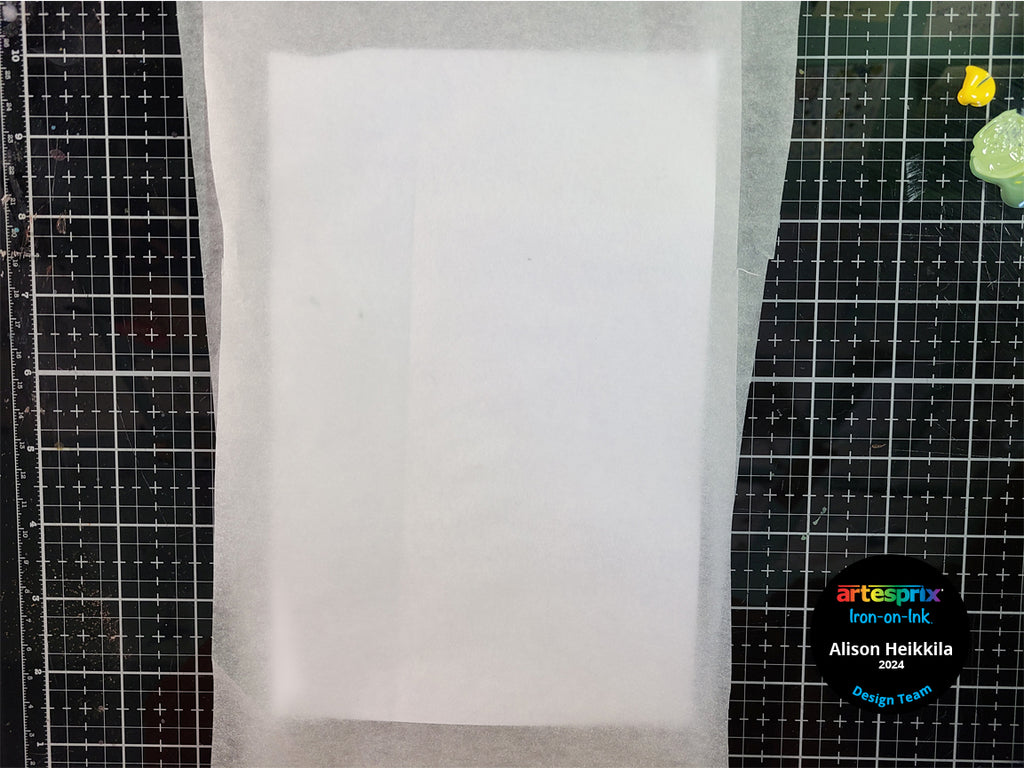
Step 11: It’s time to make the "Sublimation Sandwich". This sandwich not only ensures a great transfer of your design, but it will protect your heat source from any ink transfer as well.
Step 12: Press the Garden Stake for 90 seconds at 400℉.
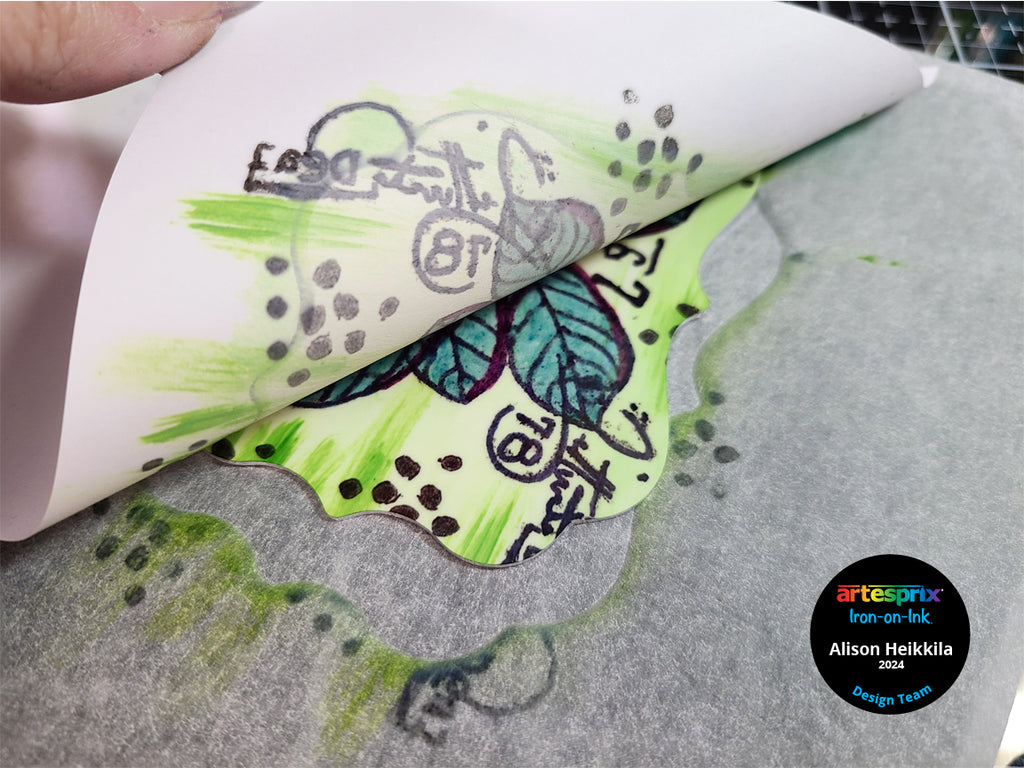
Step 13: It’s time for the "Peek Test"! Very carefully, peel back part of the paper from the Garden Stake to make sure the design sublimated properly. If it didn’t, you can put it right back into the Heat Press.
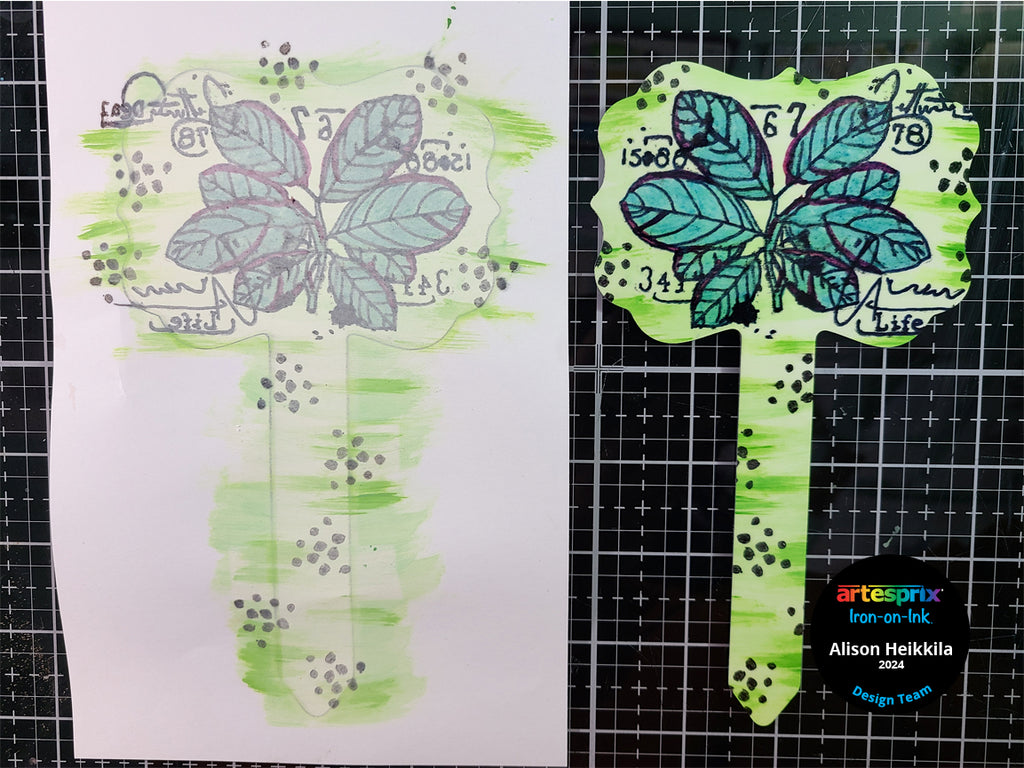
Step 14: My Garden Stake is looking good, so I can remove the rest of the paper and Heat Tape. Check out our finished Garden Stake with the original design! Look at how vibrant those colors are! This is going to look fantastic with the carrot Garden Stake I made last year.

This is such a fun Blank to work with! And I really love that even though there are new Sublimation Acrylic Paint colors, we can still mix our own to really customize the look we want. How will YOU use the Garden Stake? Don’t forget…the Blank of the Month is ONLY here for June, and then it’s gone, so get some for your own garden while you can.
How would you like to get more ideas on using Artesprix’s Sublimation Ink Pads, Markers, and Paint? There’s a Facebook Group that’s just for fans of Artesprix! You can click HERE to join. Also, don’t forget to visit the Artesprix store to see all of the available blanks and bundles, so you can get started with sublimation.
Thanks so much for stopping by. Have an inspiring day!
Alison Heikkila
**This post may contain affiliate links. That means that I may receive compensation if you purchase through the links I have provided. The price you pay for the product or service is not higher, but I may get compensated.**
Products in this post
Artesprix Heat Tape
$8.49


