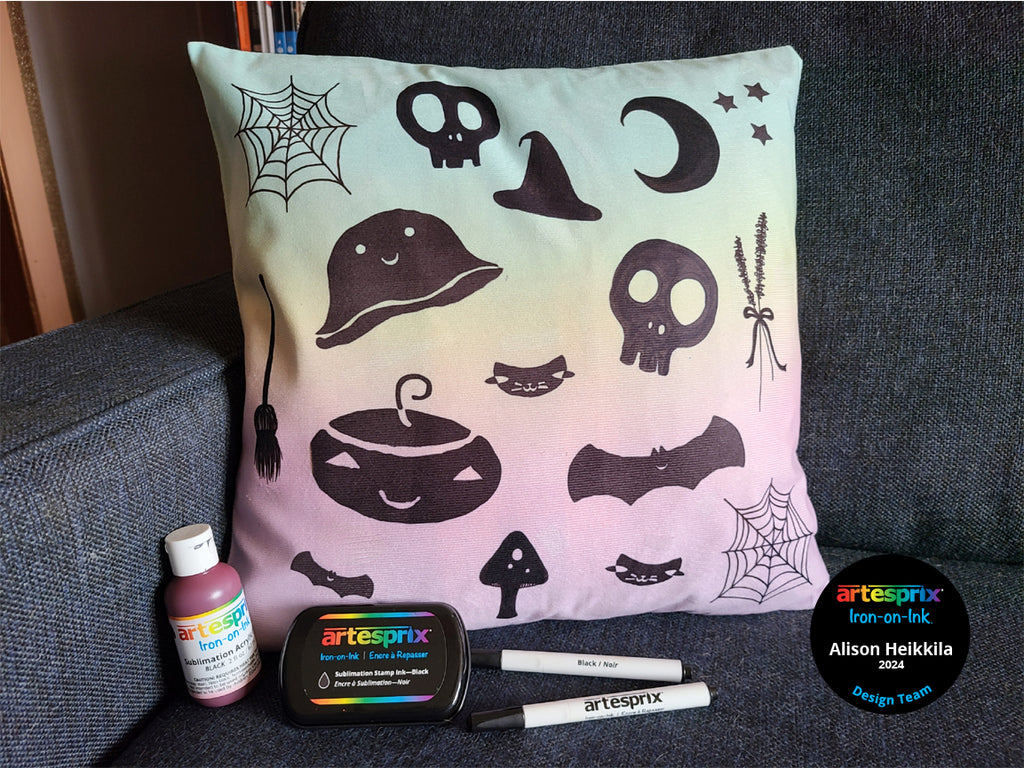
Hello! It’s Alison Heikkila and today I’m sharing the March Blank of the Month from Artesprix, which is an Ombre Pillow Case. This is a really unique Blank, that’s only available this month. I really love the colors on it, so I didn’t want to hide them too much. I decided to use a combination of stamps, hand drawing, and hand paintings to create a pastel goth/witchy themed pillow case using only black Sublimation Stamp Ink, Markers, and Paint.
**This post may contain affiliate links. That means that I may receive compensation if you purchase through the links I have provided. The price you pay for the product or service is not higher, but I may get compensated.**
What is Artesprix Iron-on-Ink?
Artesprix Sublimation Markers, Ink, and Paint are specially formulated to allow you to use basic copy paper to: color, stamp, stencil, and monoprint anything you wish and turn it into a heat-transferable design. These designs are then applied to a polyester or polyester coated substrate with heat and pressure. You can use a heat press or a home iron! These designs, through this process of sublimation, will become permanent on your substrates.
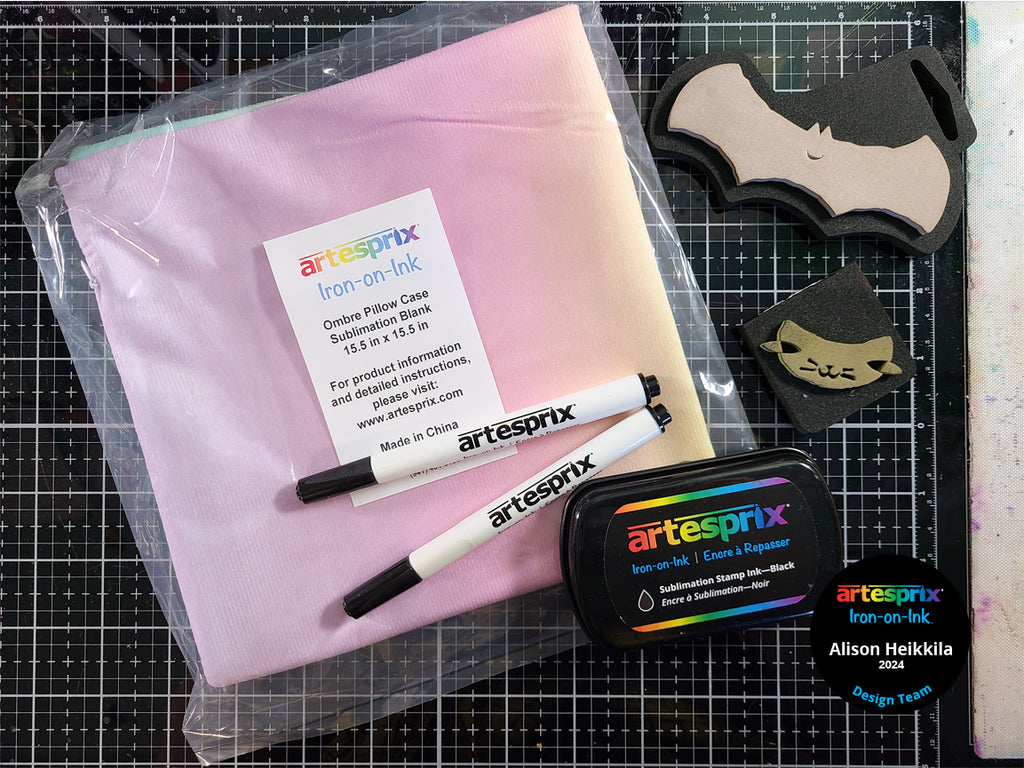
Supplies:
Ombre Pillow Case
Sublimation Acrylic Paint Set (Black)
Sublimation Stamp Pad: Black
Sublimation Markers: Basic Fine (Black)
Basic Sublimation Markers (Black)
Heat Tape
Protective Paper
Foam Stamps
Hand Drawings/Paintings
Copy Paper
Heat Press
Step-by-Step Tutorial:
Step 1: Using any preferred design stamps, ink them with the Black Sublimation Stamp Pad and stamp them onto copy paper.
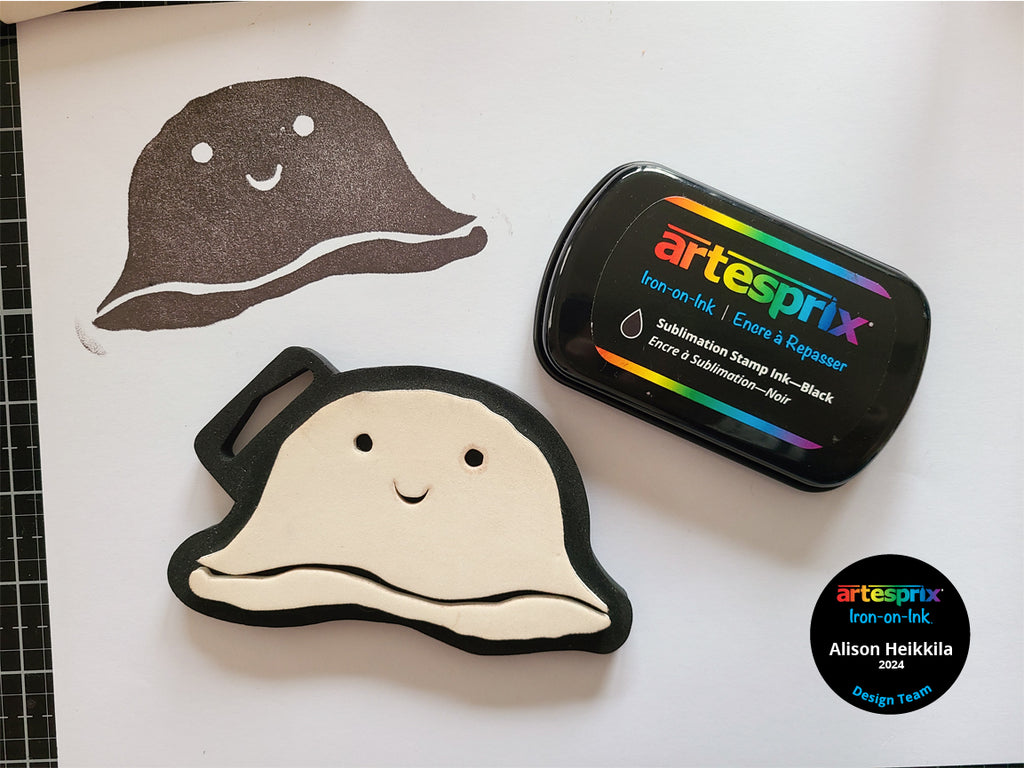
Step 2: Draw and/or paint additional imagery that will work with your theme. The blacks between mediums may look different now, but once we sublimate, they will all look the same.
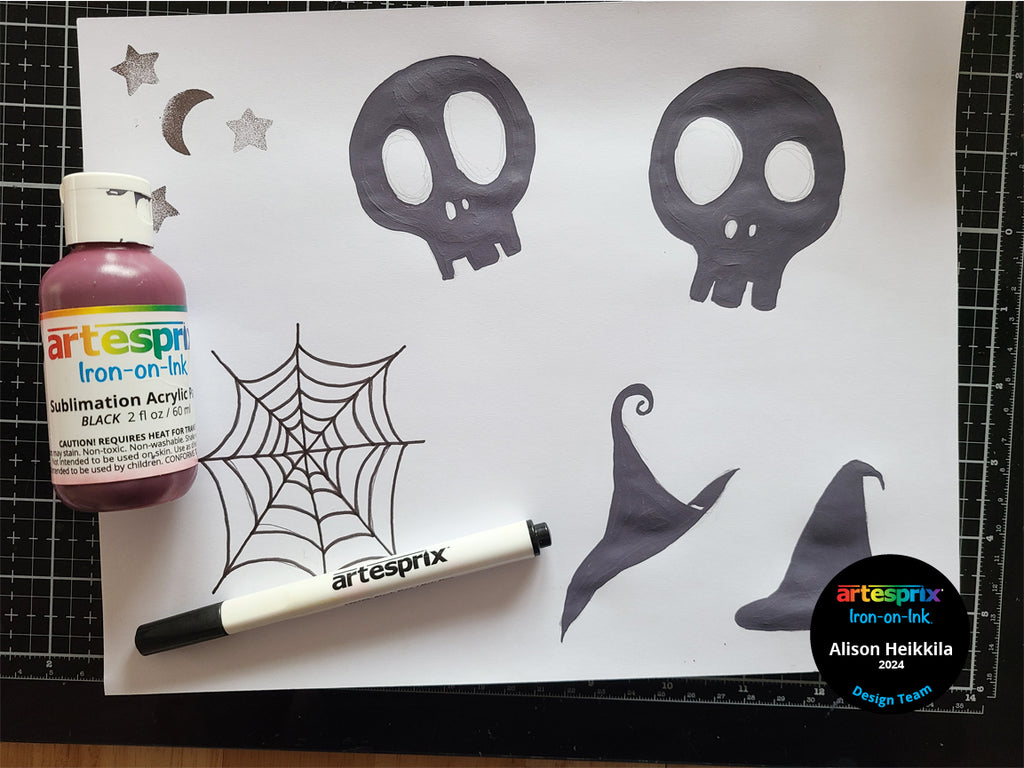
Here is what most of my finished designs look like. I added a few more as I was sublimating.
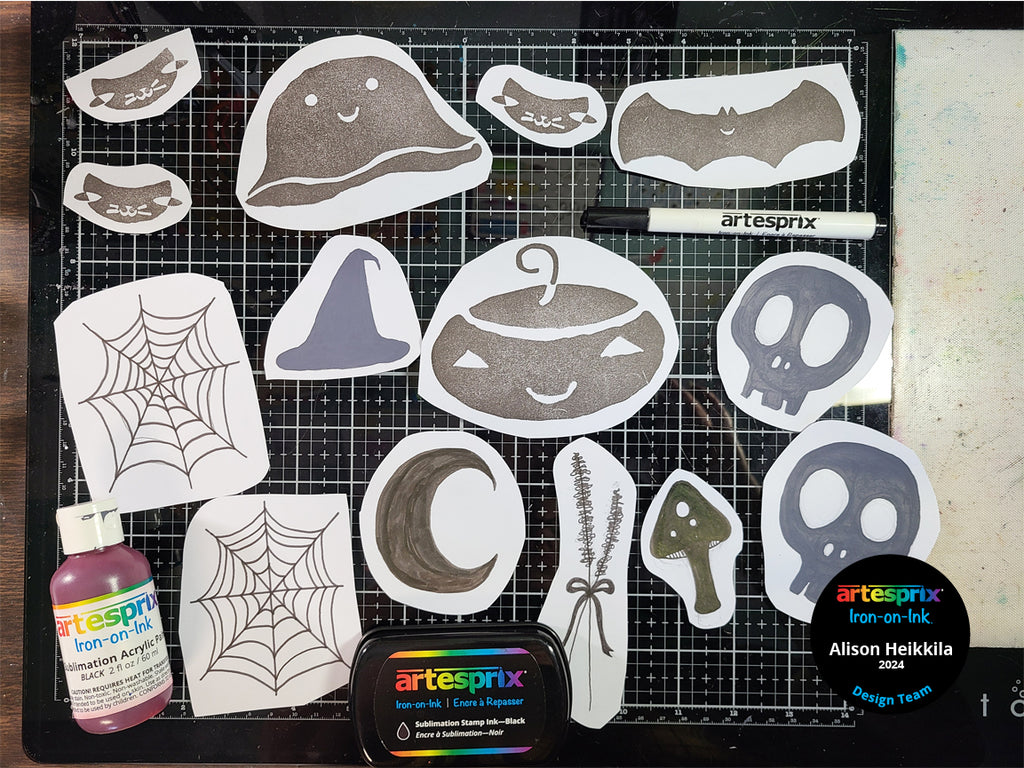
Step 3: Adhere a few of your designs using Heat Tape. You don’t need a lot of tape for this, unless you are using an iron. I started in the center of the Ombre Pillow Case and worked my way out. Since the bed of my Heat Press isn’t large enough to accommodate the whole pillow case, I only sublimated a few designs at a time.
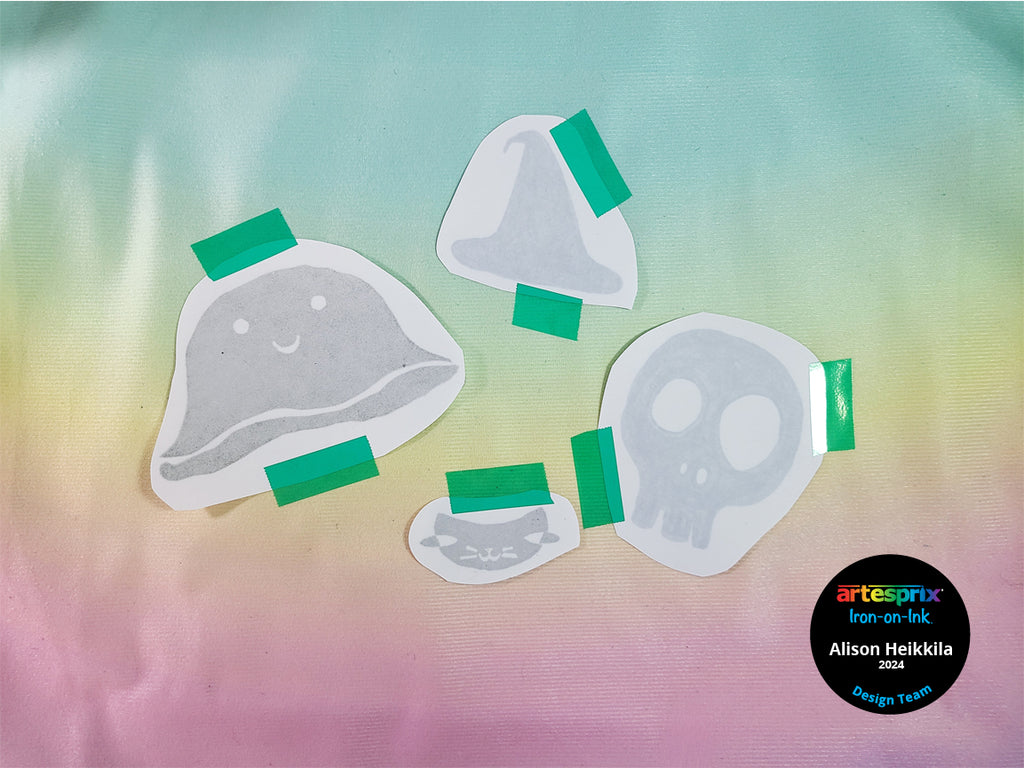
Pro Tip: If your blank is bigger than your heat platen like me, you will have to press in sections.
Step 4: Apply a layer of Protective Paper on top of your taped designs and INSIDE the pillow case. This will prevent the designs from going through to the back side of the case, and will protect the opposite side.
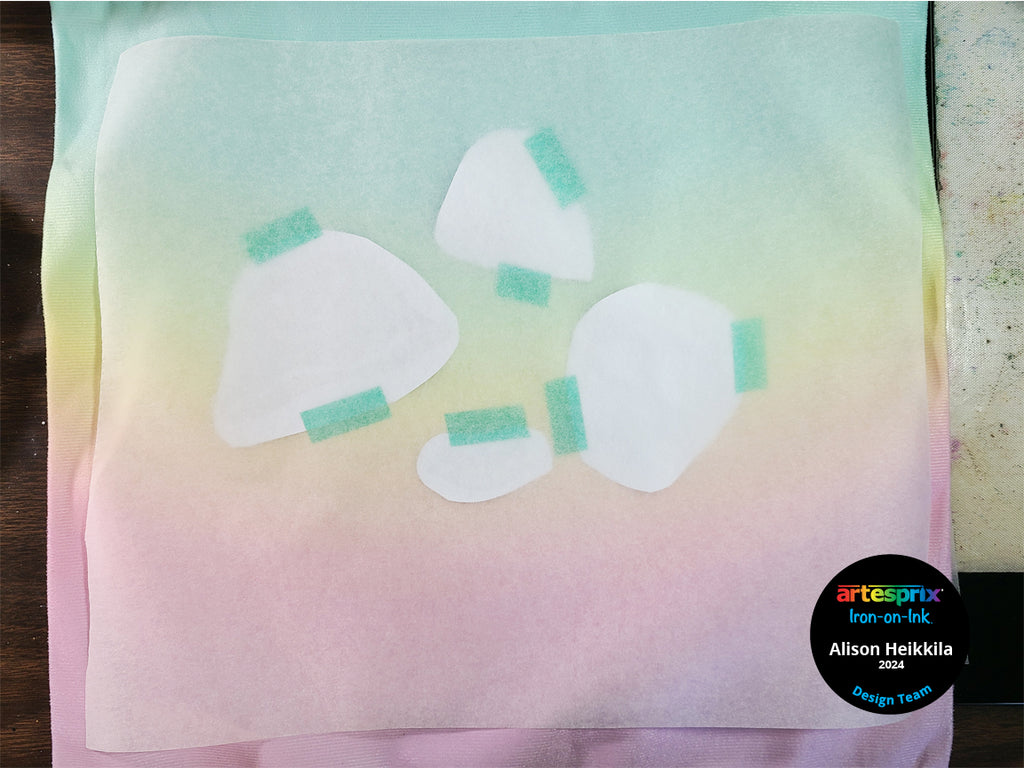
Step 5: Sublimate the Ombre Pillow Case at 400℉ for 60 seconds, with light-medium pressure. It is important to not use too much pressure as it will cause press lines.
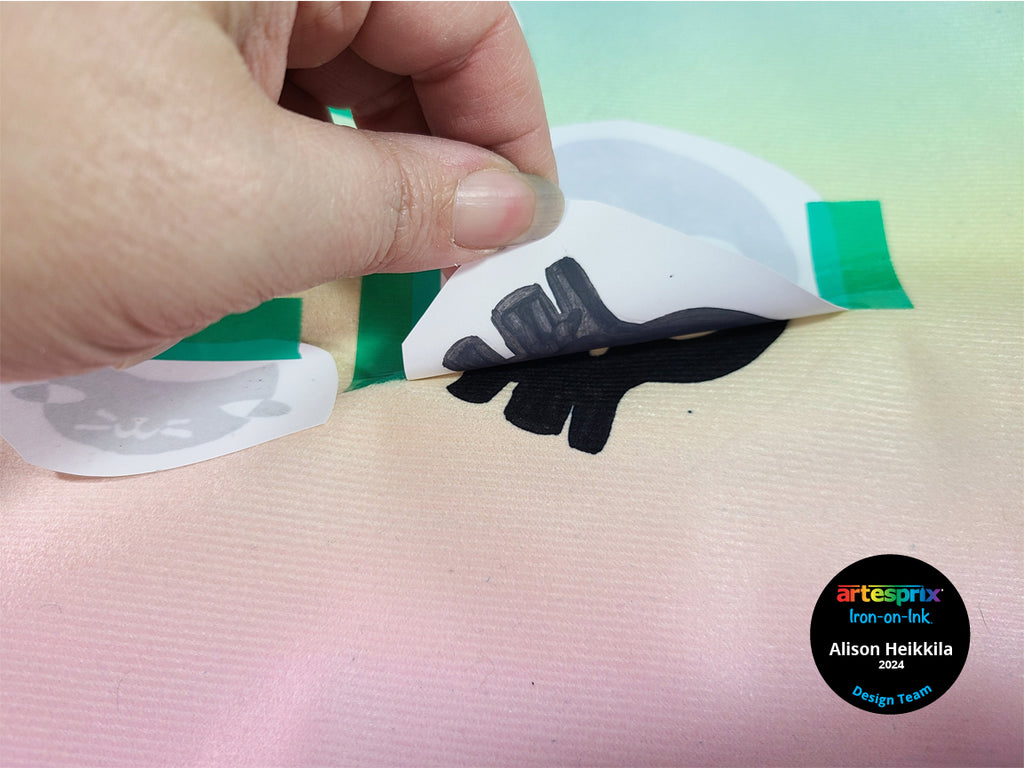
Step 6: Time for the "Peek Test"! Carefully lift the edge of one of your designs to make sure it’s sublimated properly. If it looks good, you can remove all of the papers. If you need to sublimate again, you can put it back into the heat press. Mine looks good, so let’s add more of our little designs!
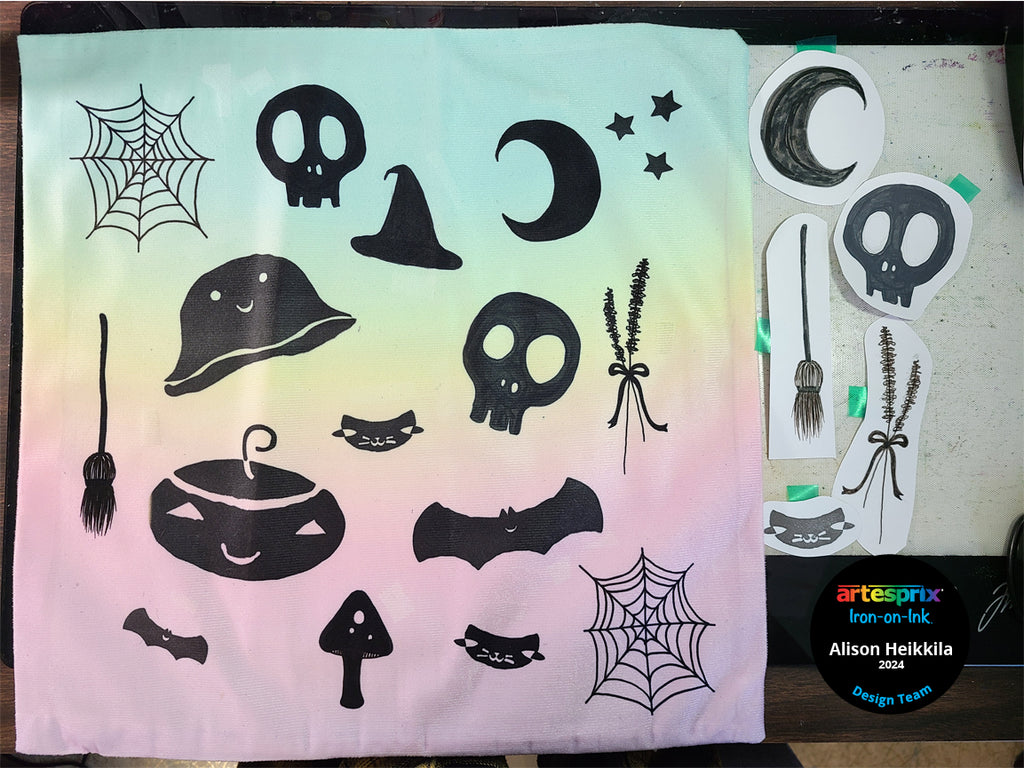
Step 7: Remove the designs and allow Pillow Case to cool. Adhere additional designs to the other side with Heat Tape.
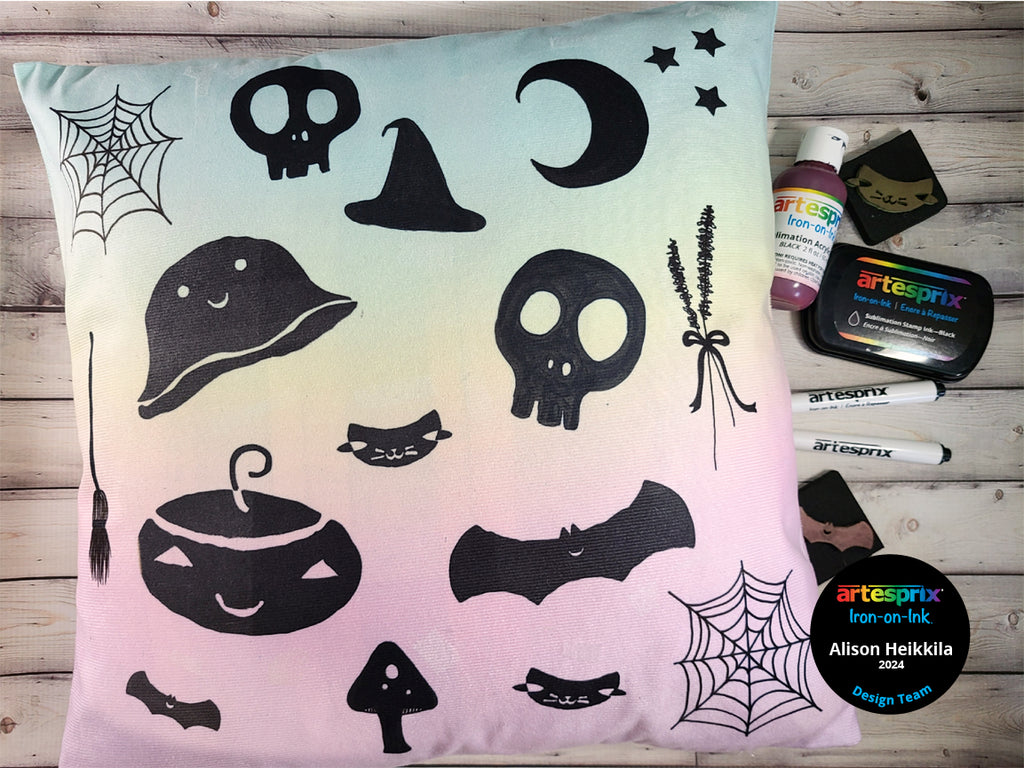
Here is my completed Ombre Pillow Case next to some of my little designs. Look at how rich the black is! I am so happy with how this turned out. I love that I got to use stamps in addition to my own designs on this pillow. The black stands out so well against those pretty colors of the pillow case.

How would you like to get more ideas on how to use the Blank of the Month and Artesprix’s fantastic mediums? There’s a Facebook Group that’s just for fans of Artesprix! You can click HERE to join. Also, don’t forget to visit the Artesprix store to see all of the available blanks and bundles, so you can get started with sublimation.
Thanks so much for stopping by. Have an inspiring day!
Alison Heikkila
**This post may contain affiliate links. That means that I may receive compensation if you purchase through the links I have provided. The price you pay for the product or service is not higher, but I may get compensated.**