Personalized Potholder with Artesprix Markers & Cricut Joy Xtra
Artesprix Design TeamCricut, Markers, Potholder
Products in this post


Hey, hey, my crafty friend! It’s Megan from Lovebird Heartworks and I’m super excited to be featured as a Artesprix guest designer this month. Did you know that the Artesprix Iron-on-Ink markers fit into the Cricut Joy machines?! In this tutorial, I’ll be using Artesprix’s Iron-on-Ink Fine Point Markers and my brand new Cricut Joy Xtra to create a custom potholder and sharing all the best practices along the way.
**This post may contain affiliate links. That means that I may receive compensation if you purchase through the links I have provided. The price you pay for the product or service is not higher, but I may get compensated.**
What is Artesprix Iron-on-Ink?
Artesprix hit the craft scene in 2018 with their markers and the sublimation craft scene is still HOT! I like to say sublimation is a love child between science and crafting. The sublimation process uses heat to turn ink into a gas which can then be transferred with pressure into polyester material and polyester coated blanks, permanently. Artesprix’s Iron-on-Ink makes the process even more accessible, because you don’t need a fancy sublimation printer to get amazing results! The ability to create permanent designs on a variety of blanks blows my mind with every reveal.
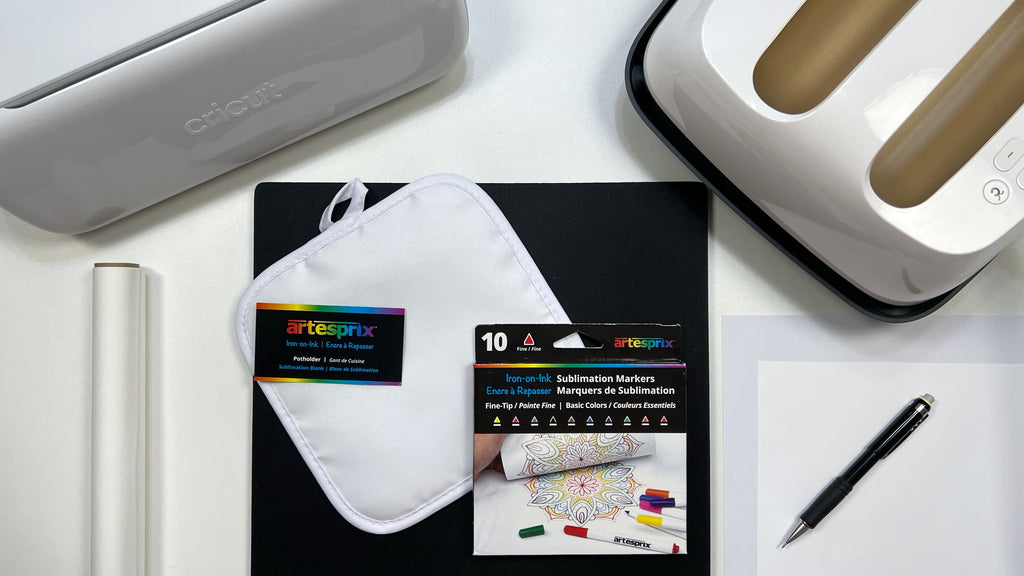
Supplies:
Artesprix Iron-on-Ink Fine Point Markers
Cricut Joy Xtra
Cricut Joy Xtra Mat
Plain Copy Paper
Artesprix Potholder
Artesprix Heat Tape
Artesprix Project Mat
Artesprix Protective Paper
Cricut EasyPress, Heat Press, or other handheld Craft Press
Step-by-Step Tutorial:
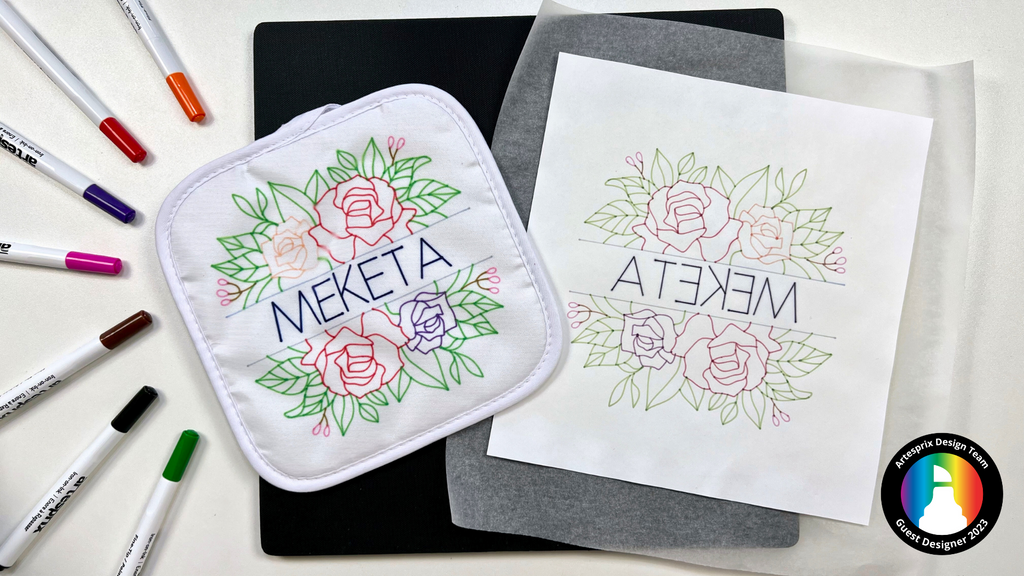
Step 1: Create your design in Cricut Design Space and make sure that your whole design is set to “Pen”, instead of “Basic Cut”. I’ve added this design to my Cricut Design Space profile for you to edit the name and recreate for your own projects. You can access that by clicking here.
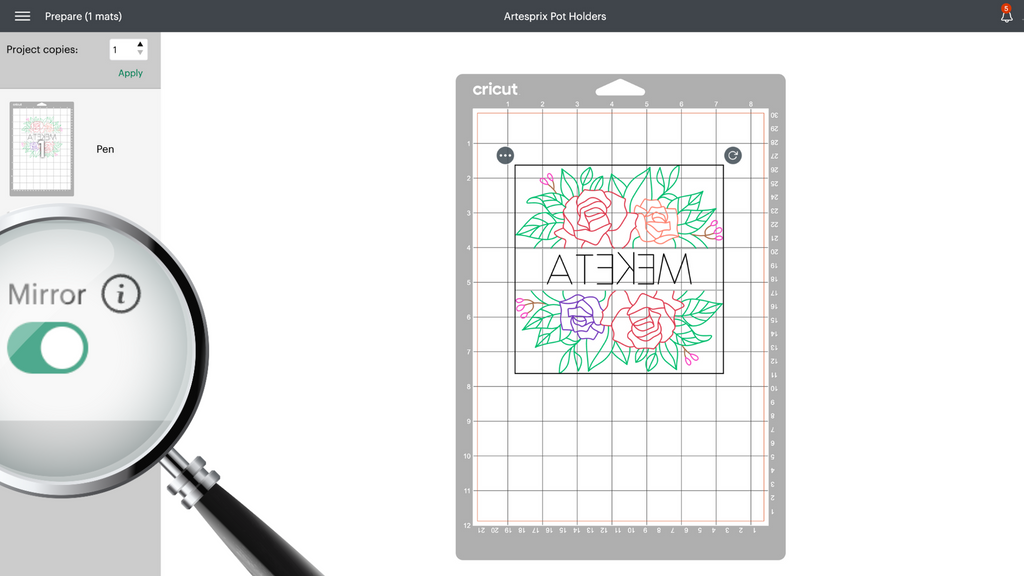
Pro Tip: When it comes time to “Make It”, be sure to Mirror your whole design as shown below. This is because for sublimation you need to have a reverse image so that once it is heat pressed it will read correctly.
Pro Tip #2: Before you load up your mat into your Cricut machine it’s a good idea to trip down your paper. Leave a border of 1-2” all the way around your blank potholder and trim off the rest.
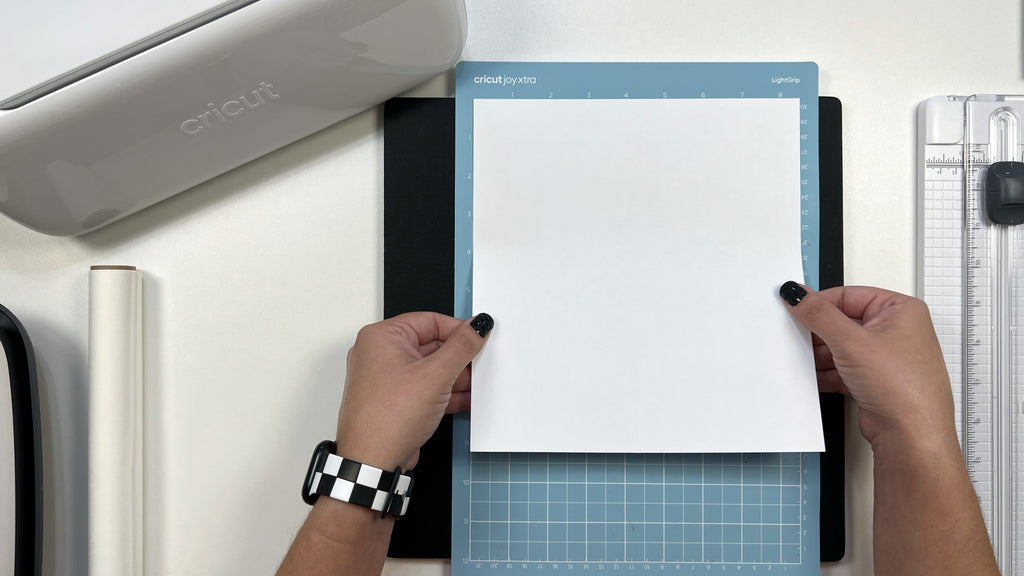
Step 2: You’ll need a Cricut Xtra LightGrip Mat for this project because we’re working with laser copy paper. Place your trimmed laser copy paper onto your Cricut mat, and load it into the machine.
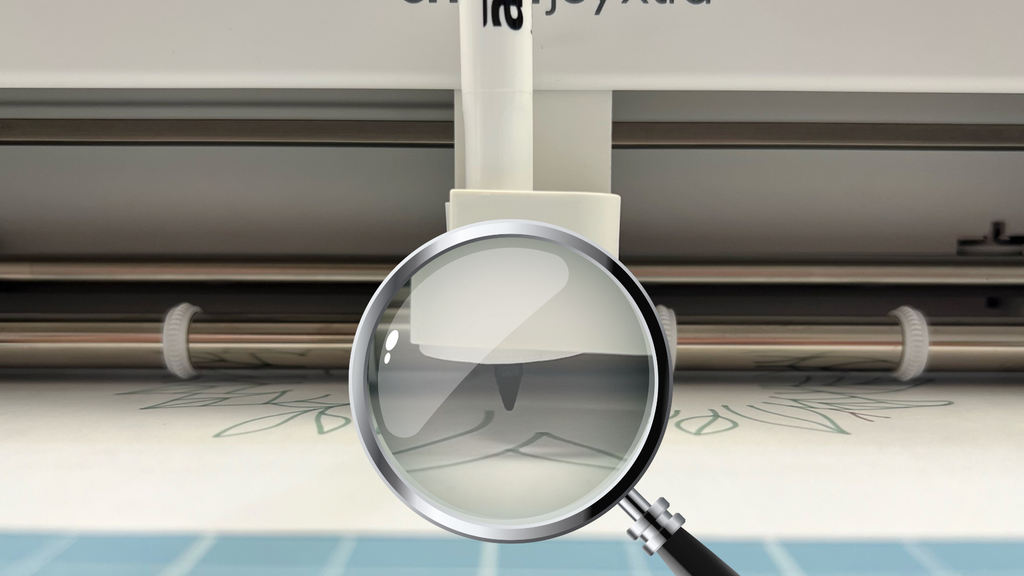
Step 3: When prompted by Cricut Design Space to get your pen loaded into your Cricut Joy Xtra you’ll want to insert the pen until it hovers above the paper, about 2-3mm. See how in the image below the pen is JUST BARELY above the paper? That’s what you want.
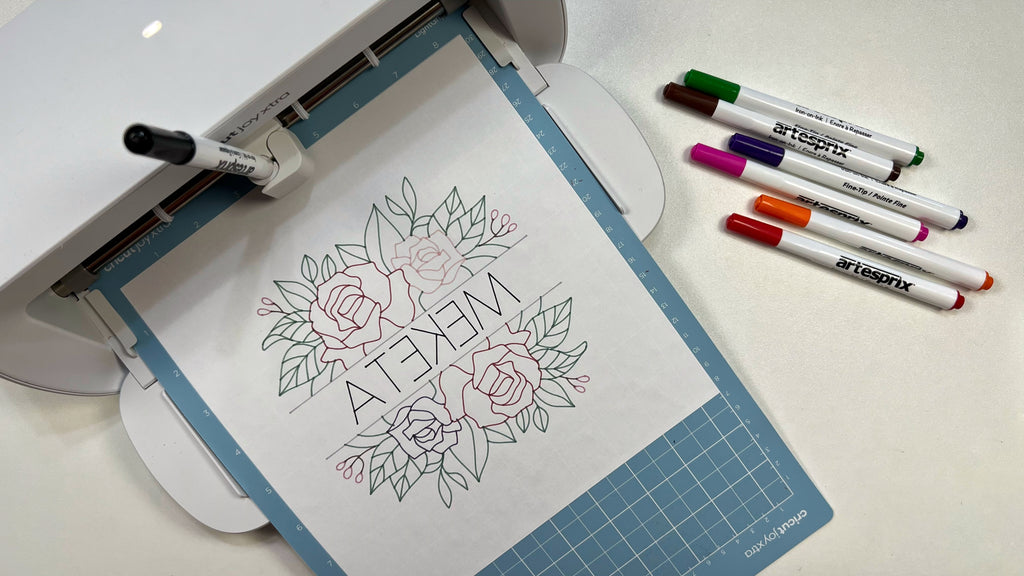
Step 4: Swap out your markers as instructed by Cricut Design Space until your entire image is drawn.
Step 5: When your design is complete it’s time to remove the paper from the mat.
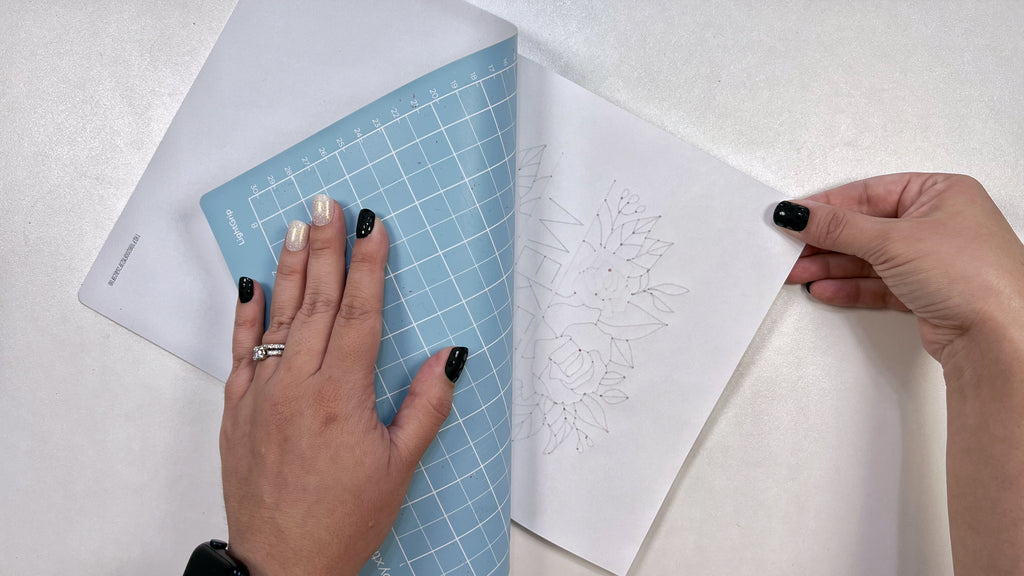
Pro Tip #3: Flip the mat over and roll the mat away, while holding the paper taut. This will prevent your paper from curling as much as it would if you just peeled it directly off the mat.
Step 6: Center the potholder on top of your drawn image FACE DOWN and tape it with heat tape.
Pro Tip #4: If you are using an iron or small heat press you’ll want to add more tape to make sure your potholder doesn’t shift while being heat pressed.
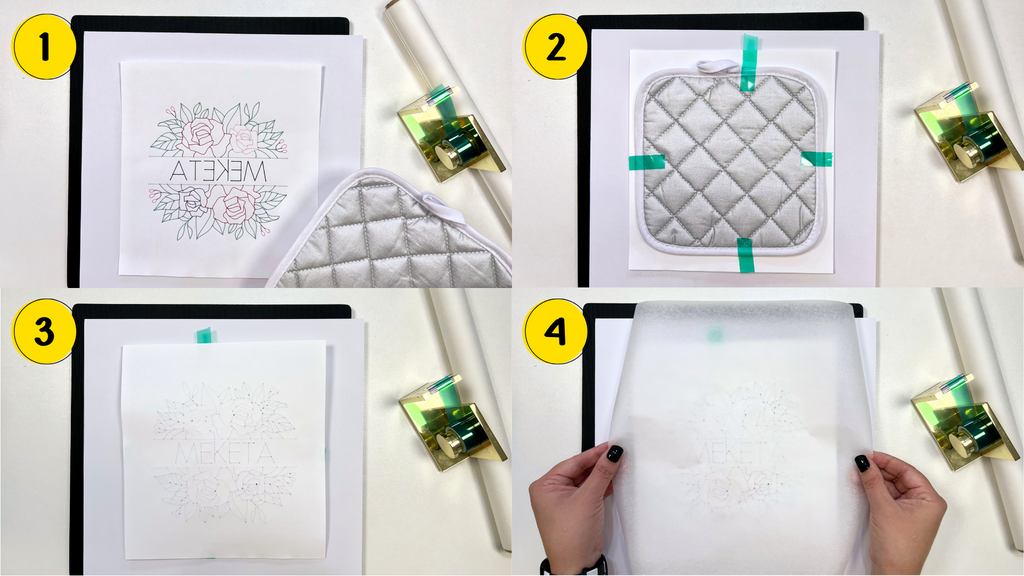
Step 7: Now it’s time to make the famous "Sublimation Sandwich"! FLIP your secured project so your potholder is now under your design. Cut two pieces of protective paper bigger than you design and place your project in-between.
Step 8: Set your heat press to 400ºF for 60 seconds. When your heat press is ready, transfer your design. Add firm pressure and hold heat source stationary to avoid “ghosting”.
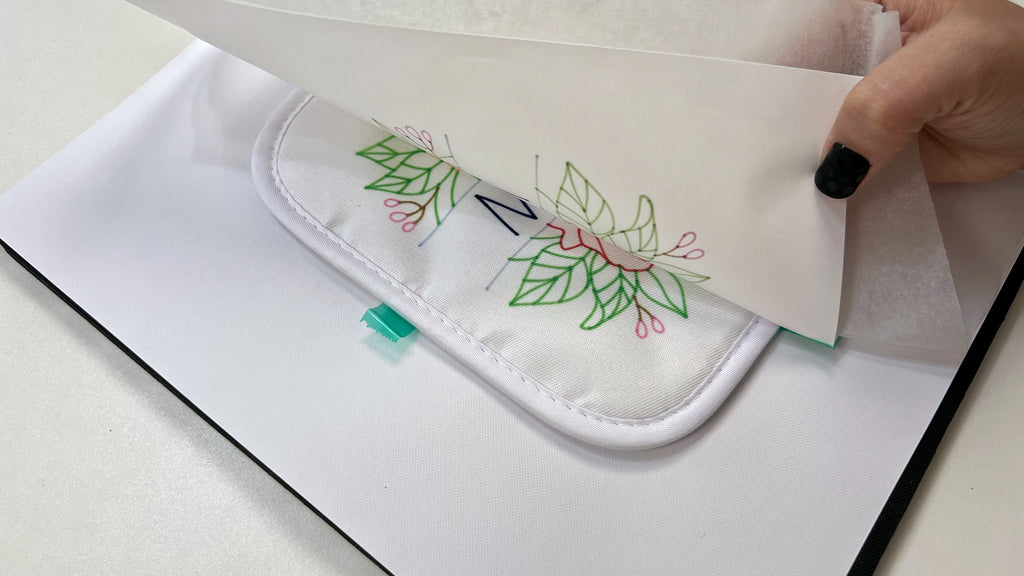
Step 9: When the 60 seconds are up, lift up your heat press and peel back a corner of your project for a peek test. Make sure that your project has transferred before you peel and reveal!
Step 10: Once you've confirmed your transfer is bright and vivid, remove the design from the potholder.
That’s it! Notice how your design is now permanently IN your potholder, isn’t that awesome?! No peeling, no fading, no washing out! Thank you so much for joining me today! I had a lot of fun designing and creating with these Artesprix products. If you learned something new or are inspired to try a potholder for yourself, let us know in the comments below. We would love to support and encourage you in your crafty adventures!!
You can also reach out to me on social media (Lovebird Heartworks) and say “hey!” and let me know you were here! Also, check out the other Artesprix projects I’ve created recently in my Artesprix Highlight bubble on my Lovebird Heartworks Instagram.
xo,
Megan Meketa
**This post may contain affiliate links. That means that I may receive compensation if you purchase through the links I have provided. The price you pay for the product or service is not higher, but I may get compensated.**


1 comment
This set came out so nice! I love how precise the markers are.