Simple yet Stunning Stamped Garden Stake with Artesprix
Artesprix Design TeamInk Pads, Inks, Markers
Products in this post


Hello friends! My name is Sara, I’m a Mom of two beautiful girls and crafting has always been my therapy. I love sharing my projects and ideas with you and today I have a new project for my plant lovers! We’re customizing a Garden Stake! The Garden Stakes are April’s Blank of the Month, and I loved working with it. I’ll show you how to customize it with a simple design, and some tips on how use your light pad to mirror text.
**This post may contain affiliate links. That means that I may receive compensation if you purchase through the links I have provided. The price you pay for the product or service is not higher, but I may get compensated.**
What is Artesprix Iron-on-Ink?
Artesprix sublimation stamp pads and sublimation craft supplies are formulated with iron-on ink. Iron-on ink is a special ink that gets printed onto poly-coated substrates once it is subjected to heat. The inks are always muted on paper, and they become vibrant after they’re heat pressed onto your sublimation blank. Once it is heat pressed, the ink turns to a gas leaving you with a permanent design. The design will be infused into the blank permanently and the sublimated design will not need to be sealed and it will not peel or fade.
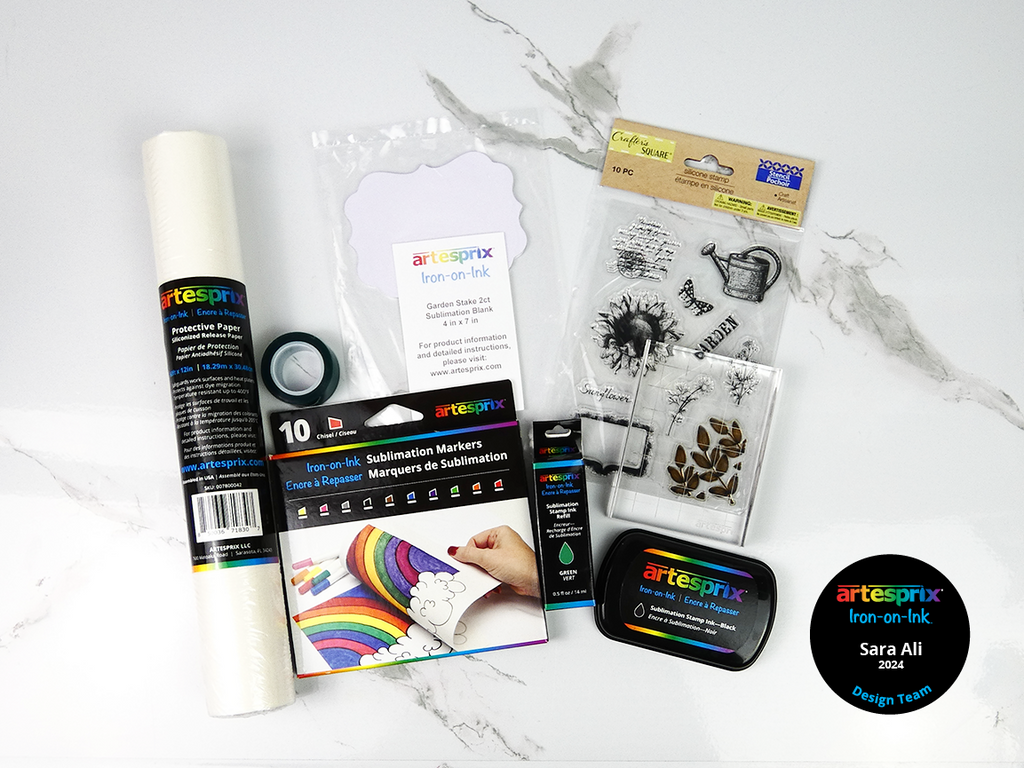
Supplies:
Garden Stakes
Artesprix Sublimation Stamp Pad – Black
Clear Stamp
Pencil
Paint Brush
Step-by-Step Tutorial:
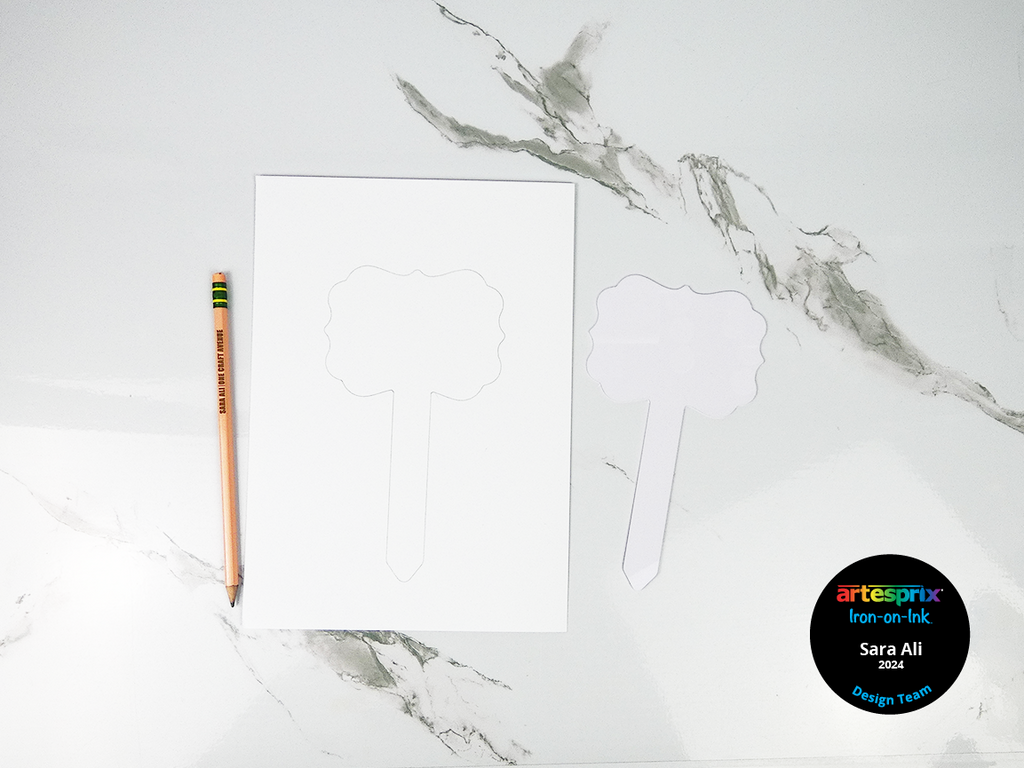
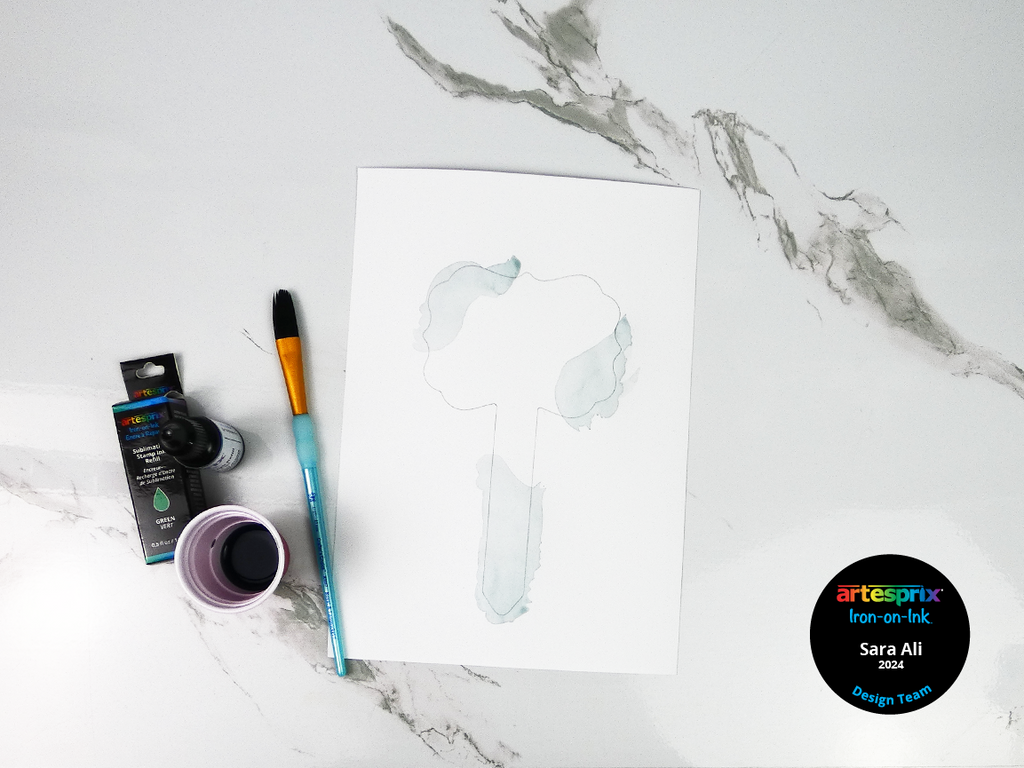
Step 1: Place your Garden Stake on mixed media paper and trace it with a pencil. Trace two times if you plan to personalize both sides.
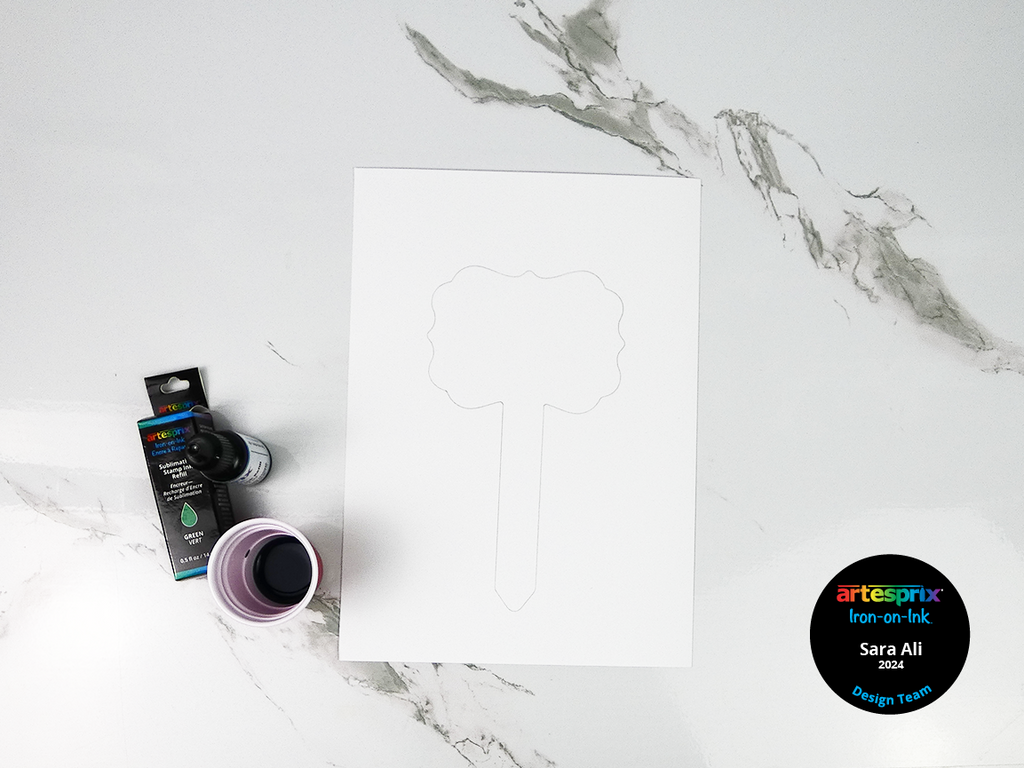
Step 2: Get your Green Sublimation Stamp Ink Refill and add a drop or two in a small plastic cup. Then, add a few dashes of water! Use your paint brush to paint a swoosh of green at two opposite corners. If you’d like, you can paint the stake too!
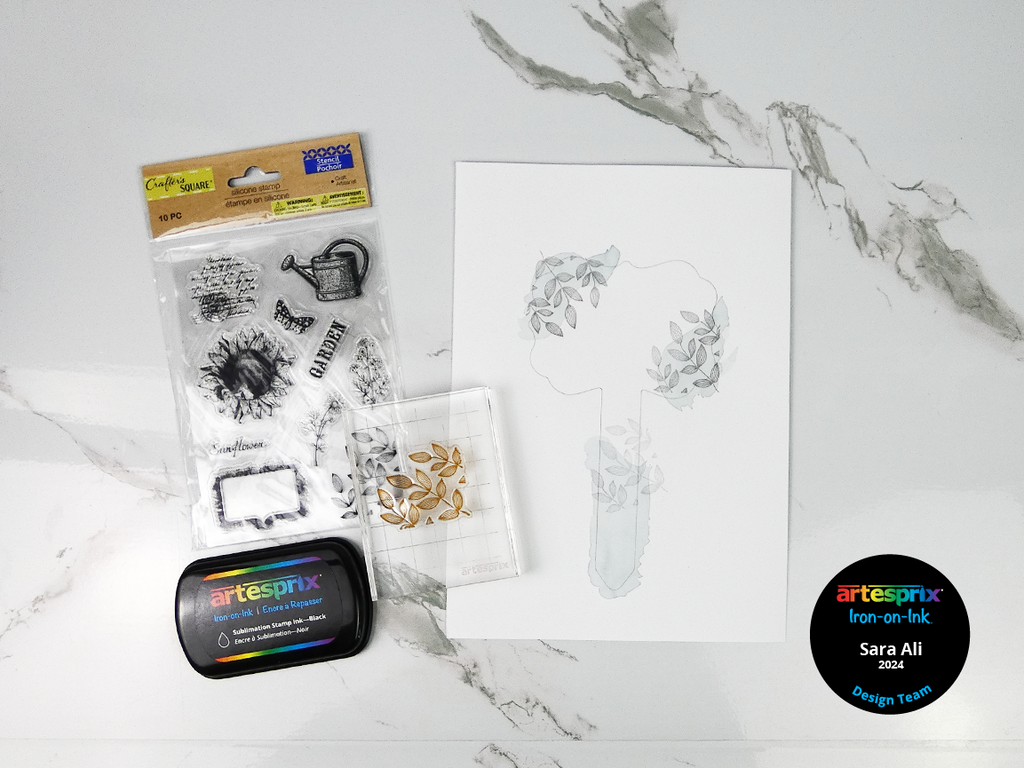
Step 3: Use your Black Sublimation Stamp Pad to ink a stamp of your choice. If you’re using a clear stamp, position it on your acrylic stamping block first. I got these clear stamps from Dollar Tree, and I used the corner leaves. After inking your stamp with black Iron-on-Ink, stamp the design over the areas that we painted before!
Pro Tip: After stamping the opposite corners, I did not clean up my stamp, and I stamped the stake for a subtle grey design!
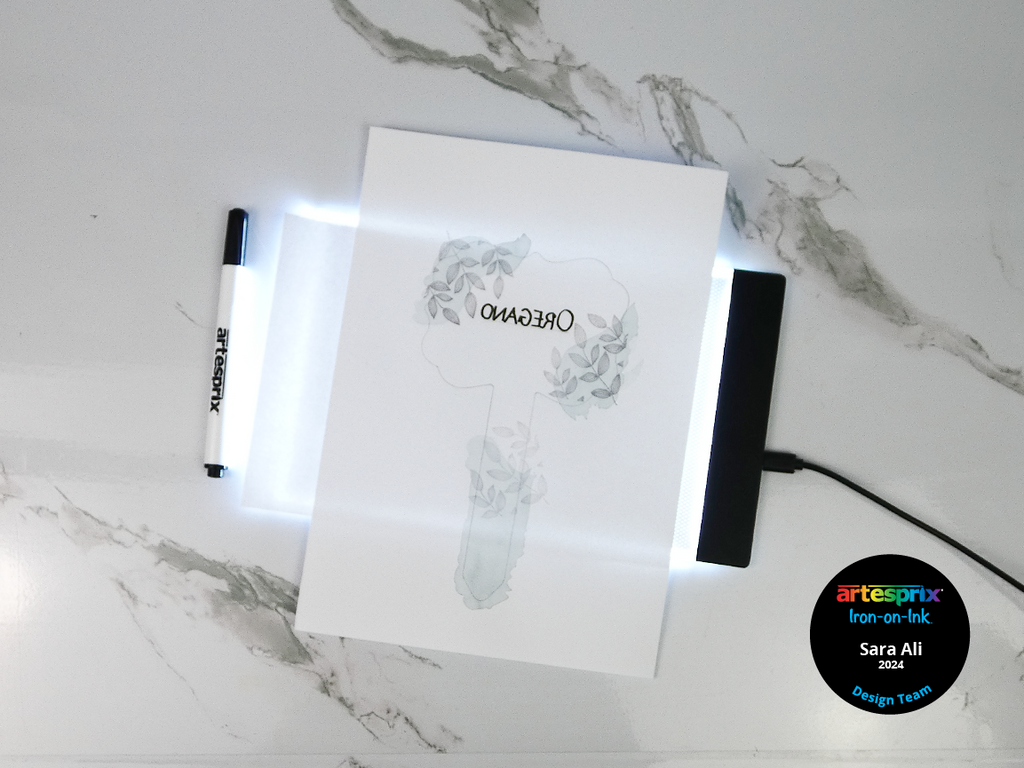
Step 4: It’s time to add the plant’s name! Get a piece of copy paper and write the name in a sharpie. Next, flip the page and place it over your light pad.
Place your design on top of the light pad and use a black sublimation marker to trace the mirrored text! Now, our sublimation design is ready!
Pro Tip #2: Save some time by turning on your press to warm up while we finish taping and preparing our design for pressing. For this blank, you’ll need to set it to 400°F for 90 seconds.
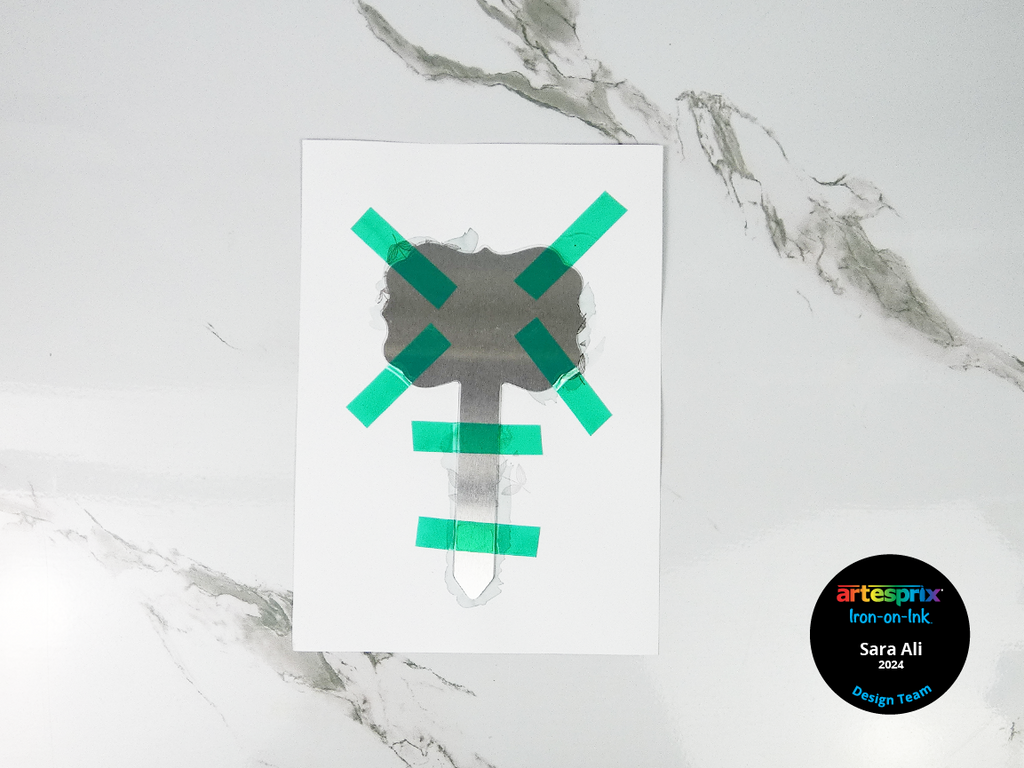
Step 5: Place your garden stake face down on your sublimation design and secure it with heat resistant tape.
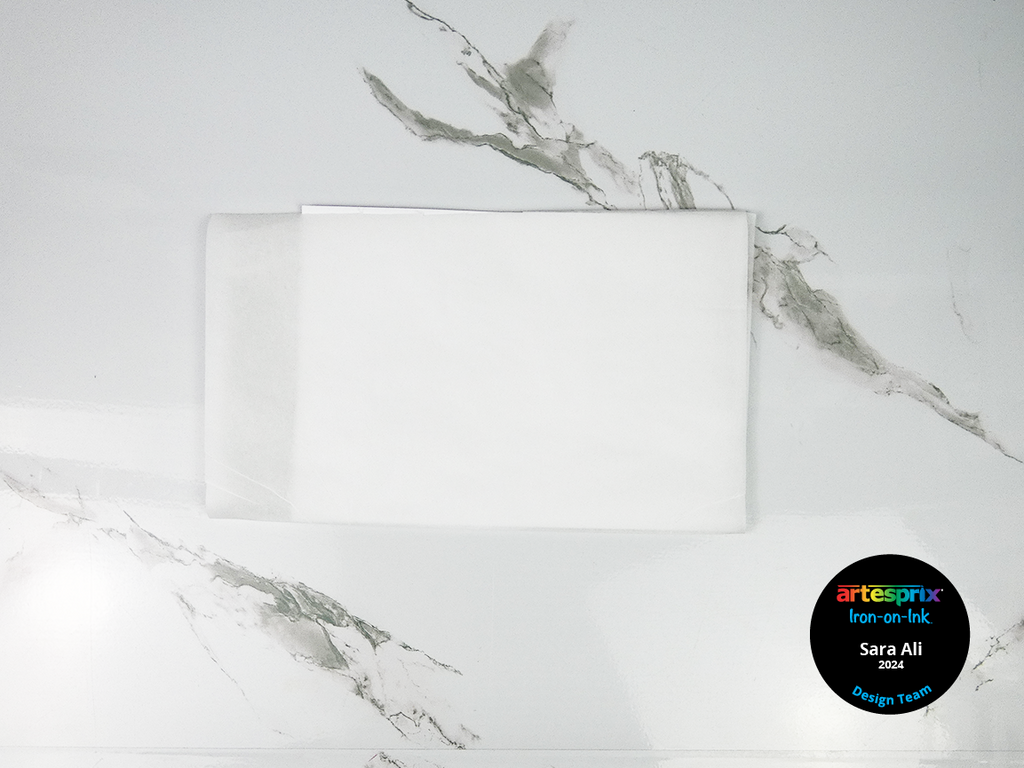
Step 6: Use your protective paper to cover the top and bottom of your sublimation design and garden stake! This creates what we call a sublimation sandwich. It is very important to use protective paper because we know we colored outside our template. So, using it will save your heat press from any extra Iron-on-Ink.
Step 7: It is time to press your design! Your heat press should be set to 400°F and you’ll need to press it for 90 seconds.
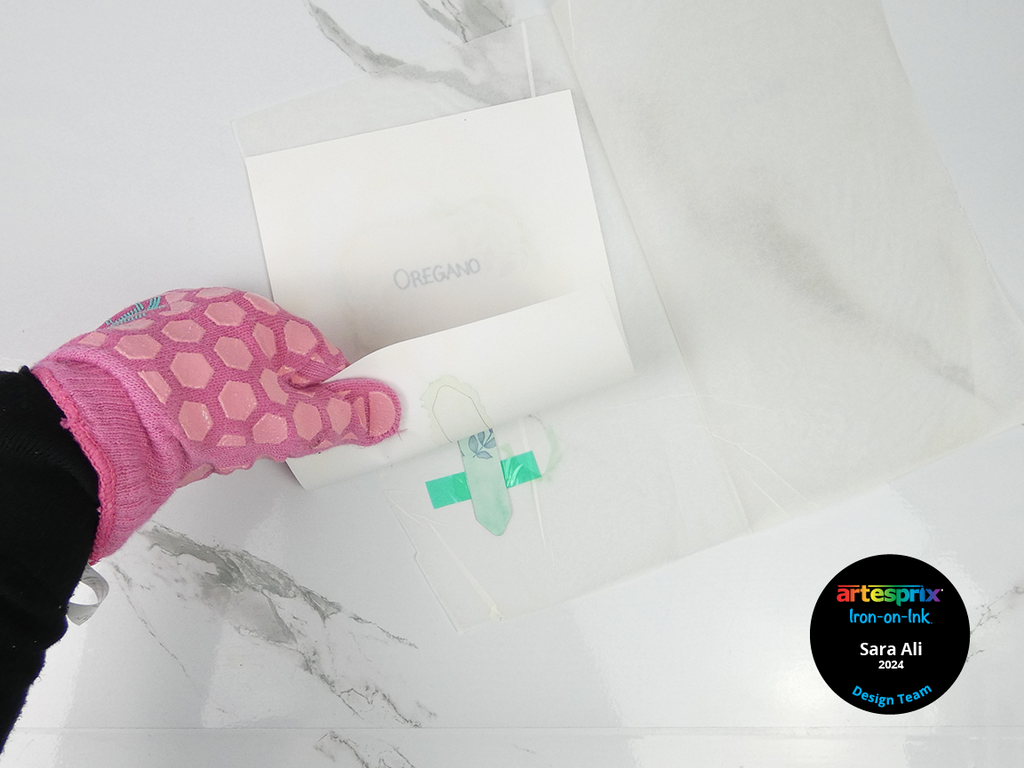
Step 8: After you press your design, it is time for the “peek test”! A peek test guarantees a vibrant transfer without wasting materials. Do not remove the tape and slightly peel one corner of your design to get a peek of how good the design transferred. If you ever don’t get a good transfer, you can just re-press your design! This saves you a lot of materials and ensures great vibrant results.
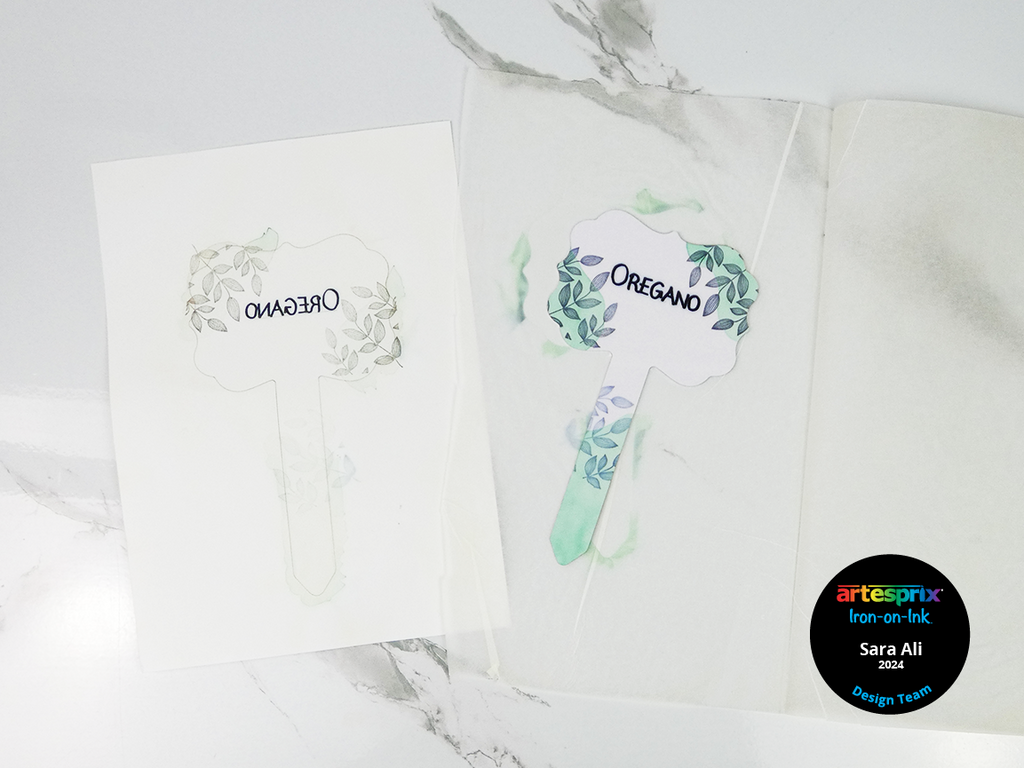
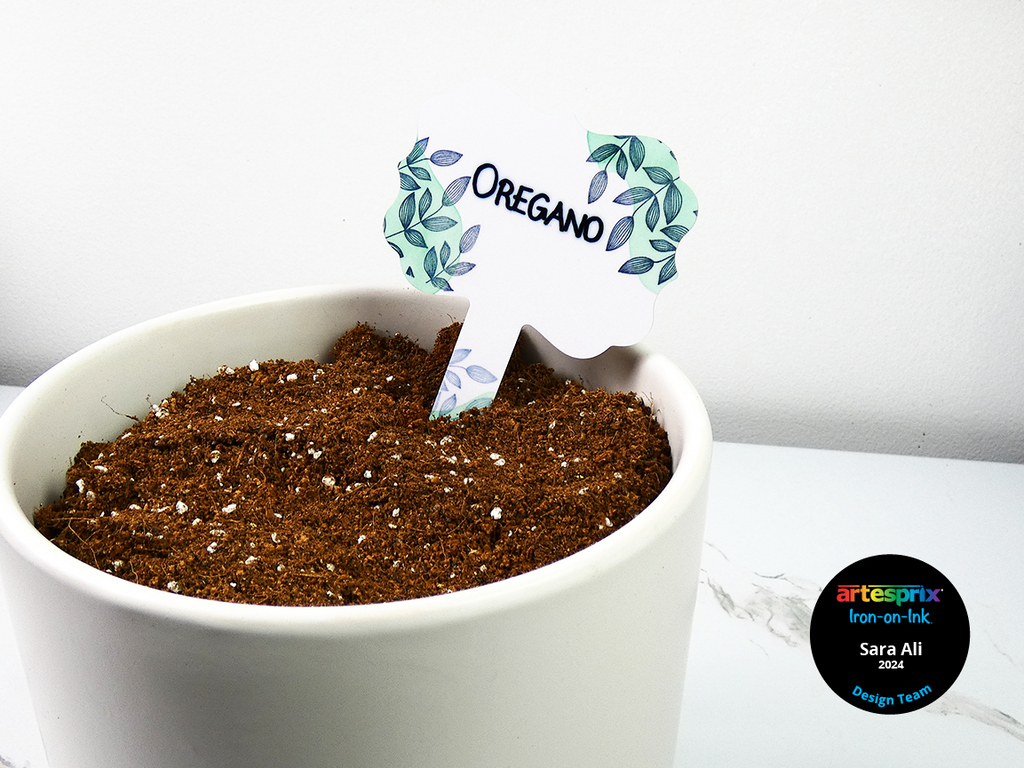
Step 9: Let’s reveal our design!
I love how simple and elegant our design is! This garden stake turned out amazing, and the ink refills give the perfect subtle background for a design. You can easily duplicate this design for your garden!
It is always so much fun to create with Artesprix’s sublimation supplies. We pulled off this project by using only three sublimation supplies. So, I hope you got inspired to try it out! These garden stakes are only available this month so grab one now! Don’t forget to share your creations with us on Instagram or Facebook!
Thank you for reading! I hope you enjoyed our project today! I am on Instagram, Facebook and TikTok, let’s keep in touch!
Keep on crafting!
Best,
Sara Ali
**This post may contain affiliate links. That means that I may receive compensation if you purchase through the links I have provided. The price you pay for the product or service is not higher, but I may get compensated.**


