Stamped Art Collage Iron-on-Ink Key Chains
Artesprix Design TeamInk Pads, Key Chain, Markers
Products in this post


Artesprix Heat Tape
$8.49

Hi name is Betsy Burnett and I am so pleased to be a Guest Designer on Team Artesprix! When I’m not volunteering or being creative you’ll find me at the thrift store—because who doesn’t love a bargain?!? Some of my favorite finds at the thrift are when I can add to my creative stash. I recently found some fabulous stamps that I couldn’t wait to use. So I grabbed my stamps, my Artesprix Sublimation Markers and Ink Pads and used a super easy masking technique to create some stamped collage art key chains.

What are Artesprix Sublimation Markers?
Artesprix Sublimation Markers and Inks are a permanent, heat transfer ink. These specially formulated inks allow artists and crafters to create personalized designs on polyester coated surfaces. Designs are created on plain copy paper and then transferred to the surface with a heat source. The results are bright, colorful, and permanent—so they will hold up to the everyday wear and tear use of a keychain.

Materials:
Pencil
Plain Copy Paper
Sublimation Stamps: Hand Lettered Basics
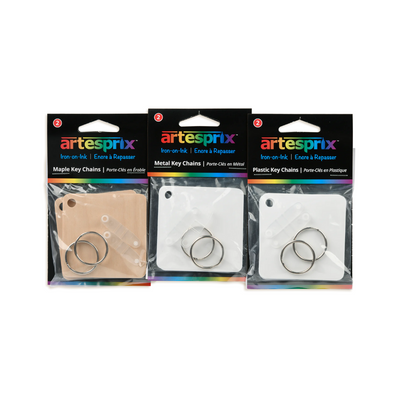
Sublimation Key Chain 2ct
Heat Press , Craft Iron, or Home Iron
Post-It Notes
Scissors
Optional: Assorted Beads and Baubles, Pliers and/or E600
Step-by-Step Tutorial:
Step 1: I started by tracing my blank keychain onto my copy paper.

Step 2: When creating a collage scene, I start with the image that will appear closest. I stamp that onto my surface. I then stamp again onto the post-it note. There is no need to re-ink the stamp, you just need an outline of the image (bonus it helps to clean off the stamp.) Cut out the image you stamped on the post-it note. Place your cut out post-it note over your image on the copy paper.)

Pro Tip: Be sure to cut exactly around or a little inside the lines of the image on your post-it note. This will help your 2nd layer of stamping to look like it is behind the first.

Step 3: Stamp your background design over the entire space even extending past your pencil lines, this will ensure color coverage over the entire surface of your project. Remove the post-it note and color in your design. (I used both the sublimation stamp ink and markers to stamp the images on my design space.)

Pro Tip: You aren’t limited to just masking off 1 area. Experiment with masking off different parts of the project to create more intricate layers.

Step 4: Warm up your heat press (or other heat source) to 400℉.

Step 5: Secure the key chain blank face down onto your design securing the edges with heat tape. Layer your secure blank between two pieces of Protective Paper creating a “Sublimation Sandwich”.
Step 6: With your design facedown on the top side of your "Sandwich", carefully place in the heat press. With my professional heat press, for the key chain material I chose, the instructions call for 400℉ for 60 seconds. Be sure to check your transfer times as different materials require different instructions.

Step 7: When the time is up, carefully take a peek to see if you got a good transfer. If you did not get a good transfer, double check your time, temperature, pressure and ensure your "Sublimation Sandwich" wasn't upside down.

Step 8: Allow the key chain to cool and then peel away to "ohh" and "ahh" over your amazing design. just look at how those colors “POP”!
Step 9: Repeat the above steps if you want to personalize the other side. Attach key tab/ring and any beads, and baubles you desire using pliers and jump rings and/or e6000 adhesive.

I had so much fun making these key rings I couldn’t stop at just one. I ended up making a bunch to give away to friends for Christmas! I even cut out my design from the “used up” copy paper after sublimation to create coordinating gift tags. (Another Pro Tip: Tip on gift tags-Using vellum as an overlay for the “used up images” on the copy paper softens the color irregularities.)

I hope you enjoyed this project as much as I did. It was a lot of fun experimenting with Sublimation Craft as a Guest Designer on Team Artesprix.
Stay crafty!
Betsy Burnett
Products in this post
Artesprix Heat Tape
$8.49


1 comment
Goodness, Betsy! How SUPER FUN is this project! Thanks for the detailed tutorial…so easy to understand how Artesprix products work.