Hi crafty friends! I’m Naomi, Artesprix Design Team Member, and and welcome to the Heffy Doodle and Artesprix Collaboration Blog Hop!
Hop along as our fabulous designers show you how to use Artesprix products with your paper crafting stash. There are so many ways to get creative with Iron-on-Ink and we are excited to show you more ways to use your Heffy Doodle products.
To be entered to win the giveaway, all you need to do is comment at each stop along the Blog Hop! Artesprix will be giving away $30 (US addresses only) and Heffy Doodle £20 to their stores! Be sure to comment before 11:59 PM EST on November 27th to be entered to win!
Each company will post their random winner on November 29th at 10AM EST!
Heffy Doodle Blog
Jasmin Oliver
Lori Warren
Amanda Fitterer
Alison Heikkila
Annette Allen
Natasha Davies
Sara Ali
Jordy's Cards < - - You should have come from here!
Naomi Garcia <- - You are here!
Kari VanNoy
Artesprix Blog
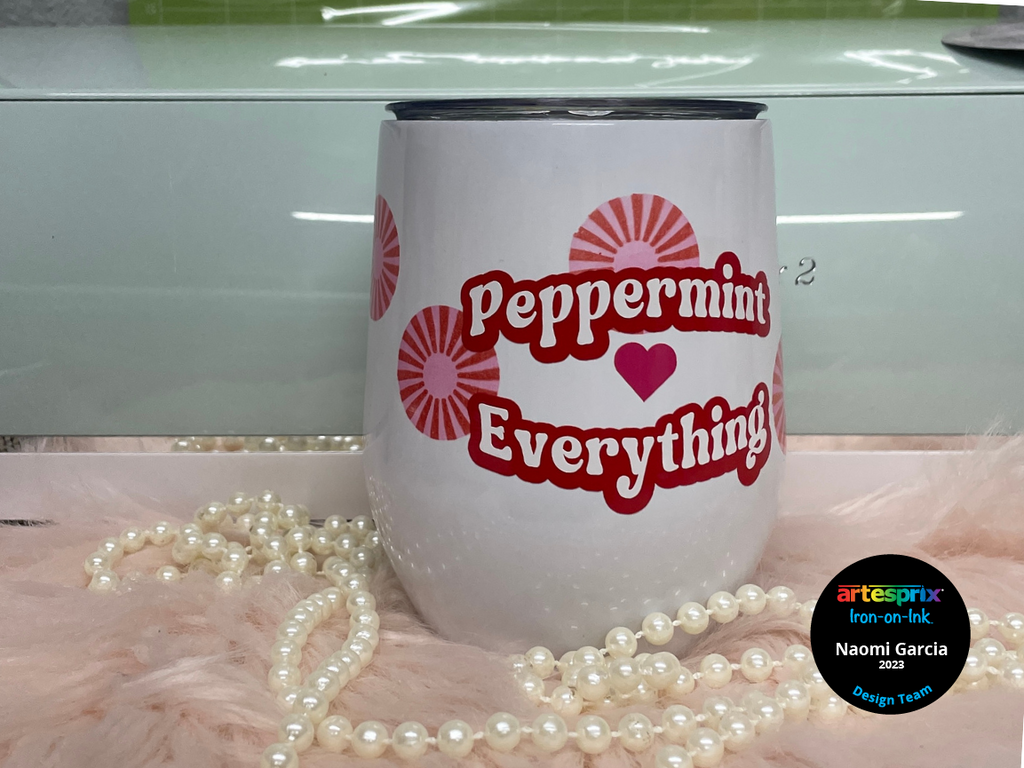
I’m ready for the cooler temperatures and warm drinks. Whether it’s hot cocoa or steamy tea, I’ve got the perfect insulated tumbler for you to make. This design is simple and would be great on little sublimation bags for candies, or coasters too! We’ll be using a sweet stencil from Heffy Doodle along with Artesprix Stamp Pads and Tumbler from Artesprix.
**This post may contain affiliate links. That means that I may receive compensation if you purchase through the links I have provided. The price you pay for the product or service is not higher, but I may get compensated.**
What is Artesprix Iron-on-Ink?
Artesprix Sublimation Markers, Ink, and Paint are specially formulated to allow you to use basic copy paper (something we all have) to: color, stamp, stencil, and monoprint anything you wish and turn it into a heat-transferable design. Anyone can make amazing designs, regardless of your artistic skill level. You can then use heat (either a heat press or a home iron) and pressure to apply these designs to a polyester or polyester coated substrate. Your designs will then be permanently printed onto your substrate.
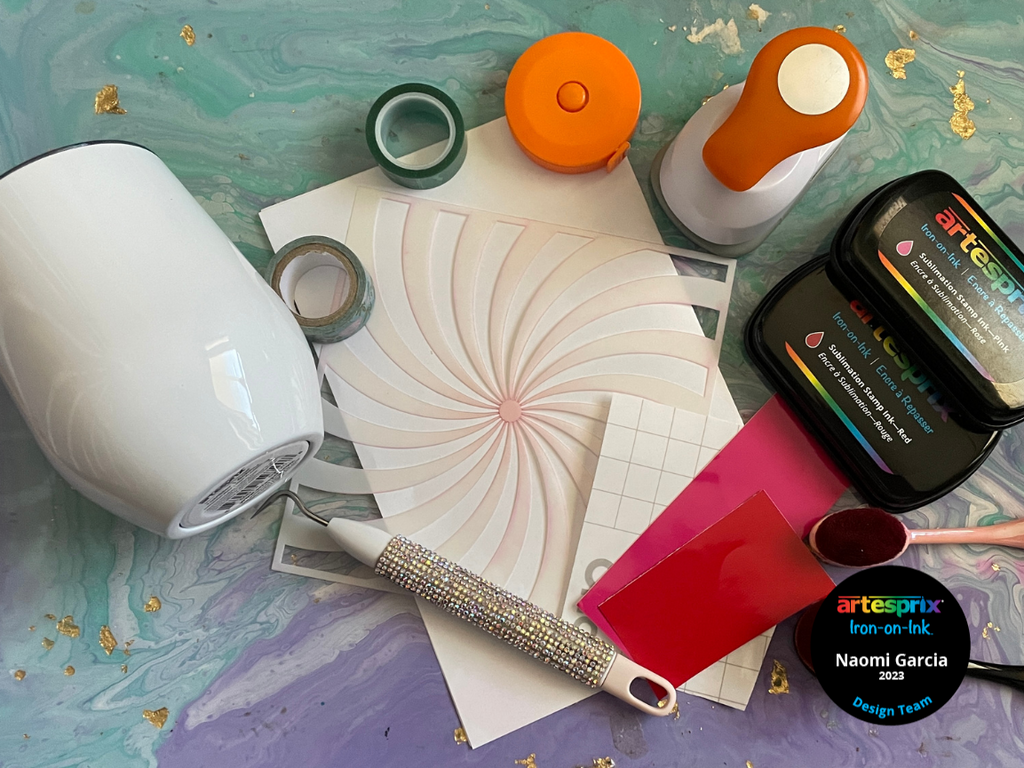
Supplies:
Tumbler Blank 12 oz
Sublimation Stamp Pads: Red & Pink
Heffy Doodle Candy Swirl Stencil
Sponge, dauber, or blending brush
Designated Craft Oven
Embossing Heat Tool
Heat Tape
Sublimation Wrap
Project Mat (or high heat resistant work surface)
Copy Paper
Washi Tape
Lint Roller
Permanent Adhesive Vinyl in red, white, and pink
Transfer Tape
Cricut or other cutter
Peppermint Everything SVG
Heat Glove
Scissors
1-inch Circle Punch (optional)
Step-by-Step Tutorial:
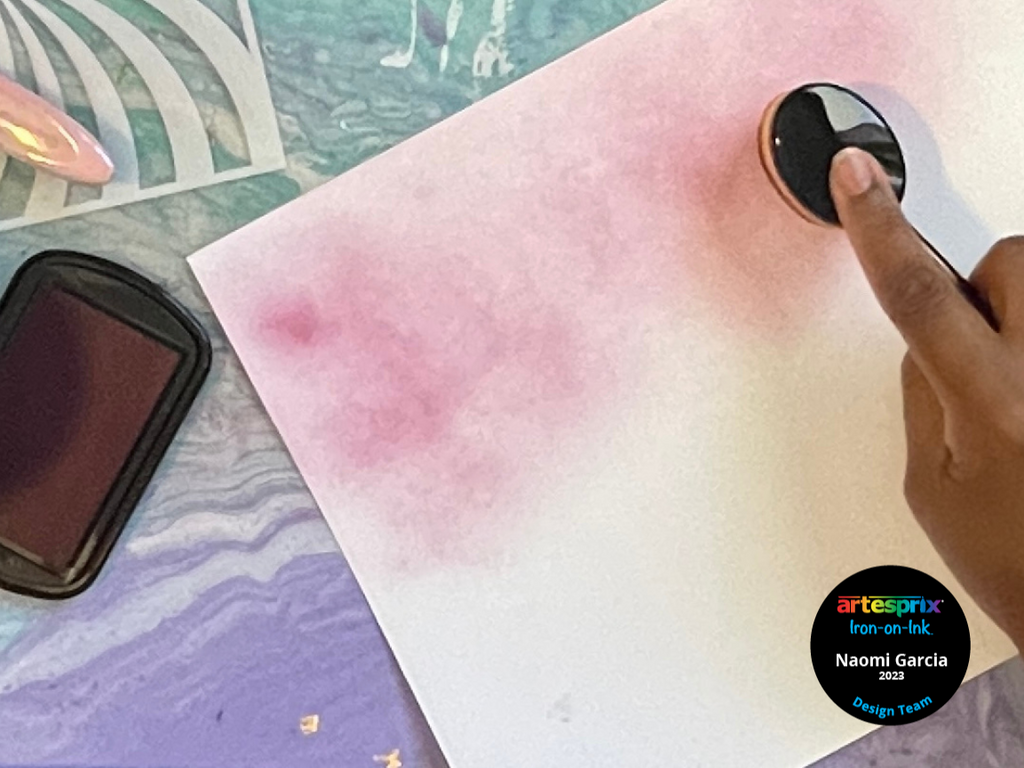
Step 1: Use your blending brush to add sublimation stamp pad pink ink to a sheet of copy paper.
Step 2: Position the Candy Swirl Stencil so that the center of the swirl has about an inch and a half all the way around.
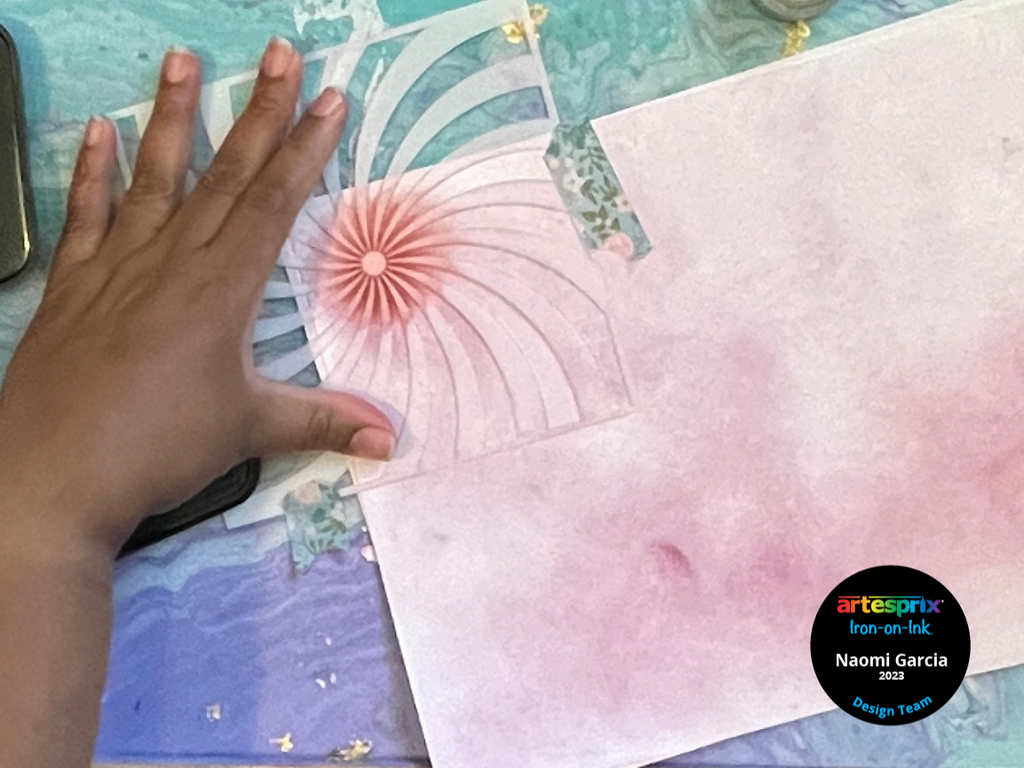
Step 3: Use your blending brush to add sublimation stamp pad red ink to the paper over the stencil.
Pro Tip: Use a light hand when adding the ink, especially around the edges to avoid ink bleeding. Practice on an extra sheet of copy paper if needed.
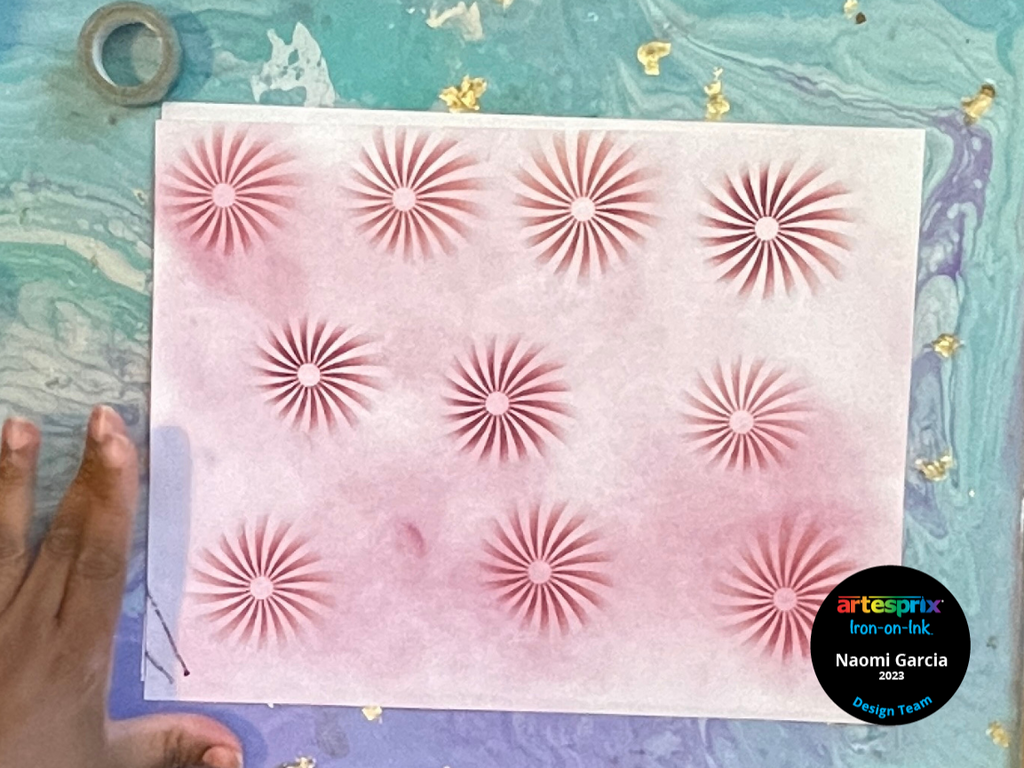
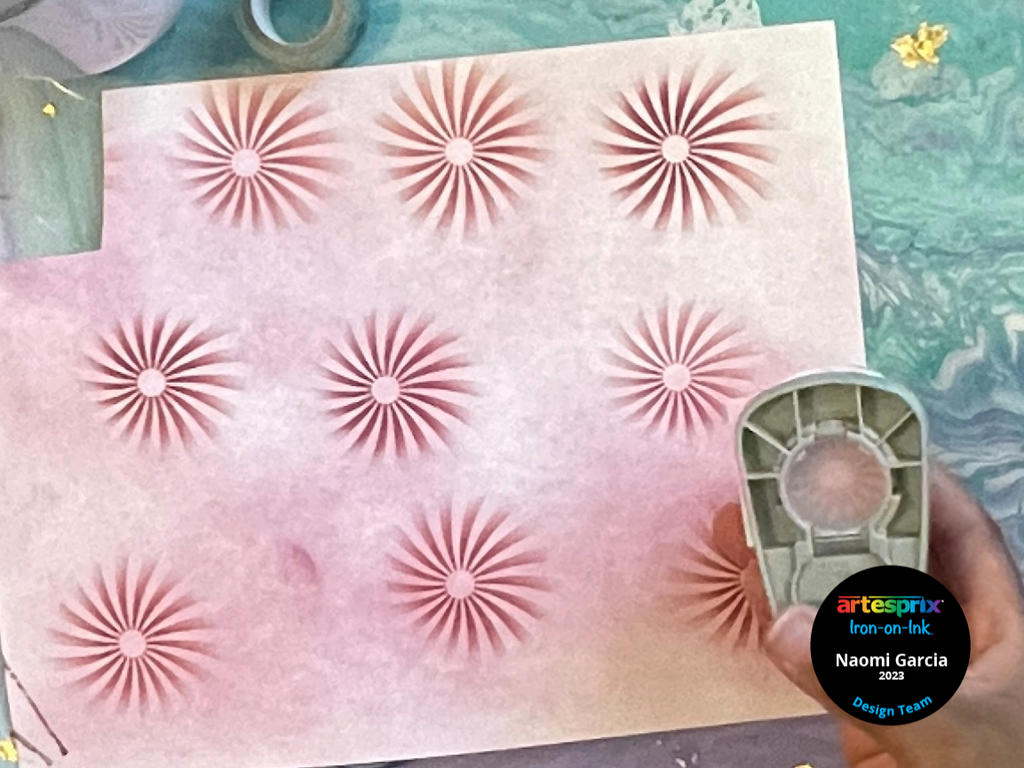
Step 4: Continue by moving the stencil and stamping several red swirls over the pink ink.
Step 5: Cut out each individual peppermint design or use the circle punch to punch out the designs, making mini “Starlight Mints”.
Pro Tip #2: Clean the tumbler using a lint roller or microfiber cloth to ensure a clean surface for transferring.
Step 6: Place the stamped designs face-down on tumbler as desired using the heat tape.
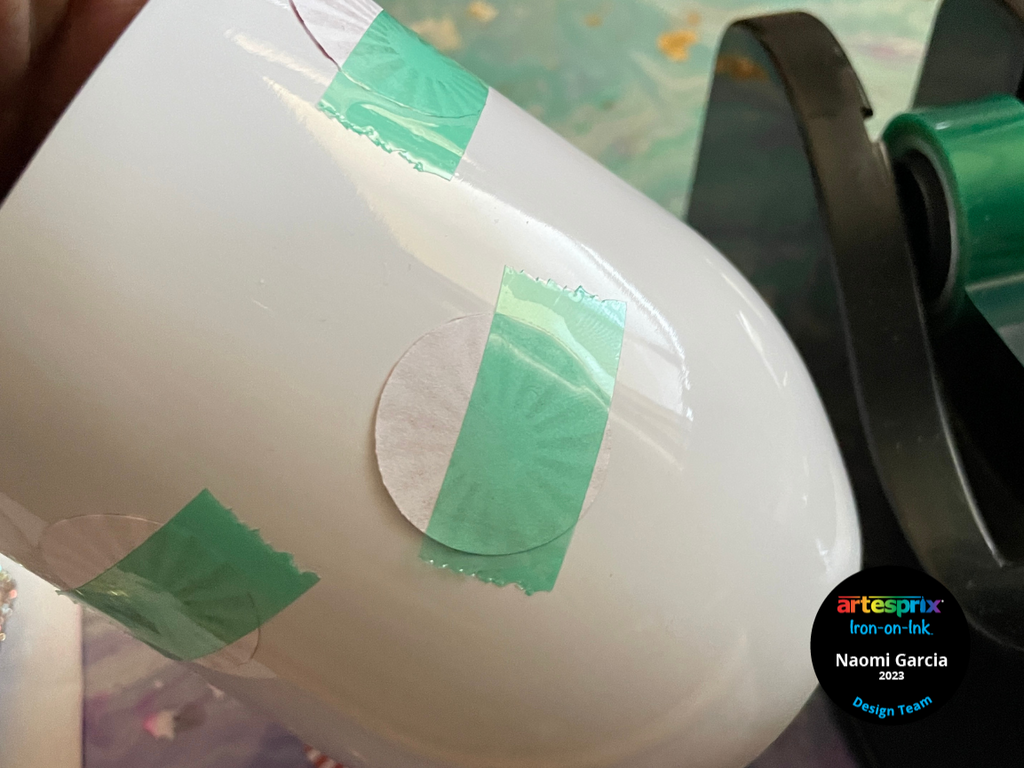
Pro Tip #3: The tumbler is tapered, use caution when taping to ensure design is flush with the blank.
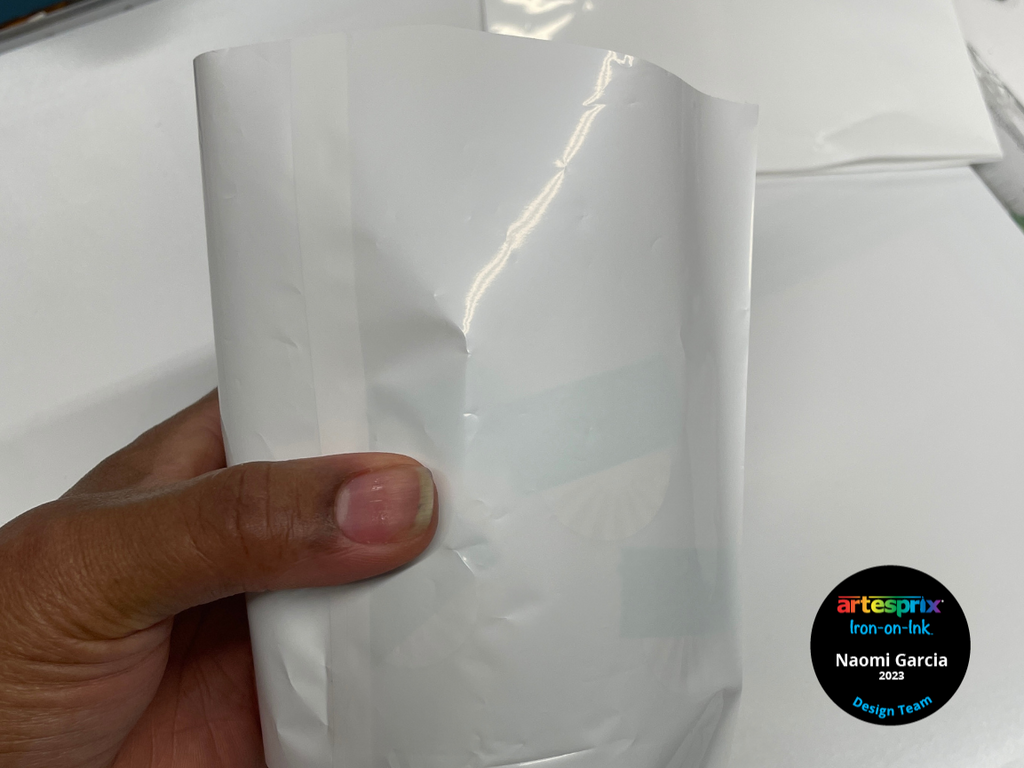
Step 7: Slip the sublimation wrap over the tumbler and apply heat, causing the wrap to shrink, creating pressure for the transfer. Be sure to work quickly, this step takes approximately 4-6 seconds.
Step 8: Place the tumbler in a designated craft oven. The transfer time calls for 5 minutes at 350 °F.
Step 8: Once the 5 minutes has finished, put on heat gloves and remove the tumbler from the oven and place on Protective Project Mat. The tumbler will be extremely hot!
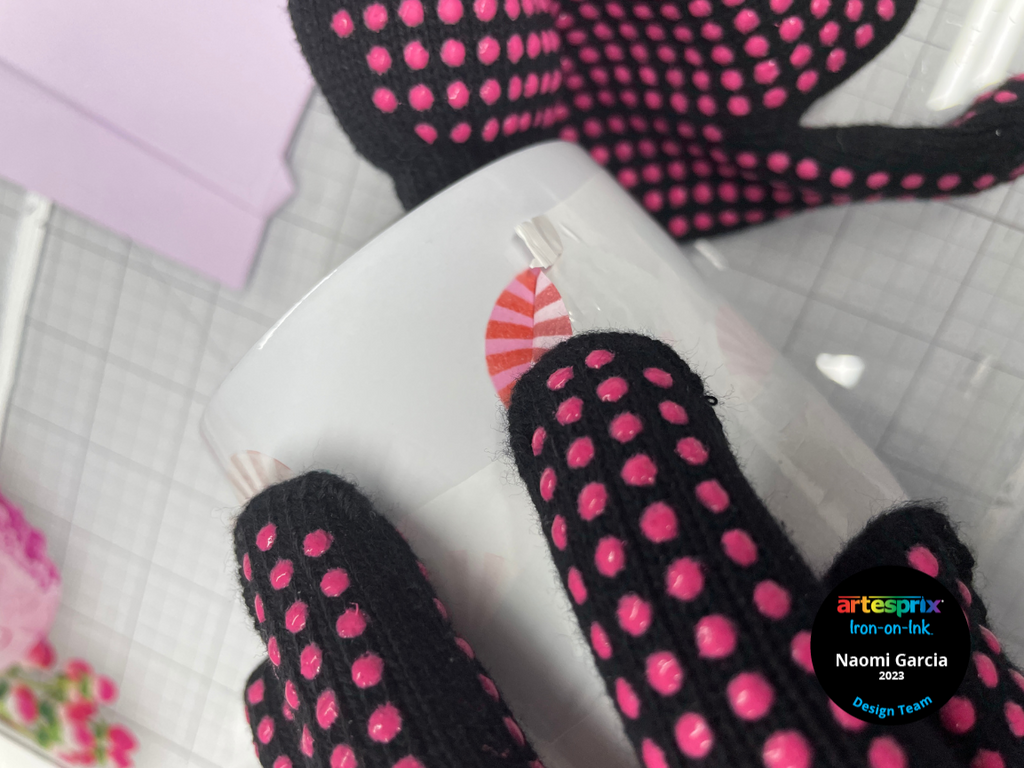
Step 9: If you can see your Iron-on-Ink design through the Sublimation Wrap that is a good sign the transfer was successful. Remove the sublimation wrap while the project is hot and work quickly. With the designs still secure with tape to the tumbler, peel back a small portion of a design to ensure the transfer was successful.
If your design is not bright and vivid, ensure all designs are secure with tape and repeat steps 7-9 with a new sublimation wrap sleeve.
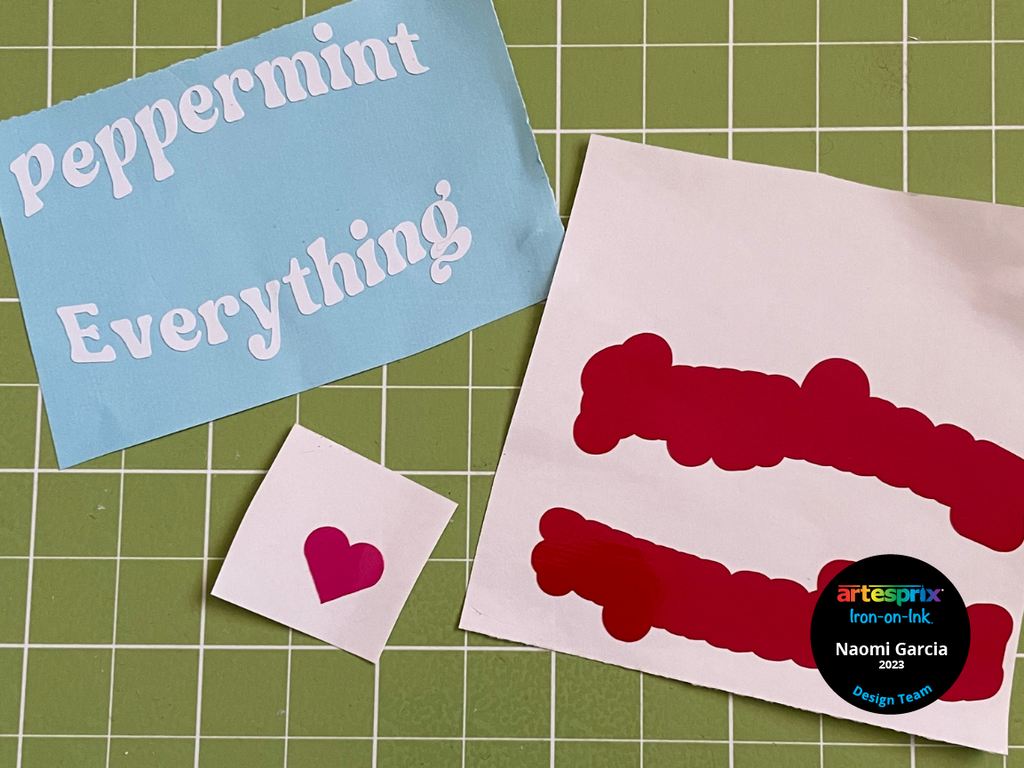
Step 10: (Optional) Cut and weed the “Peppermint Everything” design from permanent adhesive vinyl. Layer the design using transfer tape and add it to your tumbler. You could also add this text with Artesprix Sublimation Markers as well.

Are you ready for your next stop on the Heffy Doodle and Artesprix Collaboration Blog Hop? Don't forget to comment on this project blog post, as well as all the others for a chance to win a Heffy Doodle and Artesprix Gift Cards.
Heffy Doodle Blog
Jasmin Oliver
Lori Warren
Amanda Fitterer
Alison Heikkila
Annette Allen
Natasha Davies
Sara Ali
Jordy's Cards < - - You should have come from here!
Naomi Garcia < - - You are here!
Kari VanNoy < - - Go here next!
Artesprix Blog
To be entered to win the giveaway, all you need to do is comment at each stop along the Blog Hop! Artesprix will be giving away $30 (US addresses only) and Heffy Doodle £20 to their stores! Be sure to comment before 11:59 PM EST on November 27th to be entered to win!
Each company will post their random winner on November 29th at 10AM EST!
I am totally thrilled with this tumbler. My next step is to make more using different colors for the mints, they will be perfect for hot cocoa! Let us know if you try out this project by using the #Artesprix & #IrononInk or post your project to the Artesprix Facebook Group.
Now, go make something minty!
Naomi Garcia
**This post may contain affiliate links. That means that I may receive compensation if you purchase through the links I have provided. The price you pay for the product or service is not higher, but I may get compensated.**
7 comments
WOW, my daughter would just love this project!!
wow.
I would never have thought it was created from a stencil sheet. I thought the project was made a different way. thank you. I truly appreciate this tutorial.
The tumbler is sooo fun! Perfect for Peppermint Hot Cocoa!
It’s amazing how you can combine different products together and create such a beautiful tumbler
Love the idea! Not doing tumblers yet but idea can be used for about anything!