Hello friends! I'm Sara and and welcome to the Heffy Doodle and Artesprix Collaboration Blog Hop!
Hop along as our fabulous designers show you how to use Artesprix products with your paper crafting stash. There are so many ways to get creative with Iron-on-Ink and we are excited to show you more ways to use your Heffy Doodle products.
To be entered to win the giveaway, all you need to do is comment at each stop along the Blog Hop! Artesprix will be giving away $30 (US addresses only) and Heffy Doodle £20 to their stores! Be sure to comment before 11:59 PM EST on November 27th to be entered to win!
Each company will post their random winner on November 29th at 10AM EST!
Heffy Doodle Blog
Jasmin Oliver
Lori Warren
Amanda Fitterer
Alison Heikkila
Annette Allen
Natasha Davies < - - You should have come from here!
Sara Ali < - - You are here!
Jordy's Cards
Naomi Garcia
Kari VanNoy
Artesprix Blog
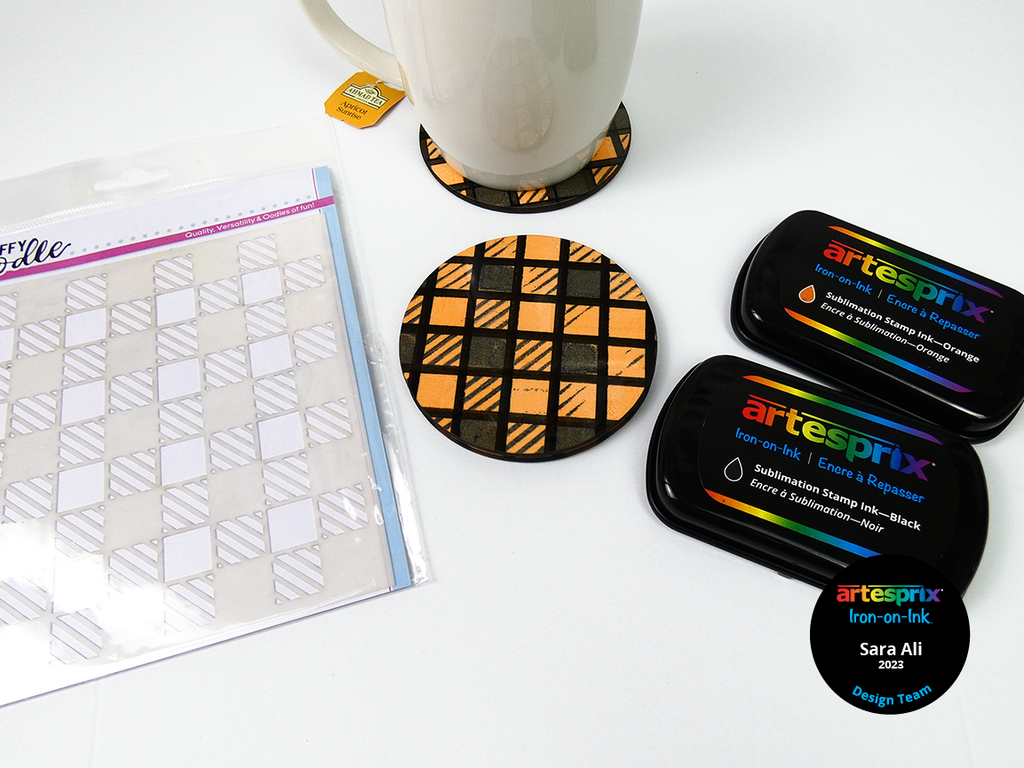
Crafting has always been my creative outlet and I love that I get to use all my paper crafting supplies for sublimation with Artesprix Stamp Pads. Heffy Doodle has amazing designs, and today I will using their plaid stencil along with my gel press plate to create some sublimation coasters.
**This post may contain affiliate links. That means that I may receive compensation if you purchase through the links I have provided. The price you pay for the product or service is not higher, but I may get compensated.**
What is Sublimation Iron-on-Ink?
Iron-on-Ink is a line of specially formulated inks that transfers onto sublimation substrates once it is subjected to heat & pressure. Iron-on-Ink appears muted on paper, however the design is heat pressed onto the sublimation blank it becomes vibrant. Before Artesprix Iron-on-Ink, crafters needed a sublimation printer to experience this level of personalization. These products empower us with the ability to stamp, paint, and create sublimation designs, no printer needed!
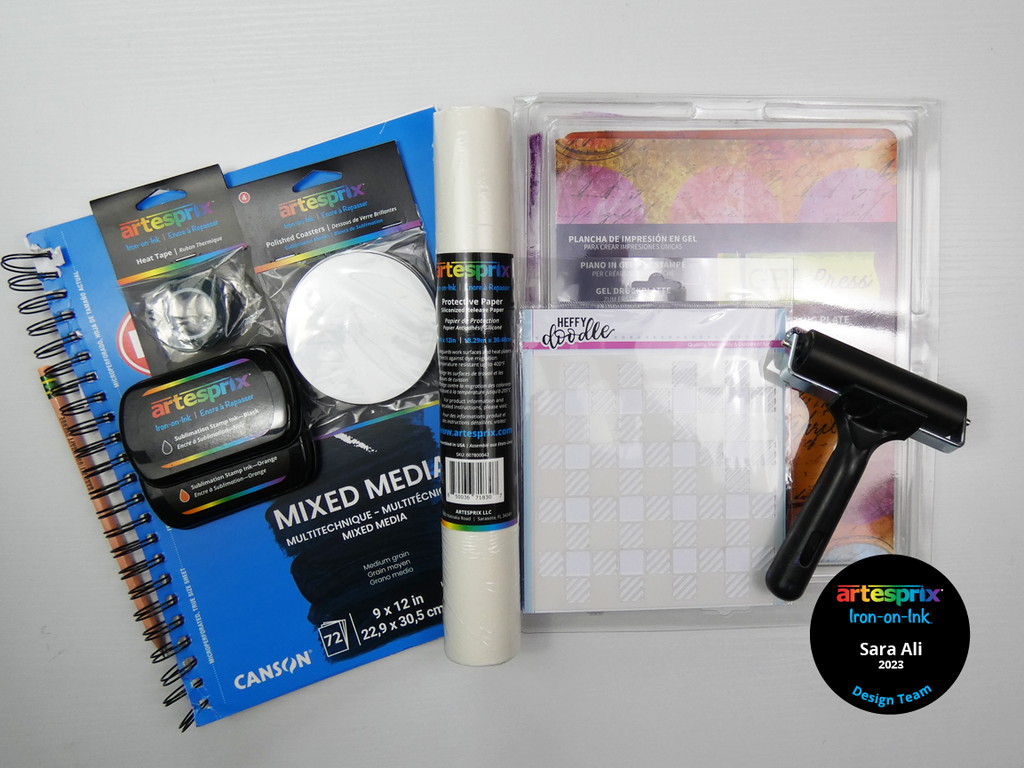
Supplies:
Polished Coaster Blanks
Sublimation Stamp Pads
Sublimation Markers – Basic Chisel 10ct
Heat Resistant Tape
Protective Paper Roll
Heffy Doodle Aint So Plaid Stencil
Gel Press
Rubber Brayer
Heat Press, Craft Press, or Home Iron
Mixed Media Paper
Pencil
Step-by-Step Tutorial:
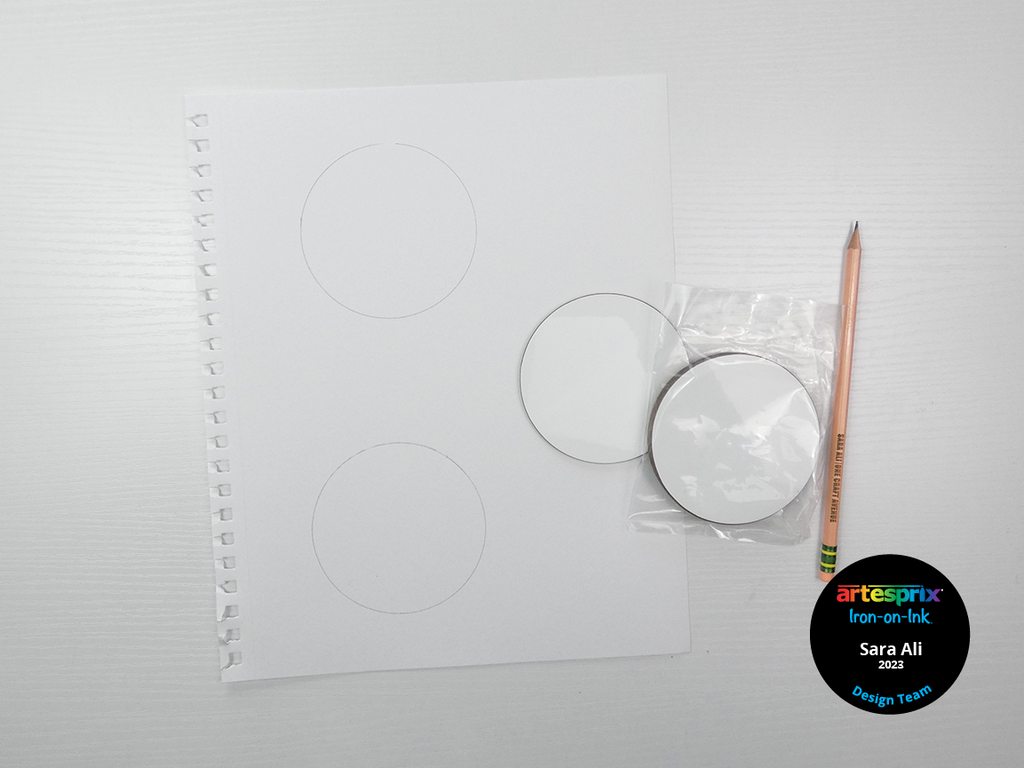
Step 1: Place polished coaster on mixed media paper and trace it with a pencil. Repeat four times and cut into individual pieces so they are easier to handle.
Pro Tip: Turn on your heat source to warm up while we’re preparing our design for pressing. For these coasters, you’ll need to set it to 400°F and for 60 seconds.
Step 2: Grab your gel press plate, orange sublimation stamp pad, and brayer. Use your orange stamp pad to ink the gel press. Then, go over the gel press plate with your rubber brayer while gently pressing down.
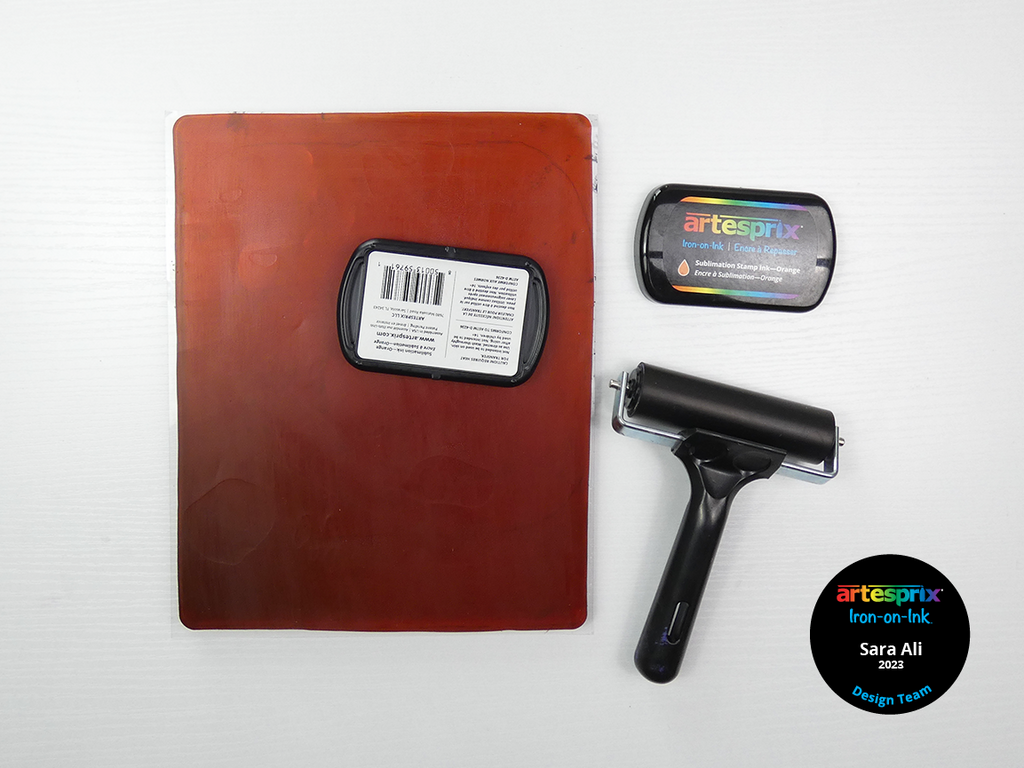
Once you feel you’ve got good ink coverage on your gel press plate, place your coaster template down. Press down on your mixed media paper, and then lift to pick up an orange background for our transfer.
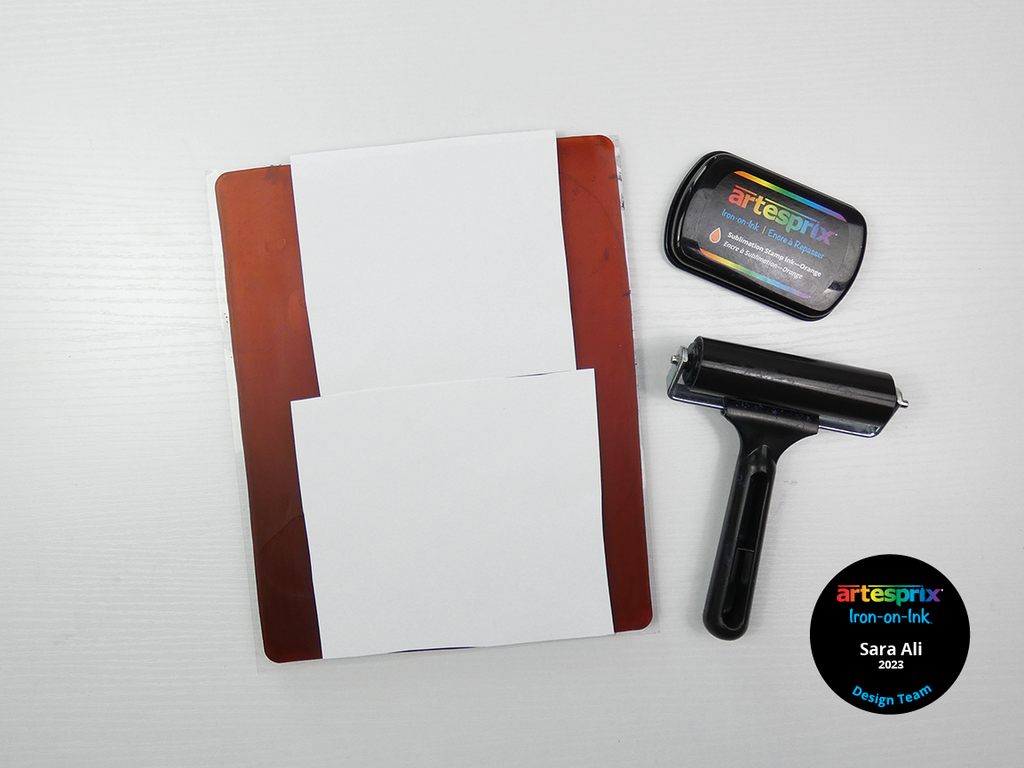
Step 3: Repeat Step 2 to create multiple transfers. Remember to clean your gel press plate in-between different color uses.
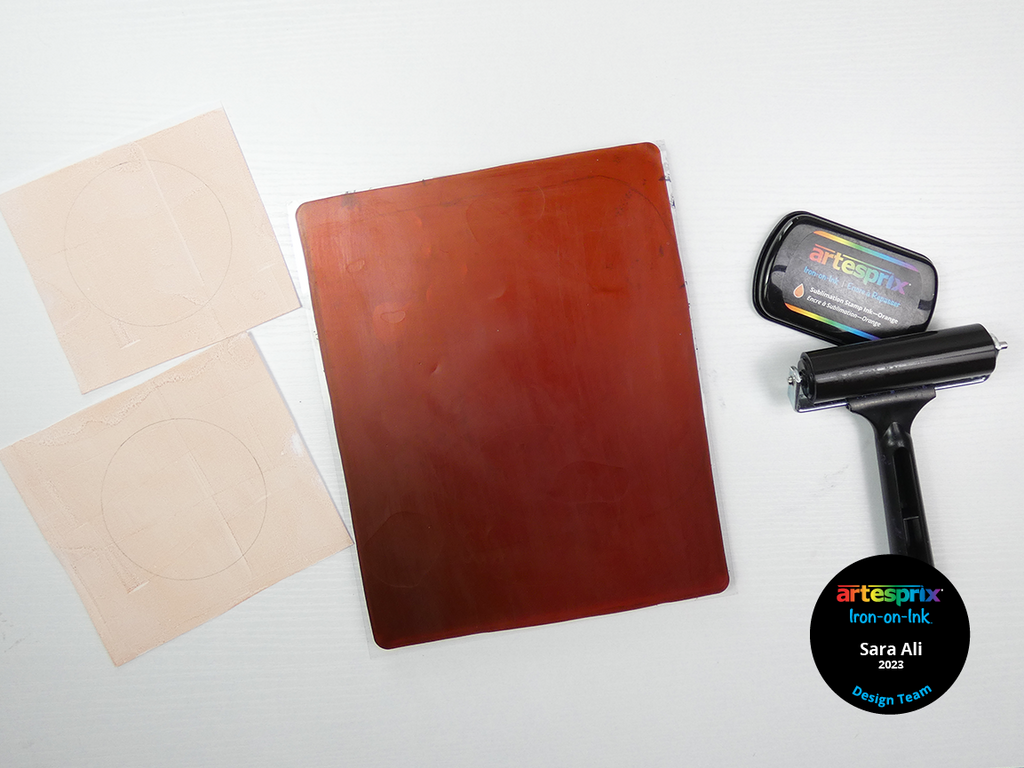
Step 4: Use your black stamp pad to ink your gel press plate and smooth it out with a brayer. Now, place your plaid stencil on the inked gel press plate.
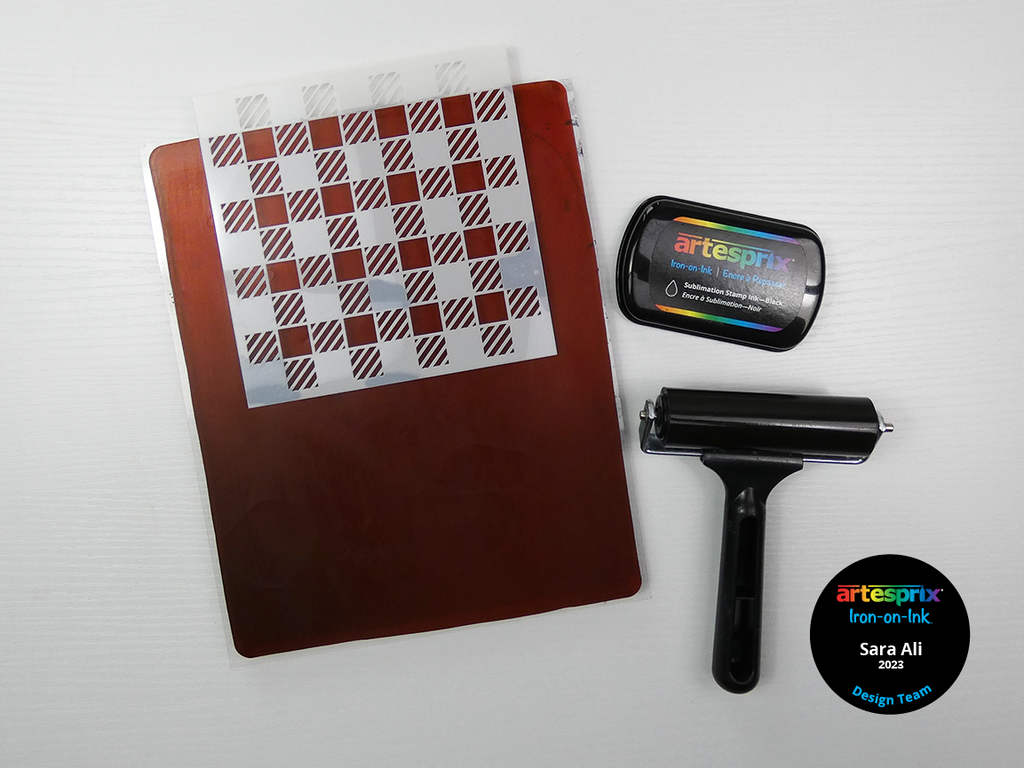
With your plaid stencil stationary on the gel press place, place your orange mixed media paper face down, press down with heavy pressure and lift to apply the black plaid pattern.
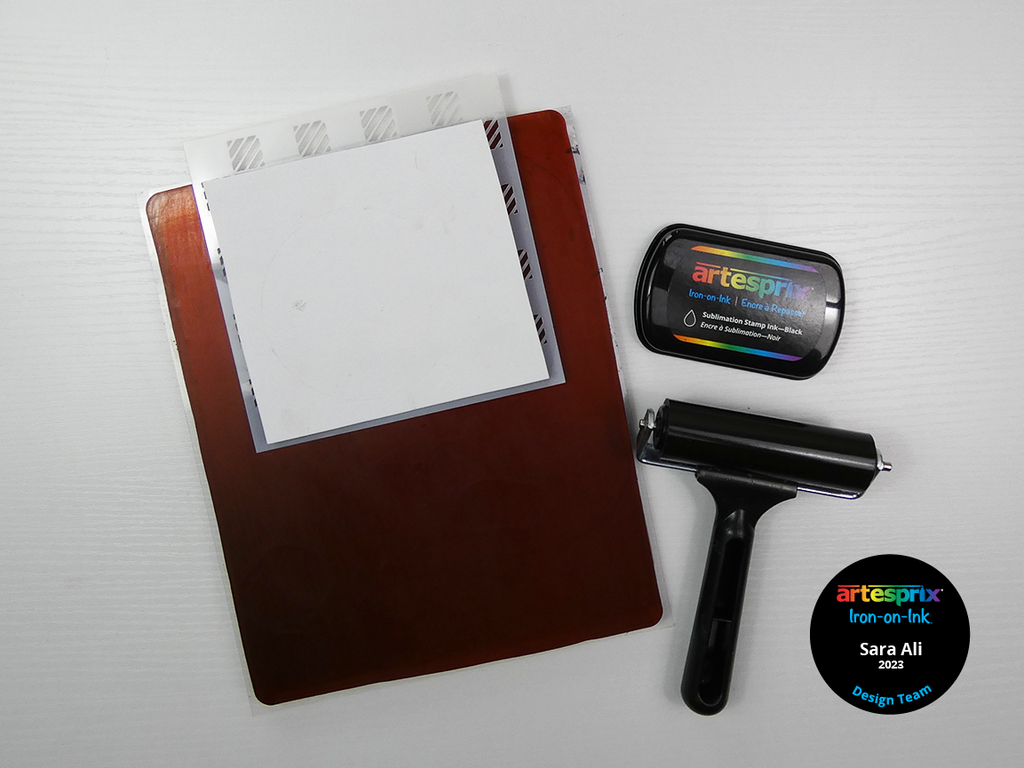
Step 5: Repeat Step 4 three additional times on all coaster templates.
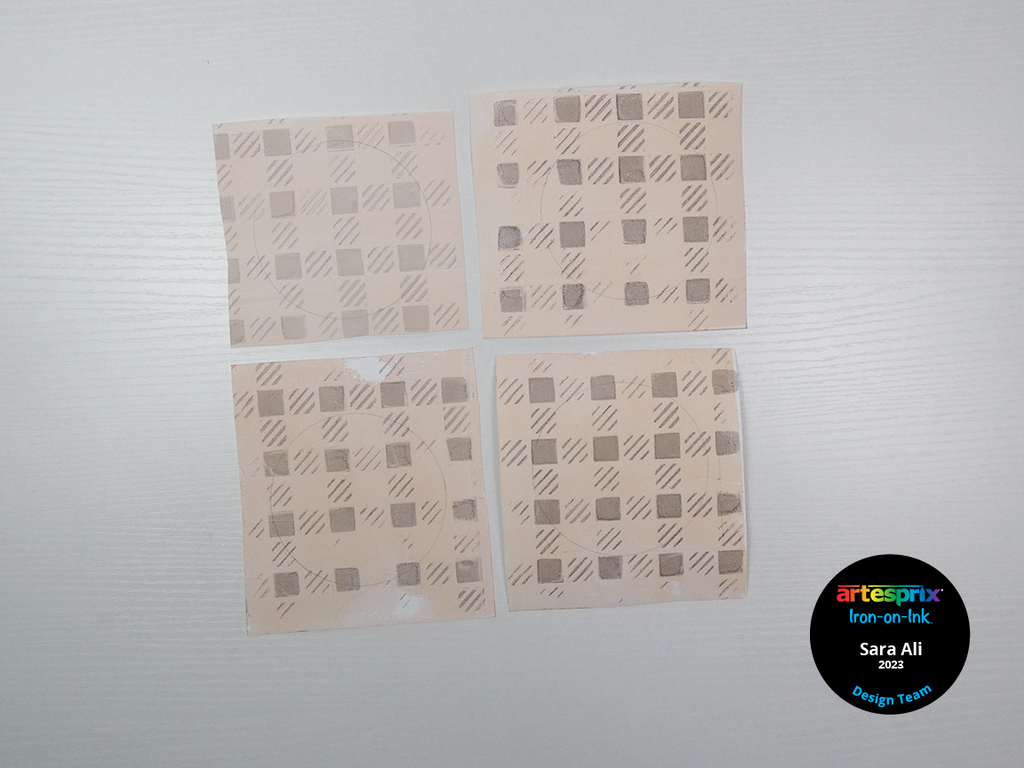
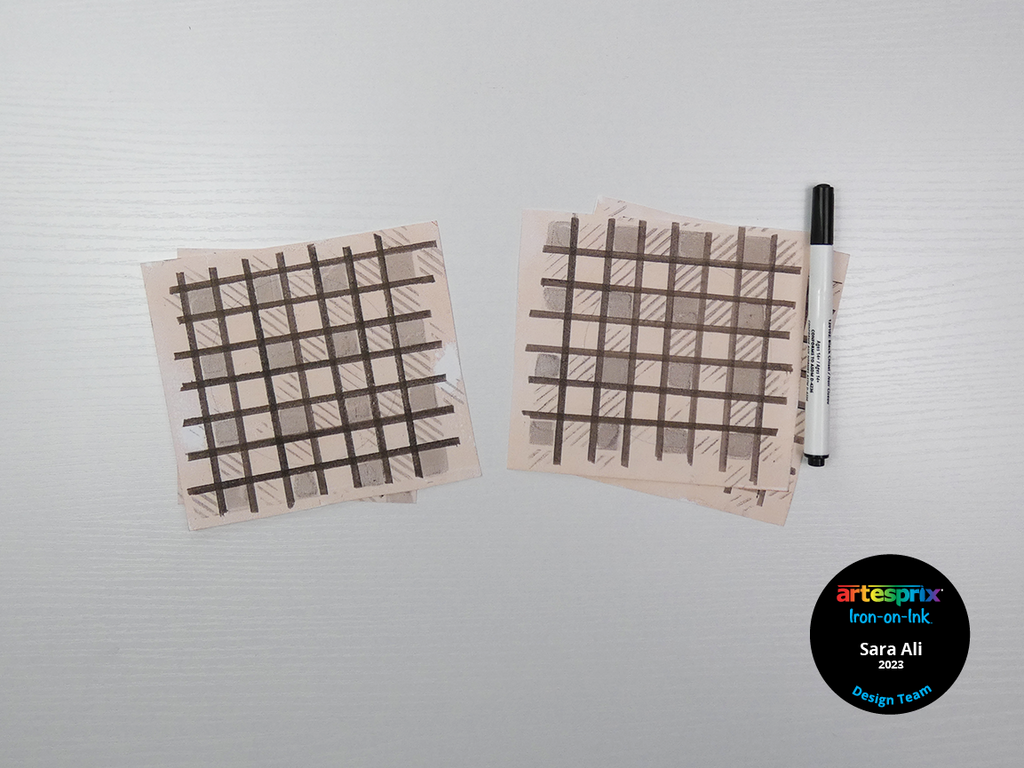
Step 6: Use your chisel tip black marker and a ruler to draw a thick line in the plaid pattern. You can continue to embellish transfers as desired with a black sublimation marker.
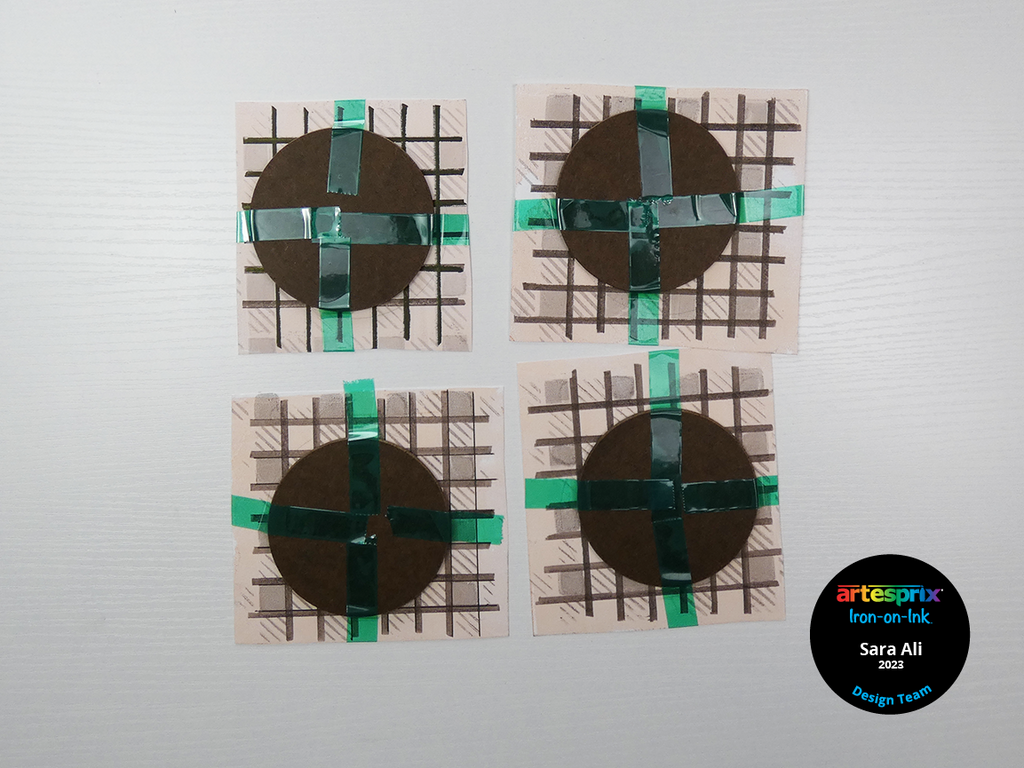
Step 7: Place each coaster face down on your colored design. Secure it to the paper with heat resistant tape.This will prevent ghosting and ensure you get a crisp design!
Step 8: Use protective paper to cover the top and bottom of your secured project. This is called a "sublimation sandwich". Since we recommend coloring outside your traced template, using the protective paper will save your work surfaces from excess Iron-on-Ink!
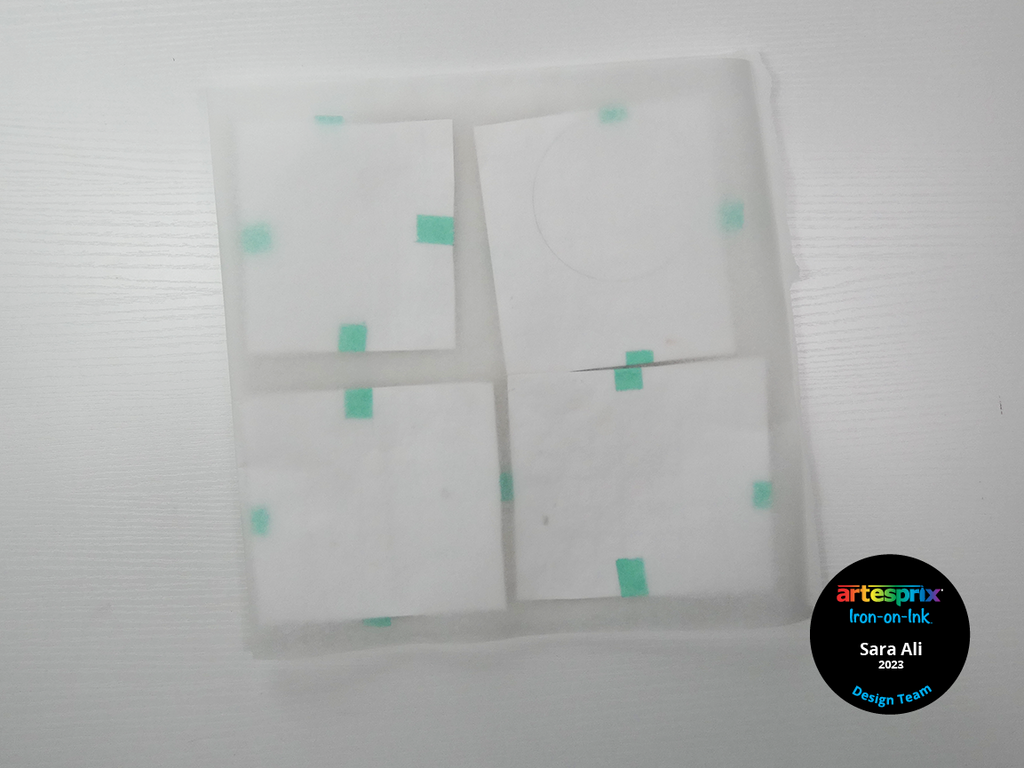
Step 9: It is time to press your design! Your heat press should be set to 400°F and you’ll need to press it for 60 seconds. Since my heat press is 15x15", I was able to press all of my coasters at once.
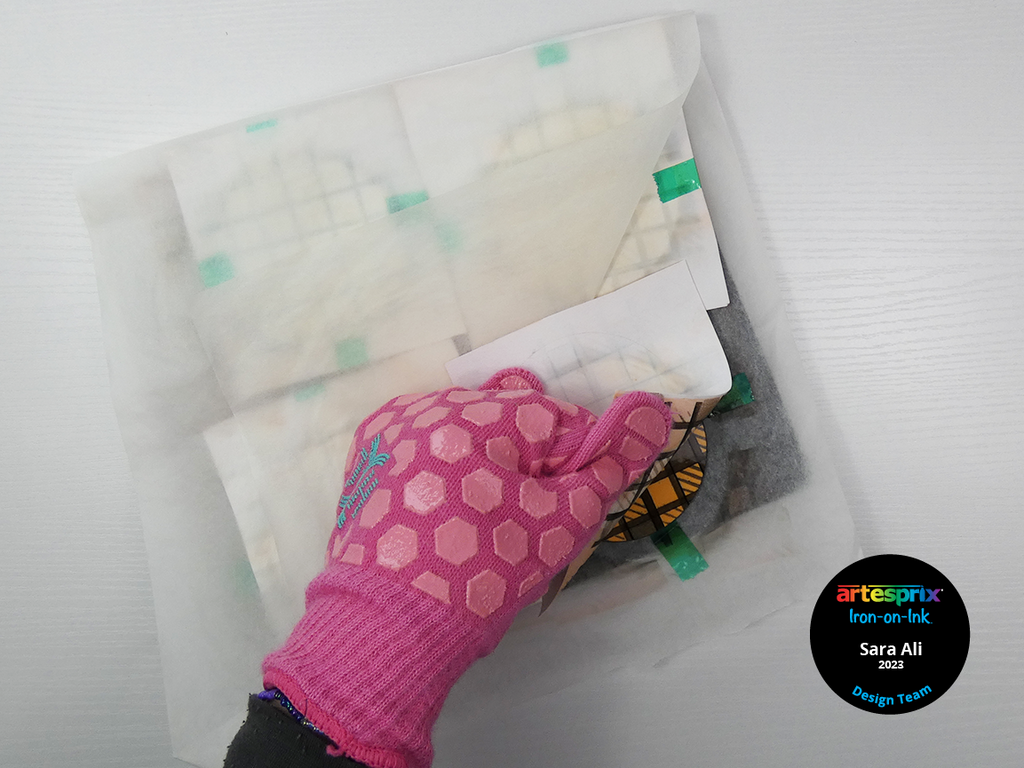
Step 10: Now that we pressed our design, we are going to peek at our transfer. Carefully lift one corner of the design, without removing any tape to peek at your transfer. If you find that you got a vibrant transfer, then remove the tape and reveal your amazing design! In the off chance you didn’t get a good transfer, you can just re-press your design. The "peek test" can be a total project saver.
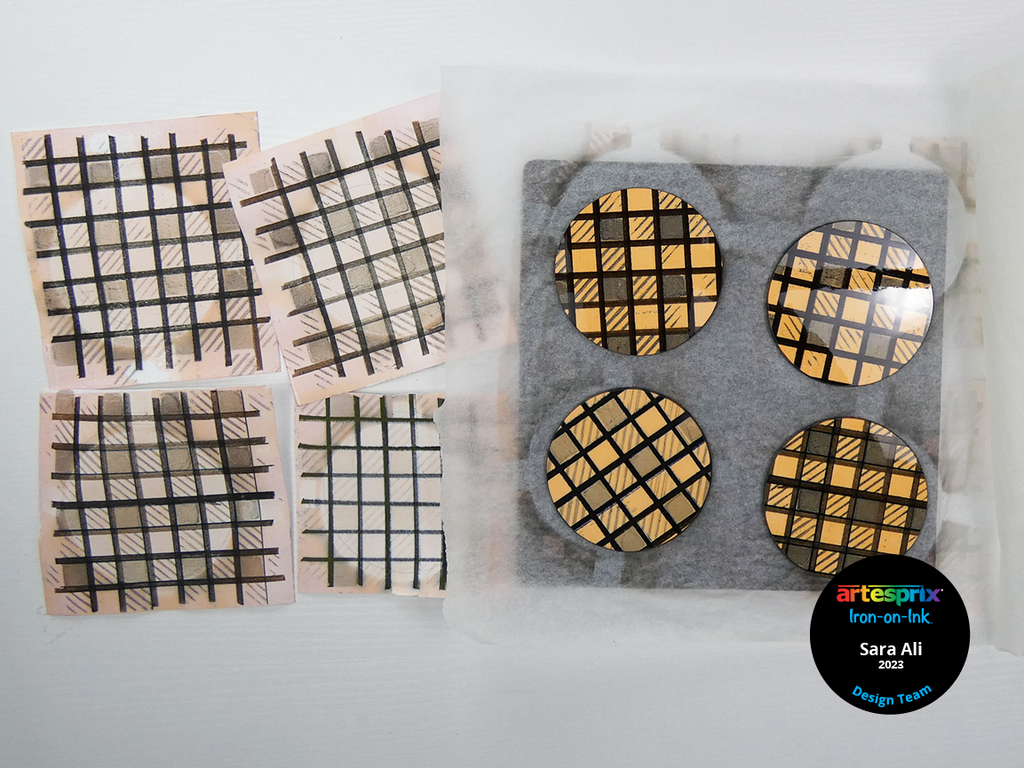
Step 11: Let’s reveal our design! I love how these plaid coasters turned out!
These would go great with your Fall décor and now is just the right time to make them! Using this Heffy Doodle stencil gave us a unique look with our sublimation stamp pads, and I see a couple of plaid patterned projects in my future! The black chisel sublimation marker added the touch that these coasters needed!
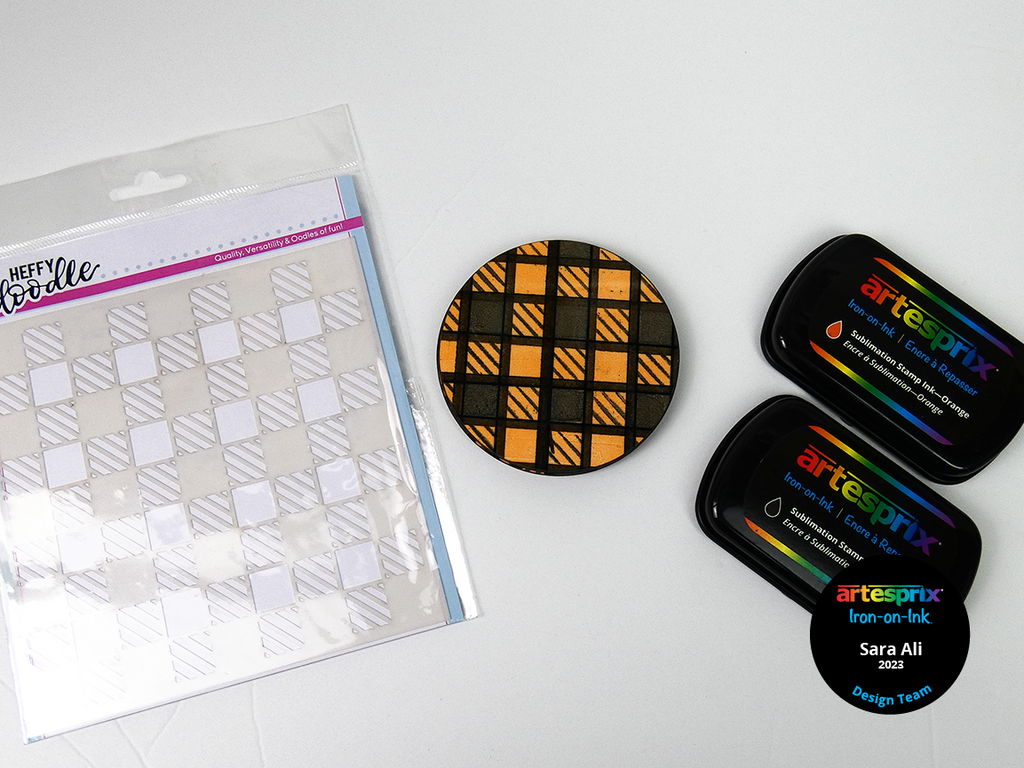
Are you ready for your next stop on the Heffy Doodle and Artesprix Collaboration Blog Hop? Don't forget to comment on this project blog post, as well as all the others for a chance to win a Heffy Doodle and Artesprix Gift Cards.
Heffy Doodle Blog
Jasmin Oliver
Lori Warren
Amanda Fitterer
Alison Heikkila
Annette Allen
Natasha Davies < - - You should have come from here!
Sara Ali < - - You are here!
Jordy's Cards < - - Go here next!
Naomi Garcia
Kari VanNoy
Artesprix Blog
To be entered to win the giveaway, all you need to do is comment at each stop along the Blog Hop! Artesprix will be giving away $30 (US addresses only) and Heffy Doodle £20 to their stores! Be sure to comment before 11:59 PM EST on November 27th to be entered to win!
Each company will post their random winner on November 29th at 10AM EST!
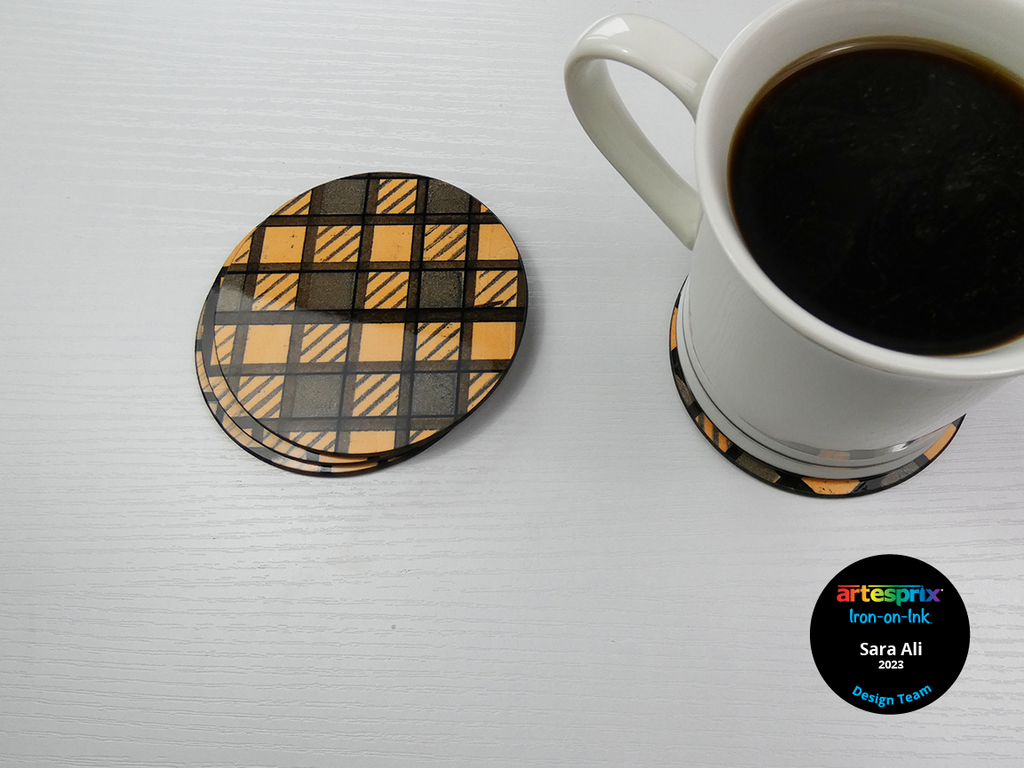
I love how our project turned out! If you’re new to Artesprix’s sublimation supplies, make sure you grab a sublimation starter kit, and get creative! When you use Artesprix sublimation stamp pads in your next sublimation project, please don’t forget to share your creations with us on Instagram or Facebook!
Keep on crafting!
Sara Ali
**This post may contain affiliate links. That means that I may receive compensation if you purchase through the links I have provided. The price you pay for the product or service is not higher, but I may get compensated.**
6 comments
Great coasters….love this project.
oh this is so darling.
Heffy Doodle has some nice stencils and stamps. I would never have thought to use them like this. Thank you for the inspiration. ;0)
Wow the coasters came out so vibrant. Especially, the lines you went over with the sublimation marker were really dark, which made the colors just pop!
Love doing coasters! Thanks for the new idea!
So much fun!!! I love seeing all the different things you can create